As I sit at my loom, surrounded by threads of every color and texture, I’m reminded of the common misconception that a guide to weaving techniques is only for seasoned crafters. The truth is, weaving is an art form that can be learned and mastered by anyone, regardless of their skill level. I’ve seen it time and time again – people who think they’re not “crafty” or “artistic” enough to create something beautiful with yarn. But I’m here to tell you that with the right techniques and a willingness to experiment, you can create stunning woven pieces that rival any work of art.
In this article, I’ll share my own experiences and insights on a guide to weaving techniques, focusing on the practical, hands-on advice that I wish I had when I first started out. I’ll take you through the process of building texture, form, and beauty, one thread at a time, and show you how to bring your own unique vision to life. Whether you’re a beginner or an experienced weaver, you’ll learn how to approach weaving as a form of fiber architecture, and how to create pieces that are not only functional but also truly breathtaking. So, let’s dive in and start exploring the amazing world of weaving together!
Table of Contents
Guide Overview: What You'll Need
Total Time: 2 hours 30 minutes
Estimated Cost: $20 – $50
Difficulty Level: Intermediate
Tools Required
- Loom (or a simple frame loom)
- Shuttle (for passing weft yarn)
- Scissors (for cutting yarn)
- Tapestry needle (for weaving and sewing)
- Measuring tape (for measuring 6 inches by 9 inches fabric)
- Ruler (for measuring 12 inches long warps)
Supplies & Materials
- Yarn (various colors and textures)
- Thread (for sewing and finishing)
- Fabric (for practice or as a base for weaving)
- Warps (cotton or wool, 10 inches long)
- Weft yarn (for creating patterns and designs)
Step-by-Step Instructions
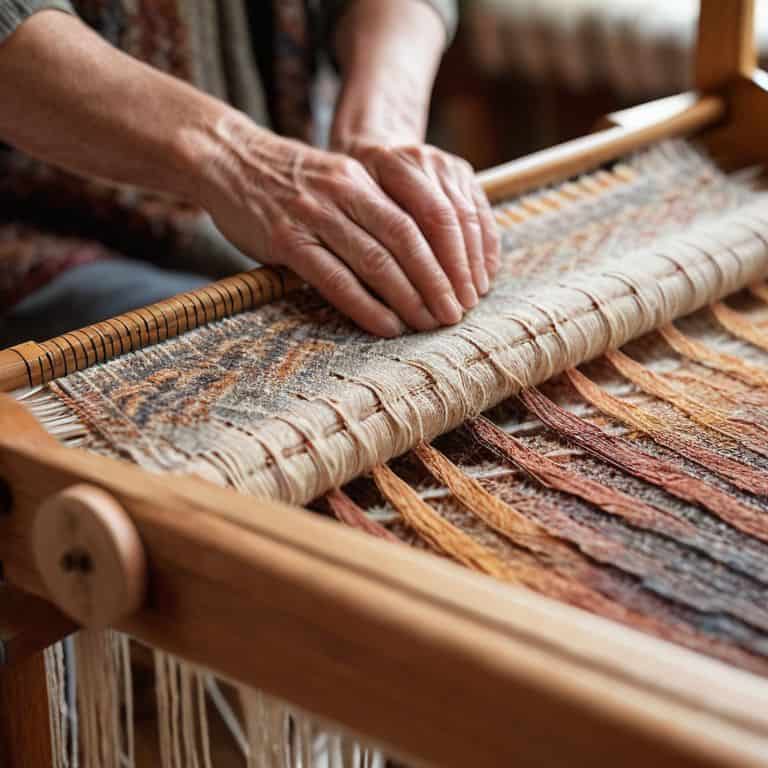
- 1. To begin, let’s start with the basics of setting up your loom, which I like to think of as building the foundation of your woven piece. This involves measuring and cutting your warp threads to the desired length, and then carefully threading them through the loom’s harnesses. I find that using a simple, repetitive pattern at this stage helps to create a sense of rhythm and flow, which will ultimately inform the rest of your weaving process.
- 2. Next, you’ll want to choose the type of yarn or fiber you’ll be using for your weft threads. This is where the magic happens, and you get to start thinking about the texture and color of your finished piece. I’m particularly fond of working with natural fibers like linen and raw silk, which have a unique, organic quality that adds depth and interest to any woven design.
- 3. Now it’s time to start weaving, and this is where the real fun begins. I like to think of this stage as constructing the fabric of your piece, thread by thread. Begin by passing your weft thread over and under the warp threads, using a simple over-and-under pattern to create a basic weave. As you work, pay attention to the tension of your threads, making sure that they’re not too tight or too loose.
- 4. As you become more comfortable with the basic weave, you can start to experiment with different patterns and techniques, such as twill or herringbone. This is where your woven piece can really start to take on a life of its own, and you can begin to see the emergence of texture and form. Don’t be afraid to try new things and make mistakes – they can often lead to surprising and exciting results.
- 5. One of the most important things to keep in mind as you weave is the importance of balance and harmony in your design. This means paying attention to the way that different colors and textures work together, and making adjustments as needed to create a sense of cohesion and flow. I find that taking a step back from my work periodically, and looking at it with fresh eyes, can be really helpful in achieving this balance.
- 6. As you near the end of your weaving process, you’ll want to start thinking about how to finish the edges of your piece. This can be as simple as tying off the warp threads and trimming the excess, or as complex as adding a decorative border or fringe. I like to think of this stage as the final flourish of your woven design, and it’s a great opportunity to add a personal touch and make your piece truly unique.
- 7. Finally, once your woven piece is complete, take a step back and admire your handiwork. I like to think of this stage as stepping back to appreciate the architecture of your design, and seeing how all of the different elements work together to create a cohesive whole. Whether you’re creating a simple wall hanging or a complex, large-scale installation, the sense of pride and satisfaction that comes from weaving your own unique piece of fiber art is unparalleled.
A Guide to Weaving Techniques
As I delve deeper into the world of weaving, I’m constantly reminded of the importance of texture and form in creating unique pieces. When working with natural fibers like linen or raw silk, it’s essential to understand the basics of warp and weft to achieve the desired pattern and texture. I find that handloom weaving patterns can be incredibly versatile, allowing for a wide range of creative expression.
When it comes to textile design principles, I believe that balance and harmony are key to creating visually stunning pieces. Weaving for beginners can seem daunting, but with the right tutorials and guidance, anyone can learn to create beautiful woven art. I’ve found that natural fiber weaving techniques can add an extra layer of depth and interest to a piece, and I often experiment with different fibers to achieve unique effects.
In my own practice, I’ve come to rely on a few trusted weaving tools that make all the difference in my work. I’ve written reviews of my favorite tools, from looms to shuttles, and I’m always on the lookout for new and innovative products to try. By combining traditional techniques with modern design principles, I believe that anyone can create stunning woven pieces that showcase their personality and style, and I’m excited to share my knowledge with others through weaving workshops and online tutorials.
Handloom Weaving Patterns Simplified
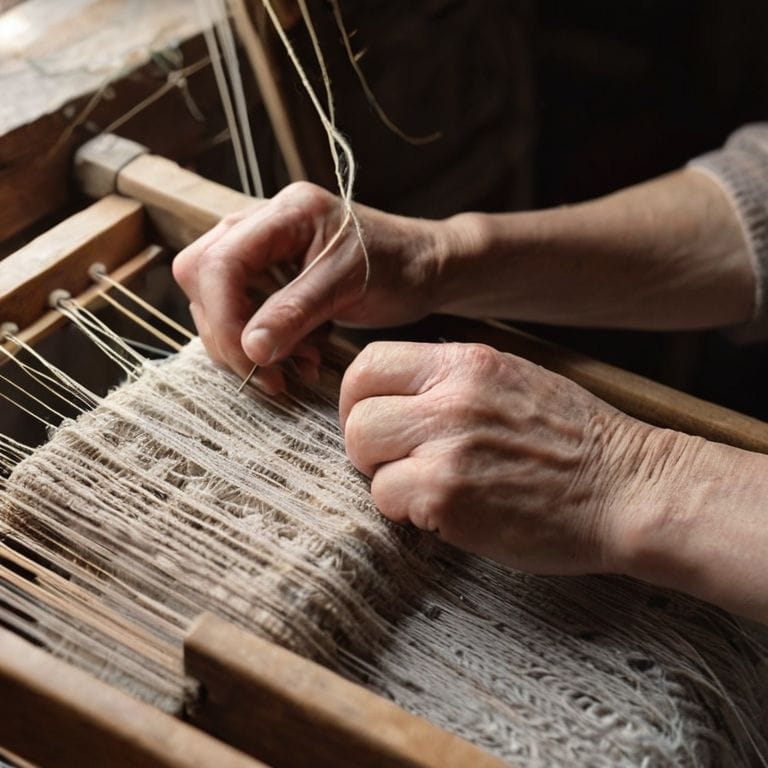
As I sit at my handloom, I’m reminded of the endless possibilities that lie within the intersection of threads. To simplify handloom weaving patterns, I always start by sketching out my design on graph paper, much like I would with architectural blueprints. This helps me visualize the texture and form I’m aiming to create. By breaking down complex patterns into basic warp and weft interactions, I can then experiment with different yarns and colors to bring my vision to life.
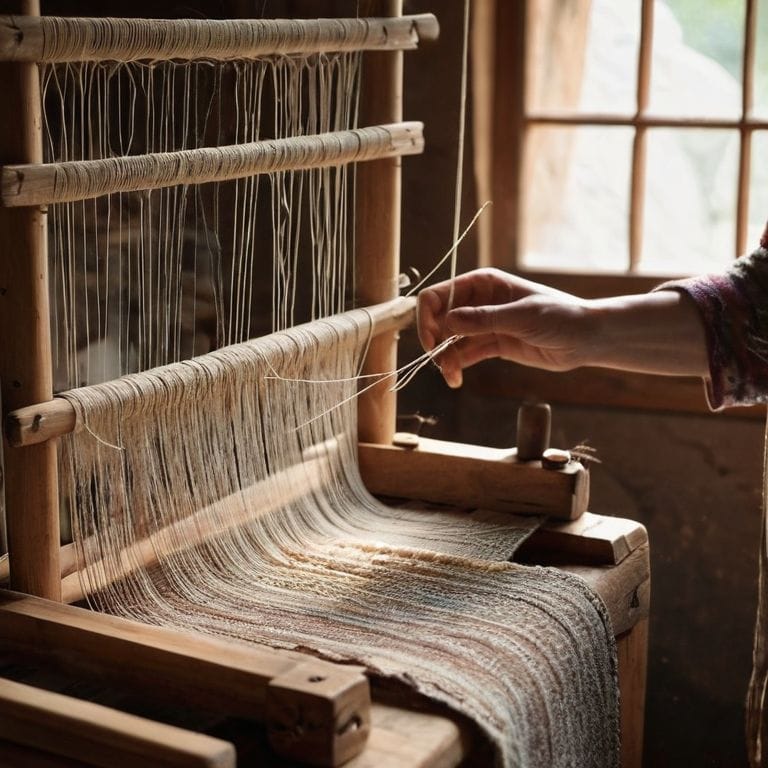
With a clear plan in place, I find that the actual weaving process becomes almost meditative. The rhythmic motion of the loom, the soft clickety-clack of the yarn as it intertwines, all blend together to create a sense of harmony. As the fabric begins to take shape, I’m constantly inspired by the way the light catches the texture, highlighting the intricate dance of threads. It’s in these moments that I’m reminded why I left architecture to pursue weaving full-time – the joy of creating something beautiful, one thread at a time.
Warp and Weft Basics Uncovered
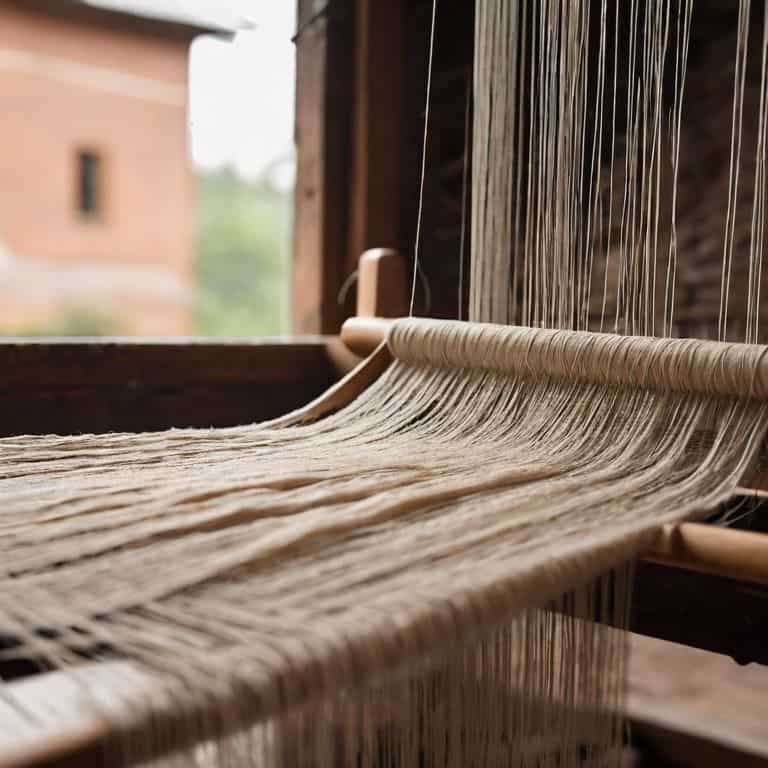
As I delve into the fundamentals of weaving, I’m reminded of my architectural background – the warp and weft threads forming the structural foundation of our textile design. The warp threads, stretched vertically on the loom, provide the skeletal framework, while the weft threads, woven horizontally, add depth and texture. Understanding the interplay between these two elements is crucial for creating balanced, visually appealing pieces.
By experimenting with different warp and weft combinations, you can achieve a wide range of effects, from subtle, tone-on-tone patterns to bold, contrasting statements. I encourage you to explore various yarn weights, colors, and materials to discover how they interact and influence the overall aesthetic of your woven art. This foundation will serve as the starting point for more complex techniques and designs, allowing you to build upon your skills and creativity.
Weaving Wisdom: 5 Essential Tips to Elevate Your Craft
- Start with a strong foundation: Understanding the relationship between warp and weft is crucial for creating a stable and beautiful fabric
- Experiment with texture: Don’t be afraid to mix and match different yarns and fibers to add depth and visual interest to your weaving
- Play with pattern: From simple stripes to complex geometric designs, the right pattern can make or break your weaving – don’t be afraid to try new things
- Pay attention to tension: Even tension is key to creating a fabric that lies flat and looks professional – practice makes perfect
- Don’t forget the finishing touches: A well-finished edge or a thoughtful fringe can elevate your weaving from ordinary to extraordinary – take the time to get it just right
Key Takeaways for the Aspiring Weaver
By understanding the fundamental principles of warp and weft, you can unlock a world of creative possibilities in your weaving projects, from simple scarves to complex tapestries
Mastering handloom weaving patterns allows you to experiment with a wide range of textures and designs, adding depth and visual interest to your work
Remember, weaving is not just about technique – it’s an art form that invites you to play with color, texture, and form, so don’t be afraid to innovate and push the boundaries of what’s possible with fiber and thread
The Art of Weaving
Weaving is not just about threading yarn through a loom, it’s about crafting a universe of texture and color, one deliberate stitch at a time, where every strand tells a story and every pattern whispers a secret.
Ethan Thorne
Weaving a Legacy: A Conclusion
As we wrap up this guide to weaving techniques, it’s essential to remember that the journey of mastering the craft is just as important as the destination. We’ve covered the fundamentals of warp and weft, delved into the world of handloom weaving patterns, and explored the intricacies of fiber architecture. By now, you should have a solid understanding of the techniques and tools required to create your own unique woven pieces. Whether you’re a seasoned artist or a beginner, the key to success lies in experimentation and practice.
As you embark on your own weaving journey, remember that the true beauty of this craft lies in its ability to combine texture, color, and form in infinite ways. Don’t be afraid to push the boundaries of what’s possible with fiber and thread. With every passing project, you’ll find your skills and confidence growing, and your creations will become a testament to the intersection of modern design and ancient craft. So, go ahead, pick up your loom, and start weaving your own story, one thread at a time.
Frequently Asked Questions
What are some common mistakes to avoid when setting up the warp and weft for a beginner?
As a beginner, I’ve found that common mistakes to avoid when setting up the warp and weft include uneven tension, incorrect thread count, and insufficient spacing. These errors can lead to a wonky weave or even damage to your loom. To avoid them, take your time, double-check your measurements, and gently tug on the threads to ensure even tension.
How do I choose the right yarn and thread combination to achieve a specific texture and pattern?
To achieve a specific texture and pattern, I consider the yarn’s weight, fiber content, and twist. I combine this with the right thread thickness and material, often sketching out my ideas on graph paper to visualize the interplay of fibers. This thoughtful approach helps me ‘build’ the desired texture, one thread at a time.
Can I use a simple handheld loom or do I need to invest in a larger floor loom to create complex weaving patterns?
While floor looms offer more versatility, you can still create intricate patterns with a handheld loom. I often start my designs on a small, portable loom to test textures and colors before scaling up to a larger piece on my floor loom. It’s all about understanding the limitations and possibilities of each tool.