I still remember the day my wife, a talented weaver, came to me frustrated with the uneven texture of her latest acrylic yarn project. She had tried every trick in the book, but nothing seemed to work. That’s when I realized that how to steam block acrylic yarn was more than just a technical process – it was an art that required the right tools and techniques. As a carpenter turned custom woodworker, I’ve always been passionate about creating functional and beautiful tools, and I saw an opportunity to apply my skills to help my wife achieve the professional-looking results she desired.
In this article, I’ll share my no-nonsense approach to steam blocking acrylic yarn, gleaned from years of trial and error. You’ll learn the essential steps to prepare your yarn, choose the right equipment, and execute the steam blocking process with ease. Whether you’re a seasoned fiber artist or just starting out, I’ll provide you with practical tips and honest advice on how to achieve stunning results. By the end of this guide, you’ll be equipped with the knowledge and confidence to steam block your acrylic yarn like a pro, and take your weaving or knitting projects to the next level.
Table of Contents
Guide Overview: What You'll Need
Total Time: 1 hour 15 minutes
Estimated Cost: $10 – $20
Difficulty Level: Easy
Tools Required
- Steamer or Steaming Device (with a flat surface or steamer basket)
- Measuring Tape
- Ruler or Straight Edge (for blocking pins or measuring)
- Blocking Pins (rust-resistant or stainless steel)
Supplies & Materials
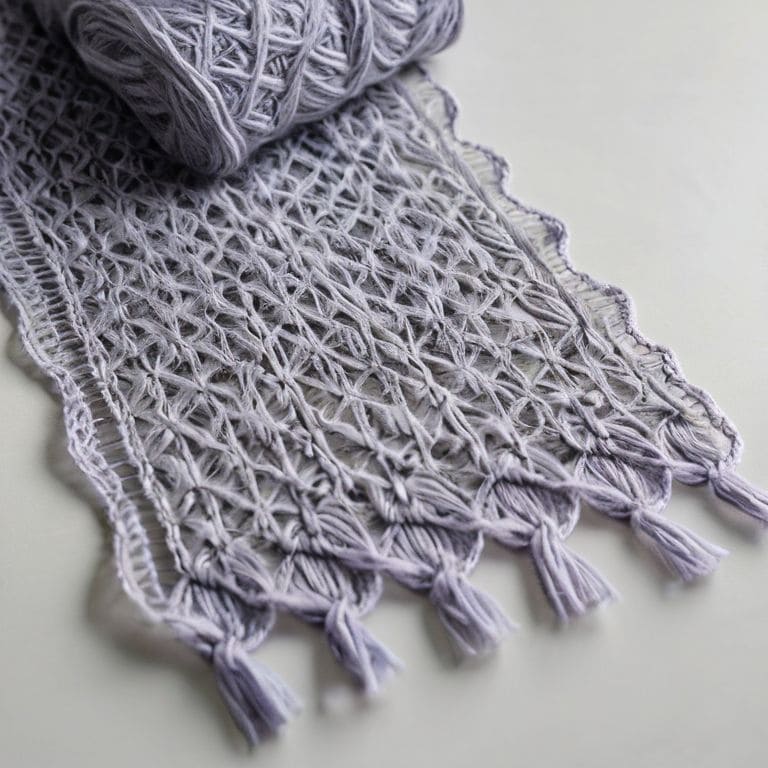
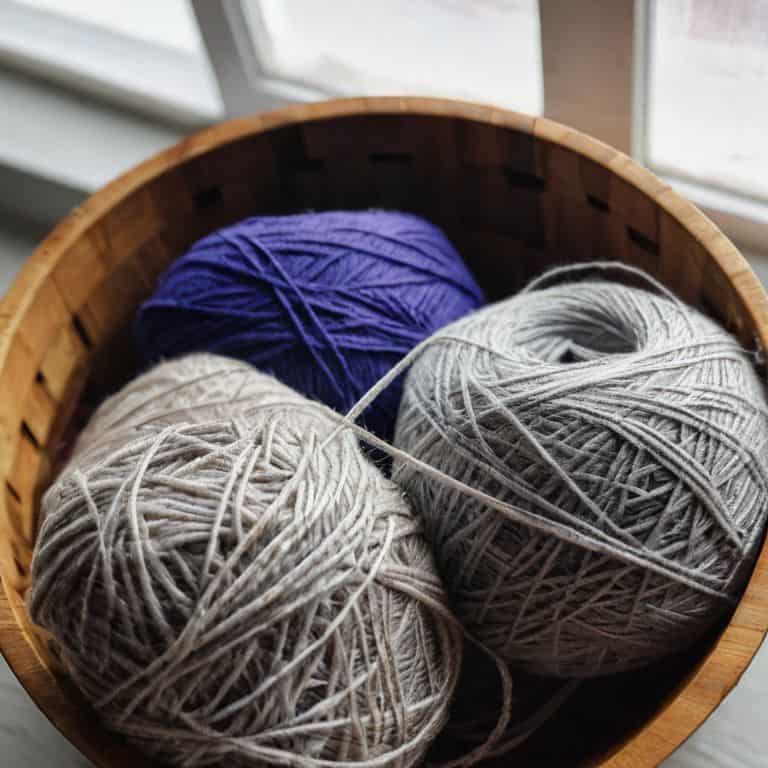
- Acrylic Yarn Item to Block (such as a finished knitted or crocheted project)
- Towels or Cloth (for drying and protecting surfaces)
- Blocking Mat or Surface (at least 6 inches by 6 inches, larger if needed for project size)
- Water (for steamer device)
Step-by-Step Instructions
- 1. First, gather your materials, which should include the acrylic yarn project you want to steam block, a steam blocker or a handheld steamer, a measuring tape, a blocking mat or a large towel, and some T-pins. I like to use a _old but trusty_ steam blocker that I’ve had for years, it’s been with me through countless projects and has never let me down.
- 2. Next, submerge your project in cold water, making sure it’s completely covered. This step is crucial as it helps to _even out the fibers_ and prepare them for the steam blocking process. I usually let it soak for about 30 minutes to an hour, but you can adjust the time depending on the complexity of your project.
- 3. After soaking, gently remove your project from the water and gently squeeze out excess water without wringing or twisting it. You want to remove as much water as possible without damaging the fibers. I like to use a _clean towel_ to gently blot the project and remove any excess moisture.
- 4. Now it’s time to pin your project to the blocking mat or towel. Use your T-pins to secure it in place, making sure it’s _evenly spaced_ and not too tight. I like to use a measuring tape to ensure that my project is symmetrical and evenly blocked.
- 5. With your project pinned in place, it’s time to apply the steam. Hold your steam blocker or handheld steamer about 6-8 inches away from the project and slowly move it back and forth, making sure to cover the entire area. I like to use a _gentle touch_ when applying the steam, as too much heat can damage the fibers.
- 6. As you apply the steam, you’ll start to see your project transform and even out. This is where the magic happens, and your project starts to take shape. I like to _take my time_ during this step, making sure that every area of the project is evenly steamed and blocked.
- 7. Finally, let your project dry completely, which can take anywhere from a few hours to several days, depending on the size and complexity of your project. I like to _keep an eye on it_ and make sure it’s completely dry before handling it or storing it away. With these steps, you should be able to achieve professional-looking results and enjoy your beautifully steam-blocked acrylic yarn project.
Unlocking Acrylic Yarn Secrets

As I’ve experimented with different types of yarn, I’ve found that understanding the fiber properties of acrylic yarn is crucial for achieving the best results when steam blocking. Acrylic yarn has a unique ability to hold its shape and resist wrinkles, making it a great choice for garments and accessories that need to withstand regular wear and tear. When it comes to steam blocking, this means that acrylic yarn can be manipulated to create a professional-looking finish with minimal effort.
One of the steam blocking benefits for yarn is that it can help to even out the texture and tension of the fabric, creating a more polished appearance. To get the most out of this technique, I recommend using a high-quality steam iron specifically designed for crafting, such as the best steam irons for crafting that have a precision tip and adjustable steam settings. This will allow you to target specific areas of the fabric and achieve a more precise finish.
By following these tips and techniques, you’ll be well on your way to mastering the art of steam blocking acrylic yarn. Remember to always refer to the acrylic yarn care instructions for specific guidance on how to care for your finished projects, and don’t be afraid to experiment with different yarn steam blocking techniques to find what works best for you. With a little practice and patience, you’ll be creating beautiful, professional-looking pieces in no time.
Choosing Best Steam Irons
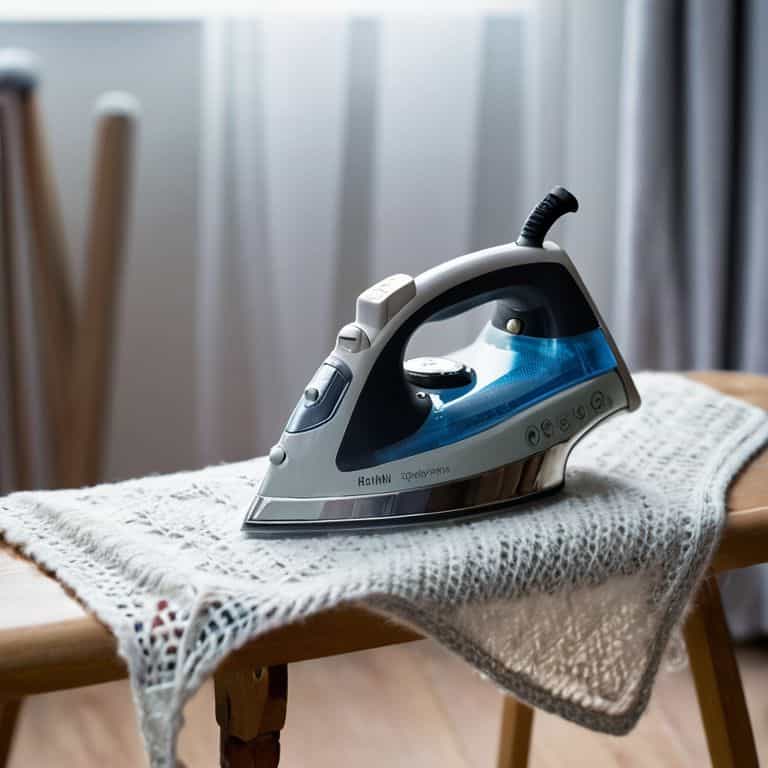
When it comes to steam blocking acrylic yarn, the right tools make all the difference. I’ve experimented with various steam irons, and I can tell you that not all are created equal. Look for one with a robust steam output and a soleplate that glides smoothly over your yarn. My personal favorite is a reliable old friend – a Rowenta steam iron that’s been with me through countless projects. Its consistent steam flow and gentle touch have won me over, and I’ve seen it bring out the best in my wife’s acrylic yarn creations.
I’ve also found that a steam iron with a built-in water filter is a game-changer, as it prevents mineral buildup and ensures a steady steam flow. Whatever steam iron you choose, make sure it’s one that you’re comfortable with and that fits your budget. With the right steam iron by your side, you’ll be well on your way to unlocking the full potential of your acrylic yarn.
Steam Blocking Benefits Uncovered
Steam blocking has been a revelation for my wife’s acrylic yarn projects. Not only does it even out the stitches, but it also gives the finished piece a professional-looking finish. I’ve seen it transform a good project into a great one. The benefits go beyond just aesthetics, too – steam blocking can help prevent pilling and fraying, making the item more durable.
By taking the time to steam block, you’re essentially setting your project up for long-term success. It’s a simple step that can make all the difference in the world. My wife’s customers rave about the quality of her work, and I firmly believe it’s because of the extra care she puts into steam blocking each piece. It’s a game-changer, and I’m excited for you to experience the benefits for yourself.
My Top 5 Tips for Steam Blocking Acrylic Yarn Like a Pro
- Use a steam iron with a built-in steam generator for consistent and powerful steam flow, I’ve found it makes all the difference in achieving professional-looking results
- Always pre-steam your blocking surface to ensure it’s evenly heated and ready for your acrylic yarn project, this helps prevent hot spots and promotes even blocking
- Utilize a blocking pin or T-pin specifically designed for steam blocking to secure your yarn in place, these pins are usually longer and have a specialized grip to keep your work from shifting during the process
- Don’t over-steam your acrylic yarn, as this can cause it to become misshapen or lose its texture – I like to use a gentle touch and keep an eye on the yarn as it blocks to avoid any issues
- Allow your steam-blocked acrylic yarn project to cool and dry completely before handling or storing it, this helps set the fibers in place and ensures your hard work will last, trust me, it’s worth the wait
Key Takeaways for Steam Blocking Acrylic Yarn
Always use a steam iron specifically designed for fabric and yarn crafting to ensure safety and even heat distribution
Experiment with different steam settings and blocking times to find the perfect balance for your acrylic yarn project, as this can significantly impact the final texture and appearance
Remember to handle your steam-blocked acrylic yarn creations with care, as they can be prone to snagging or losing shape if not properly secured or stored, to maintain their professional-looking finish
Bringing It All Together: The Art of Steam Blocking
As we’ve explored the world of steam blocking acrylic yarn, it’s clear that this technique can elevate your fiber arts projects to the next level. From the initial steps of preparation to the final touches of * Precision Steam Blocking*, we’ve covered the essential tips and tricks to get you started. Remember, choosing the right steam iron and understanding the benefits of steam blocking, such as _even tension_ and _professional finish_, are crucial to achieving the desired results. By following these guidelines and practicing your skills, you’ll be well on your way to creating stunning, long-lasting pieces that showcase your craftsmanship.
As you embark on your steam blocking journey, keep in mind that the true beauty of this technique lies in its ability to transform ordinary yarn into extraordinary creations. Don’t be afraid to experiment, try new things, and push the boundaries of what’s possible. With patience, practice, and a willingness to learn, you’ll unlock the full potential of steam blocking and take your fiber arts projects to new heights. So, go ahead, get creative, and watch your handmade pieces come alive with the magic of steam blocking!
Frequently Asked Questions
What is the ideal temperature for steam blocking acrylic yarn to avoid scorching or damaging the fibers?
For steam blocking acrylic yarn, I recommend using a medium to low steam setting, around 140°F to 160°F. This temperature range helps relax the fibers without scorching them. Always test a small, inconspicuous area first to ensure the yarn can handle the heat.
Can I use a regular iron with a steam function for blocking acrylic yarn, or do I need a dedicated steam iron?
While you can use a regular iron with a steam function, I recommend a dedicated steam iron for better control over steam output and temperature. Trust me, it’s worth the investment for achieving professional-looking results on your acrylic yarn projects.
How long should I hold the steam iron over each section of the yarn to ensure even blocking and prevent over-steaming?
Hold the steam iron about 6-8 inches above each section for 2-3 seconds, moving it slowly and evenly. I like to think of it as ‘kissing’ the yarn with steam – you want to caress it, not scorch it. This gentle touch helps prevent over-steaming and ensures a beautiful, even block.