As I sit here with my latest knitting project, a beautiful, handmade sweater, I’m reminded of the common myth that blocking a knitted sweater is a tedious, complicated process. But, I’m here to tell you that it’s quite the opposite – how to block a knitted sweater is actually a simple, yet powerful technique that can elevate your finished project from lovely to truly stunning. I’ve lost count of how many times I’ve seen a friend’s or student’s sweater transformed by a good blocking, and I’m excited to share my own tips and tricks with you.
In this article, I’ll walk you through the step-by-step process of blocking your knitted sweater, from preparing your materials to pinning out your garment. You’ll learn how to block a knitted sweater with confidence, and discover the secrets to achieving a professional finish. Whether you’re a seasoned knitter or just starting out, my goal is to provide you with practical, no-nonsense advice that will make the blocking process a breeze. By the end of this guide, you’ll be equipped with the knowledge and skills to take your knitting to the next level, and enjoy the satisfaction of wearing or gifting a beautifully finished, handmade sweater.
Table of Contents
Guide Overview: What You'll Need
Total Time: 2 hours 30 minutes
Estimated Cost: $10 – $30
Difficulty Level: Intermediate
Tools Required
- Measuring Tape (for measuring sweater and blocking area)
- Ruler (for ensuring straight edges)
- Pins (rust-resistant, for securing sweater in place)
- Blocking Mats (or a large, flat, water-resistant surface)
- Towels (for absorbing water and supporting sweater during blocking)
Supplies & Materials
- Knitting Needles (for picking up stitches if necessary)
- Yarn (matching the sweater’s yarn, for weaving in ends)
- Sewing Pins (for securing seams or picking up dropped stitches)
- Water (for wetting the sweater)
- Mild Detergent (optional, for washing the sweater before blocking)
Step-by-Step Instructions
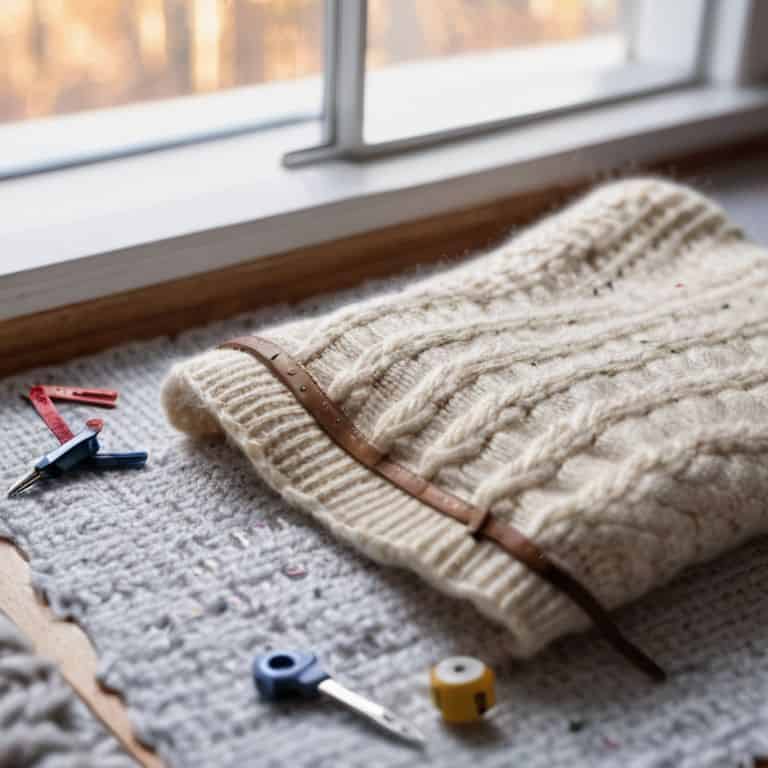
- 1. First, let’s start by gathering our tools: a measuring tape, a blocking mat or a large towel, and some T-pins. I like to use a combination of T-pins and regular pins, as they give me a bit more flexibility when it comes to shaping my sweater. Make sure you have a clean and dry space to work on, as blocking can be a bit messy.
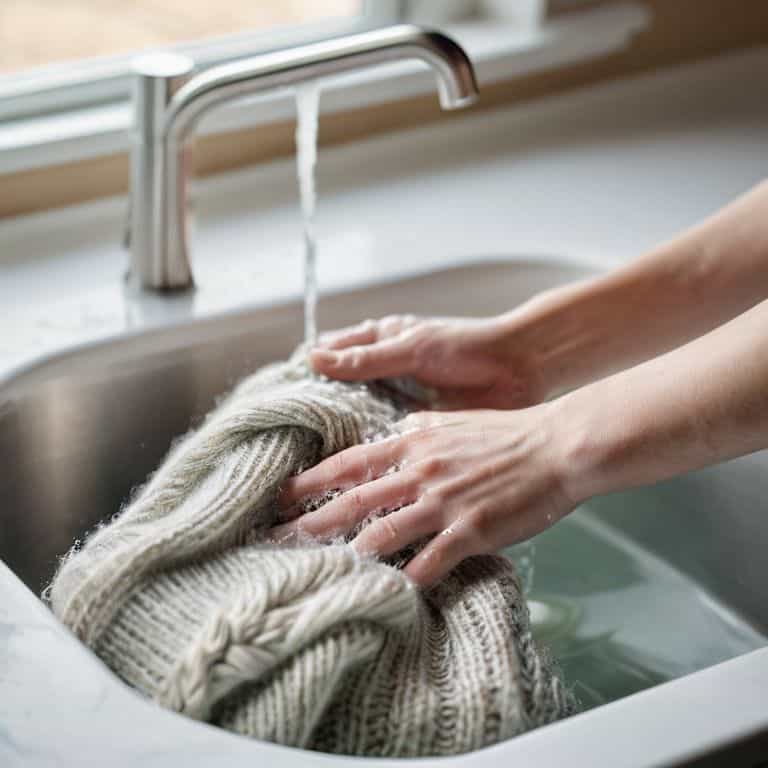
- 2. Next, we need to submerge our sweater in cold water. Yes, you read that right – cold water! This will help to relax the fibers and even out the stitches. I like to use a large sink or a basin, and I add a bit of mild soap or wool wash to the water. Gently swish the sweater around to make sure it’s fully saturated, then let it soak for about 15-20 minutes.
- 3. After the sweater has soaked, it’s time to gently squeeze out excess water. I like to use a clean towel to gently blot the sweater, rather than wringing it out. This will help to prevent any stretching or distortion of the fabric. You can also use a salad spinner to remove excess water – just be sure to handle the sweater carefully.
- 4. Now it’s time to lay out our blocking mat or towel. I like to use a large, thick towel, as it provides a bit of cushioning and helps to prevent the sweater from slipping around. If you’re using a blocking mat, make sure it’s large enough to accommodate your sweater. You can also use a piece of cardboard or a foam board as a base, if you prefer.
- 5. With our mat or towel in place, it’s time to pin out the sweater. Start by pinning the shoulders and the sleeves, making sure they’re even and symmetrical. Then, work your way down the body of the sweater, using your measuring tape to make sure everything is even and aligned. Don’t be afraid to use plenty of pins – you want the sweater to be secure and stable as it dries.
- 6. As we continue to pin out the sweater, let’s focus on shaping the fabric. This is where the magic happens, and your sweater starts to take on its final form. Use your pins to gently coax the fabric into shape, making sure to maintain a consistent tension. Don’t pull the fabric too tight, as this can cause it to pucker or distort.
- 7. Finally, let’s allow the sweater to dry. This can take anywhere from a few hours to a few days, depending on the thickness of the sweater and the ambient temperature and humidity. I like to let my sweaters dry slowly and naturally, as this helps to prevent any shrinkage or felting. Just be patient, and let the sweater do its thing – the end result will be well worth the wait.
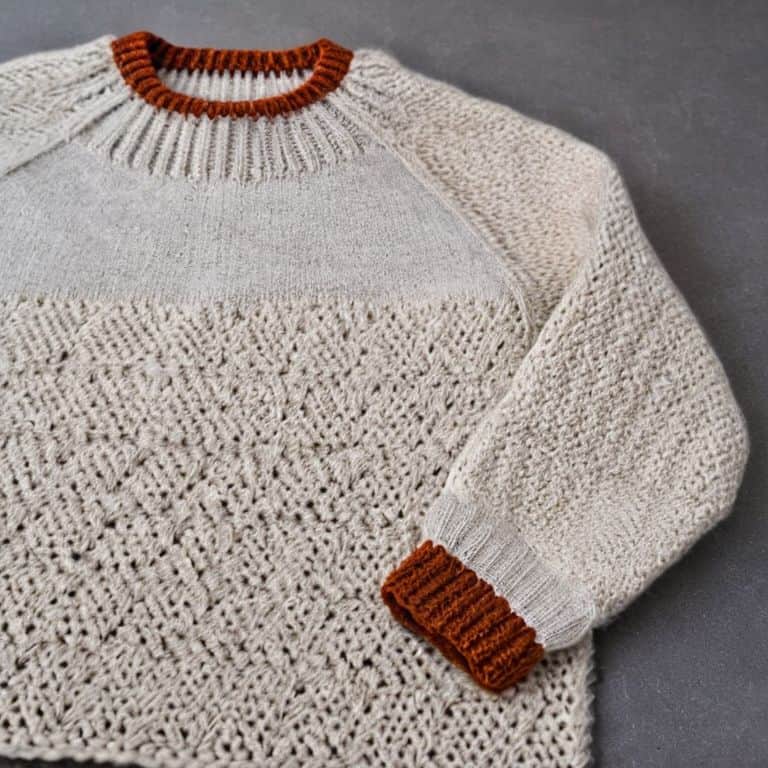
Unlocking Sweater Perfection
As we dive into the world of blocking, it’s essential to consider the sweater shaping techniques that will elevate your handmade piece. To achieve a professional finish, think about the type of blocking tools for knitters you’ll need, such as blocking mats or pins. These will help you shape your sweater into the desired form, whether it’s a relaxed fit or a more tailored look.
When it comes to caring for hand knit sweaters, measuring for a good fit is crucial. Take the time to ensure your sweater is the right size, and make any necessary knitting pattern adjustments before blocking. This will guarantee a comfortable, flattering fit that makes you feel confident and cozy in your handmade sweater.
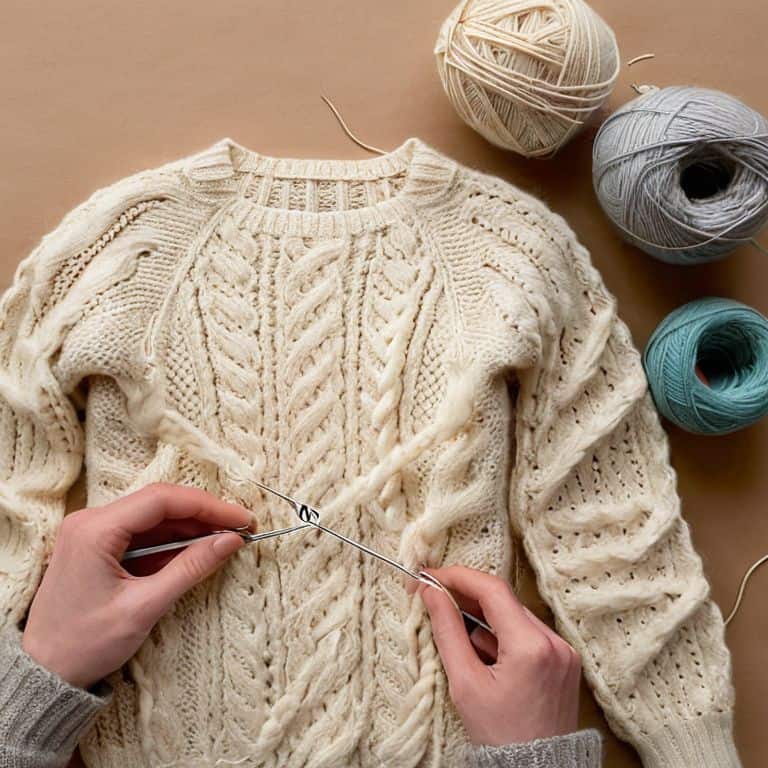
To take your blocking to the next level, experiment with different seaming methods for sweaters. A well-seamed sweater can make all the difference in its overall appearance, and with a little practice, you’ll be a pro at creating invisible seams. By combining these techniques with the blocking process, you’ll unlock a world of possibilities for your handmade sweaters, and enjoy the satisfaction of wearing a beautifully crafted, unique piece.
Sweater Shaping Secrets Adjustments for Joy
As we explore the art of blocking, it’s essential to consider the subtle adjustments that can elevate our sweaters from lovely to luminous. For me, it’s all about coaxing out the natural texture of the yarn and enhancing the garment’s silhouette. I like to think of this step as “sweater sculpting” – where we gently persuade the fabric to drape and fit in the most flattering way possible.
By making a few thoughtful tweaks during the blocking process, we can create a sweater that not only looks amazing but also feels like a warm hug. Whether it’s adjusting the sleeve cap, easing in the shoulder seams, or simply coaxing out a bit more drape in the body, these tiny adjustments can make all the difference in the world.
Weaving a Little Magic Blocking Basics
As I always say, blocking is where the real magic happens. It’s the moment when your sweater transforms from a slightly misshapen, homemade affair into a professional-looking, cozy masterpiece. To get started, you’ll need a few simple tools: a towel, some blocking pins, and a measuring tape. Don’t worry if you’re new to blocking – it’s easier than you think, and with a little practice, you’ll be a pro in no time.
With your tools at the ready, gently submerge your sweater in cold water, adding a dash of mild detergent if needed. Gently squeeze out excess water, then lay your sweater flat on the towel, smoothing out any wrinkles or creases. Now, it’s time to pin – and this is where the real fun begins. As you carefully shape your sweater, you’ll start to see it take on a life of its own, the stitches evened out, the fabric relaxed and soft.
Blocking Bliss: 5 Essential Tips for a Professional Finish
- Use the right blocking tools, including a set of blocking pins, a measuring tape, and a clean towel, to help you achieve a smooth and even finish
- Choose a blocking method that suits your sweater’s fibre content, whether it’s wet blocking, steam blocking, or dry blocking, to prevent felting or damage
- Pay attention to the sweater’s seams and edges, making sure to block them gently but firmly to create a crisp, clean line
- Don’t over-block your sweater – it’s better to under-block and then touch up as needed, rather than risk stretching or distorting the fabric
- Allow your sweater to dry completely, away from direct sunlight and heat, to prevent shrinkage or colour fading, and to ensure that it retains its softness and texture
Key Takeaways for a Beautifully Blocked Sweater
Remember to handle your handmade sweater with care, as blocking can make or break the final texture and appearance of your garment
Always consider the type of yarn used in your sweater when choosing a blocking method, as some fibers respond better to wet blocking while others prefer dry blocking or a combination of both
Take your time and be patient during the blocking process, as it’s a crucial step in unlocking the full potential of your knitted sweater and giving it a professional finish
The Blocking Truth
Blocking is not just a technical step, but a moment to breathe life into your handmade sweater, to coax out its full potential, and to witness the transformation from a mere fabric into a wearable work of art.
Clara Meadows
The Joy of Blocking: A Labor of Love
As we’ve explored the world of blocking a knitted sweater, I hope you’ve gained a deeper understanding of the process and how it can elevate your handmade creations. From the basics of blocking to the nuances of sweater shaping, we’ve covered it all. Remember, the key to unlocking a beautifully blocked sweater lies in patience, attention to detail, and a willingness to take your time. By following these steps and tips, you’ll be well on your way to creating a stunning, professional-looking sweater that you’ll treasure for years to come.
As you finish blocking your sweater and admire your handiwork, I encourage you to take a step back and appreciate the beauty of the process. Knitting and blocking are not just about creating something functional, but also about cultivating a sense of mindfulness and connection to the natural world. So, take pride in your craft, and know that the love and care you’ve put into your sweater will be felt by all who wear it. Happy knitting, and I look forward to seeing your beautifully blocked creations!
Frequently Asked Questions
What happens if I block my sweater and it still doesn't fit quite right?
Don’t worry, my friend, it’s not uncommon for a blocked sweater to still need a little tweaking. If it’s not fitting quite right, we can try making some subtle adjustments, like re-blocking or making minor alterations to the seams or sleeves. Let’s take a deep breath and work together to get that perfect fit – I’m happy to guide you through it!
Can I block a sweater made from a yarn that doesn't have any wool content, like a synthetic or plant-based fiber?
While I adore working with wool, I’ve had success blocking sweaters made from synthetic and plant-based fibers like cotton, bamboo, and Tencel. The key is to use a gentle touch and the right temperature. For these fibers, I recommend a cool iron and a damp cloth to help even out the stitches and give your sweater a beautiful drape.
How long does it typically take for a blocked sweater to dry and be ready to wear?
The drying time for a blocked sweater can vary, but generally, it takes around 24 to 48 hours, depending on the yarn and ambient temperature. I like to let mine air dry slowly, away from direct sunlight, to preserve the softness and texture of the fibers. With a little patience, your sweater will be ready to wear and enjoy!