I still remember the first time I tried to add beads to my macrame project – it was a disaster! I had visions of a beautiful, bohemian-inspired wall hanging, but what I got was a tangled mess of yarn and beads. I soon learned that it’s all about balance and harmony, and that’s exactly what I want to share with you in this guide on how to add beads to your macrame project. I’ve experimented with countless techniques, and I’m excited to pass on my knowledge to you, so you can avoid the frustrations I faced.
In this article, I’ll give you the lowdown on my favorite tips and tricks for adding beads to your macrame masterpieces. You’ll learn how to choose the right beads, how to incorporate them seamlessly into your design, and how to avoid common pitfalls that can leave your project looking lackluster. My goal is to empower you with the skills and confidence to create stunning, one-of-a-kind pieces that reflect your personal style, and to make the process of adding beads to your macrame project a fun and enjoyable experience. So, let’s get started and uncover the secrets to creating truly unique and beautiful macrame pieces!
Table of Contents
Guide Overview: What You'll Need
Total Time: 1 hour 15 minutes
Estimated Cost: $10 – $30
Difficulty Level: Intermediate
Tools Required
- Scissors (sharp, dedicated to cutting cord or yarn)
- Board or other stable surface (for beading and knotting)
- Tape measure or ruler (for measuring cord or yarn lengths)
- Macrame cord or yarn (in desired color and material)
Supplies & Materials
- Beads of choice (in desired color, size, and shape)
- Cord or yarn needles (for threading beads onto cord or yarn)
- Knotting tool or stick (optional, for helping to tighten knots)
- Macrame project foundation (such as a dowel, ring, or existing piece)
Step-by-Step Instructions
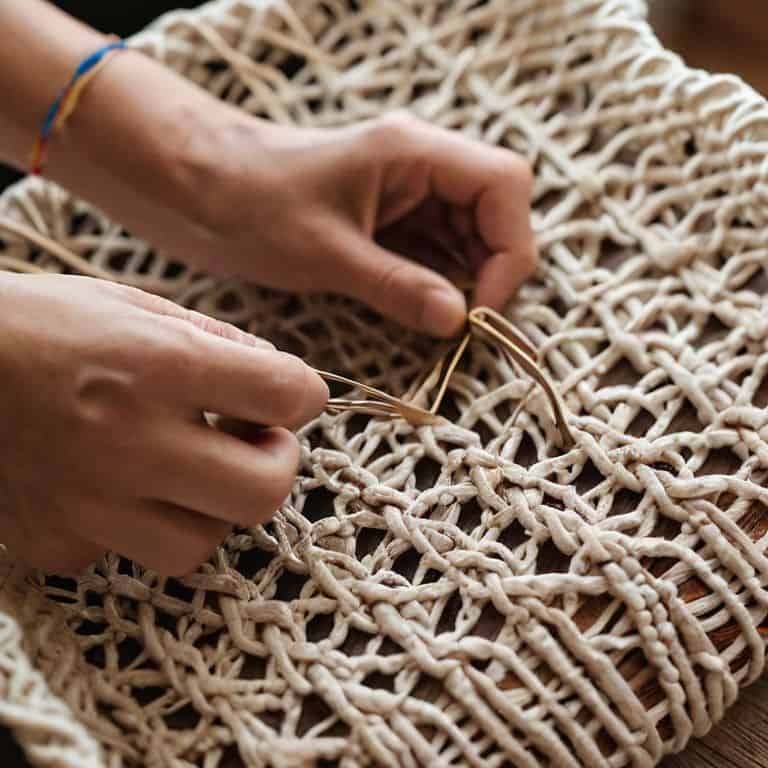
- 1. First, gather your materials, friends! You’ll need your macrame project, some beads of your choice, a few spare cords or threads, and a pair of scissors. I like to use a variety of beads in different shapes, sizes, and colors to add some visual interest to my projects. Take a few minutes to sort through your beads and pick out the ones that resonate with you the most.
- 2. Next, thread your bead. This might seem like a no-brainer, but trust me, it’s all about the technique. You want to thread your bead onto the cord or thread in a way that leaves a little room for movement. You don’t want your bead to be too tight or too loose, or it might throw off the entire design of your project. I like to leave about a quarter of an inch of space between the bead and the knot.
- 3. Now it’s time to create a knot. I like to use a simple knot, like a lark’s head or a wrap knot, to secure my bead in place. The key is to make sure the knot is tight enough to hold the bead, but not so tight that it cuts off the circulation to the rest of the cord. You want to be able to adjust the bead as needed, so don’t pull the knot too tight just yet.
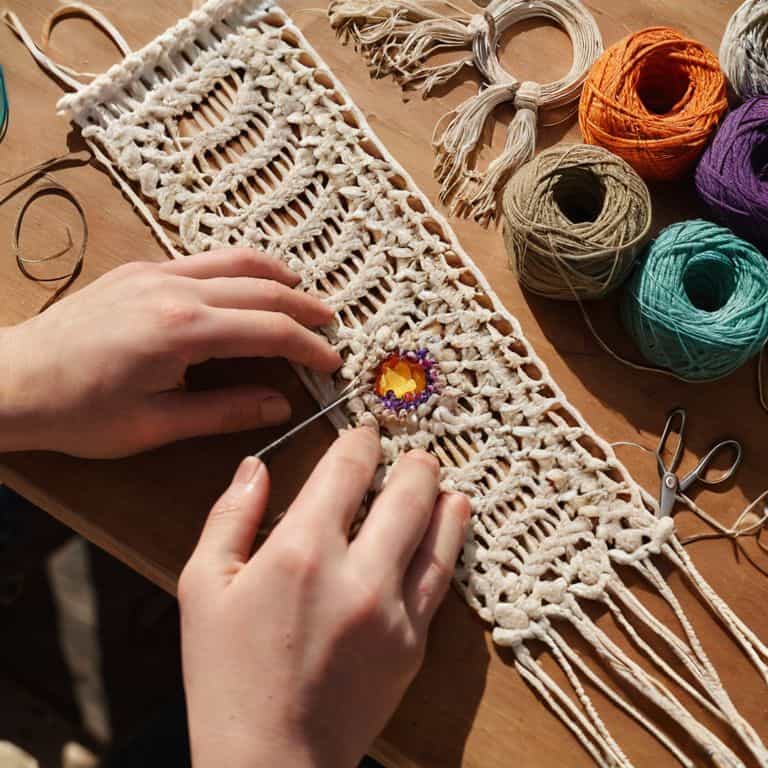
- 4. Once you’ve got your knot in place, it’s time to add some texture. I love using different knots and cord patterns to add some visual interest to my macrame projects. You could try using a series of small knots, or a more intricate pattern like a spiral or a zig-zag. The key is to experiment and have fun with it – don’t be afraid to try new things and see what works.
- 5. As you’re adding your beads and knots, pay attention to the tension of your cord. You want to make sure it’s not too tight or too loose, or it might affect the overall shape of your project. I like to use a gentle touch, and adjust the tension as I go along. It’s all about finding that perfect balance between loose and tight.
- 6. Now it’s time to add some finishing touches. Once you’ve got all your beads and knots in place, take a step back and evaluate your project. You might need to adjust the tension or add a few more knots to get everything just right. I like to use a pair of scissors to trim any excess cord, and then I’m ready to hang my project up and admire my handiwork.
- 7. Finally, stand back and admire your beautiful, beaded macrame project! I love this part of the process, because it’s so satisfying to see all your hard work come together. Take a step back, grab a cup of coffee or tea, and enjoy the fruits of your labor. You deserve it, friend!
Beaded Macrame Magic Unleashed
As I delve deeper into the world of beaded macrame, I’m constantly amazed by the endless possibilities that emerge when combining different types of beads with various knotting techniques. One of my favorite things to do is experiment with macrame bead patterns to create unique and intricate designs. By playing around with different bead combinations, you can add an extra layer of visual interest to your macrame projects, making them truly one-of-a-kind.
When it comes to choosing beads for your macrame project, the options can be overwhelming. From delicate glass beads to chunky wooden ones, the types of beads for macrame are vast and varied. I love exploring craft markets and scouring the internet for unusual and exotic beads to incorporate into my designs. Bead knotting techniques can also add an extra touch of magic to your project, allowing you to create intricate patterns and textures that elevate your macrame to the next level.
As you continue to explore the world of beaded macrame, don’t be afraid to think outside the box and try new things. Consider adding beads to a macrame wall hanging or using them to create intricate macrame jewelry making pieces. The key to unlocking bead embellishment ideas is to experiment and have fun. Remember, the beauty of macrame lies in its imperfections, so don’t be too hard on yourself if things don’t turn out exactly as planned – it’s all part of the creative process.
Bead Knotting Techniques for Wall Hangings
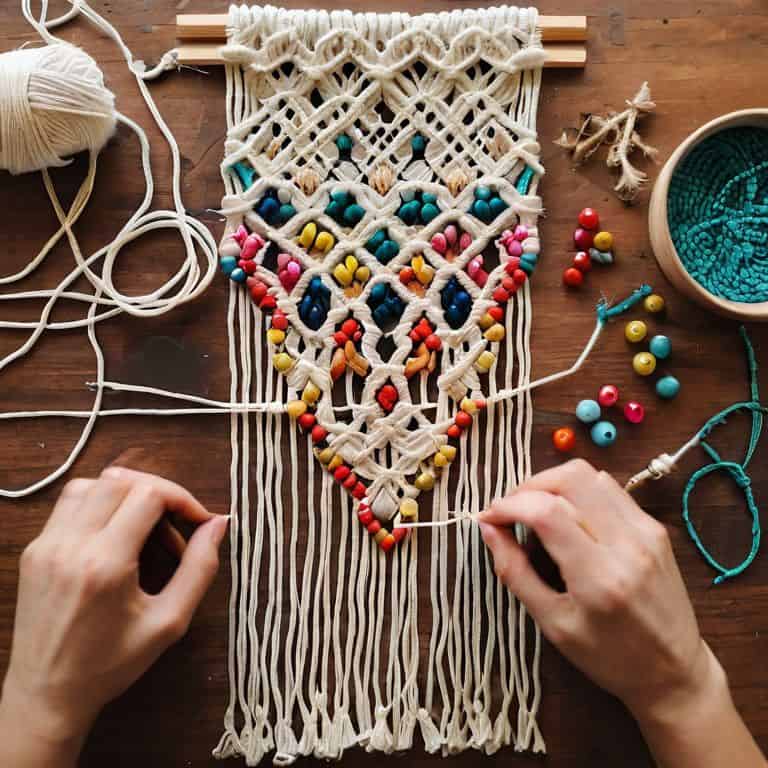
Now that we’ve explored some amazing macrame bead patterns, let’s dive into the fun part – adding some texture and dimension to our wall hangings with bead knotting techniques. I just love how a simple knot can elevate the entire piece and add a touch of personality to our handmade creations. When it comes to wall hangings, I like to experiment with different knotting styles, like the wrapped knot or the bead and cord knot, to create a unique and eye-catching design.
By incorporating these techniques, we can add a beautiful, intricate element to our macrame wall hangings, making them truly one-of-a-kind. Whether you’re a beginner or a seasoned maker, playing with bead knotting techniques is a great way to express your creativity and take your macrame game to the next level.
Macrame Bead Patterns to Obsess Over
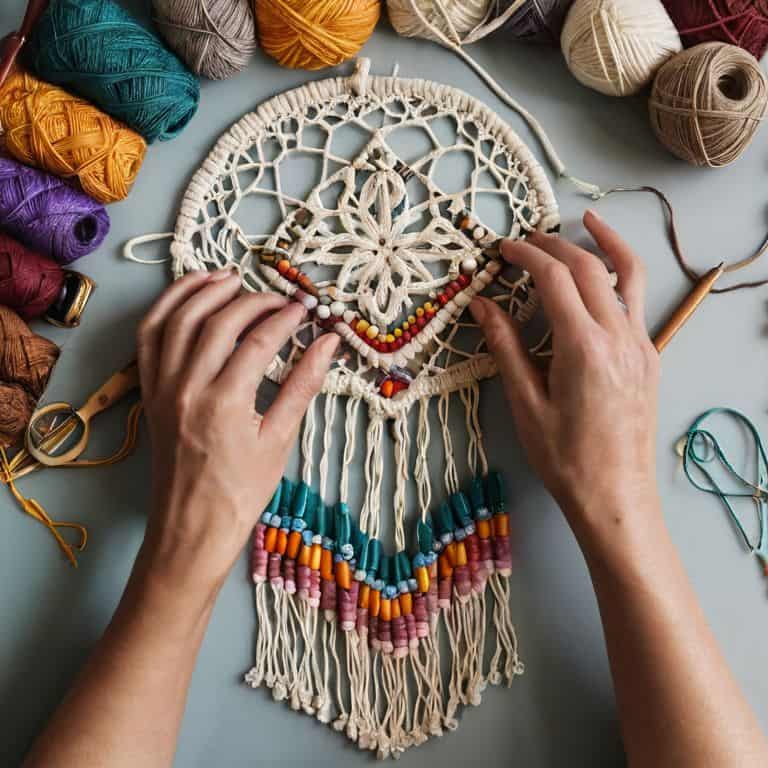
Now that we’ve unleashed the magic of beaded macrame, let’s dive into some patterns that will make your heart skip a beat. I’m absolutely obsessed with the “Beaded Blooms” pattern – it adds a whimsical touch to any plant hanger or wall hanging. The way the beads dance among the knots is just pure perfection. Another fave of mine is the “Desert Dreams” pattern, which combines earthy tones with sleek, modern lines. It’s perfect for adding a bohemian vibe to any room.
These patterns are all about experimentation and having fun, so don’t be afraid to get creative and add your own twist. Mix and match different bead sizes, colors, and textures to create a look that’s uniquely yours. Remember, the beauty of macrame lies in its imperfections, so don’t stress if your knots aren’t perfectly uniform or your beads aren’t evenly spaced. It’s all about embracing the handmade charm and making it your own.
Beaded Bliss: 5 Essential Tips to Elevate Your Macrame Game
- My favorite trick is to mix and match different bead sizes and textures to add depth and visual interest to your macrame project
- Don’t be afraid to experiment with bead placement – sometimes the most stunning designs come from breaking the rules and trying something entirely new
- Choose beads that complement the colors and vibe of your space, and don’t be shy about adding a few statement pieces to really make your macrame pop
- To avoid tangled messes, try using a bead mat or a small tray to keep your beads organized and within reach as you work
- Remember, the key to adding beads to your macrame project is to have fun and be creative – don’t stress too much about perfection, and enjoy the process of bringing your unique vision to life
3 Key Takeaways to Elevate Your Beaded Macrame Game
Embracing the beauty of imperfection is key: don’t be too hard on yourself if your beaded macrame project doesn’t turn out exactly as planned – it’s all about the journey, not the destination!
Experimenting with different bead patterns and knotting techniques can add a whole new level of depth and visual interest to your macrame projects – so don’t be afraid to try new things and see what works for you!
Remember, the most important thing is to have fun and make the project your own: whether you’re adding a few subtle beads or going all out with a bold, beaded design, the end result should reflect your personality and style
Weaving Wisdom
As you weave beads into your macrame, remember that it’s not just about adding embellishments – it’s about infusing your piece with personality, telling a story that’s uniquely yours, and embracing the imperfect beauty of handmade magic.
Ruby Warren
Wrapping Up Your Beaded Macrame Masterpiece
As we’ve explored the wonderful world of beaded macrame, I hope you’ve picked up some essential tips and tricks to elevate your projects. From the initial steps of selecting the perfect beads to the final touches of macrame magic, we’ve covered it all. Remember, the key to creating stunning beaded macrame pieces is to experiment and have fun with different patterns, knots, and bead combinations. Don’t be afraid to try out new techniques, like bead knotting, to add an extra layer of visual interest to your wall hangings.
Now that you’ve got the skills, it’s time to unleash your creativity and make something truly unique. As you work on your beaded macrame project, I want you to remember that imperfection is beauty. Don’t stress if your knots aren’t perfect or your beads aren’t evenly spaced – it’s all part of the charm. The most important thing is to enjoy the process, learn from your mistakes, and create something that brings you joy. Happy making, friends!
Frequently Asked Questions
What type of beads work best for macrame projects and where can I find them?
Oh my, bead shopping is my fave! For macrame, I swear by natural materials like wood, shell, or stone beads. You can find them at craft stores, online marketplaces, or even thrift shops – I love the hunt! My go-to spots are Etsy, local bead shops, or specialty stores that carry unique, handmade beads. Happy bead hunting, friends!
How do I determine the right size and number of beads to use for a specific macrame design?
Oh, sweet friend, choosing the right beads is all about balance! Consider the scale of your design, the type of cord or yarn you’re using, and the overall vibe you want to achieve. For a more delicate look, opt for smaller beads and fewer of them, while larger beads can make a bold statement – just be sure to adjust your knotting pattern accordingly!
Can I use multiple types of beads in one macrame project and if so, how do I mix and match them effectively?
Oh, absolutely, friends! Mixing and matching beads is my jam! Feel free to combine different textures, sizes, and colors to create a unique look. I like to think of it as a fun treasure hunt – gathering all sorts of beads and seeing what magic happens when I put them together. Just remember, the key is to balance your beads so they don’t overwhelm the piece.