As I sit at my loom, surrounded by threads of every color and texture, I’m reminded of the first time I tried to how to read a weaving draft. I was frustrated by the seemingly cryptic symbols and grid-like patterns, wondering how something so intricate could be deciphered. But, as an architect turned weaver, I’ve come to realize that these drafts are not as mysterious as they seem. In fact, learning how to read a weaving draft is more like reading a blueprint – it requires attention to detail, patience, and practice.
In this article, I’ll share my personal approach to understanding weaving drafts, and provide you with the practical tools you need to start creating your own stunning textiles. You’ll learn how to break down complex patterns into manageable parts, and how to use these drafts to bring your own unique designs to life. By the end of this guide, you’ll be equipped with the skills to confidently read a weaving draft and start building your own woven masterpieces, one thread at a time. Whether you’re a seasoned weaver or just starting out, my goal is to empower you with the knowledge and inspiration to push the boundaries of what’s possible with fiber and form.
Table of Contents
- Guide Overview: What You'll Need
- Step-by-Step Instructions
- Decoding the Loom
- Drafting for Different Fibers the Art of Adaptation
- Understanding Weaving Notation a Blueprint for Beauty
- Unraveling the Threads: 5 Essential Tips for Reading a Weaving Draft
- Weaving Wisdom: 3 Key Takeaways
- The Weaver's Insight
- Weaving a New Path
- Frequently Asked Questions
Guide Overview: What You'll Need
Total Time: 1 hour 15 minutes
Estimated Cost: $0 – $10
Difficulty Level: Intermediate
Tools Required
- Pencil (for marking drafts)
- Paper (for printing or writing drafts)
- Ruler (for measuring 8 inches or more of draft length)
- Calculator (for calculating thread counts and sett)
Supplies & Materials
- Weaving draft printout (or hand-drawn draft on 11 inches x 17 inches paper)
- Colored pencils or markers (for color-coding and highlighting specific 2 inches or 5 centimeters sections)
Step-by-Step Instructions
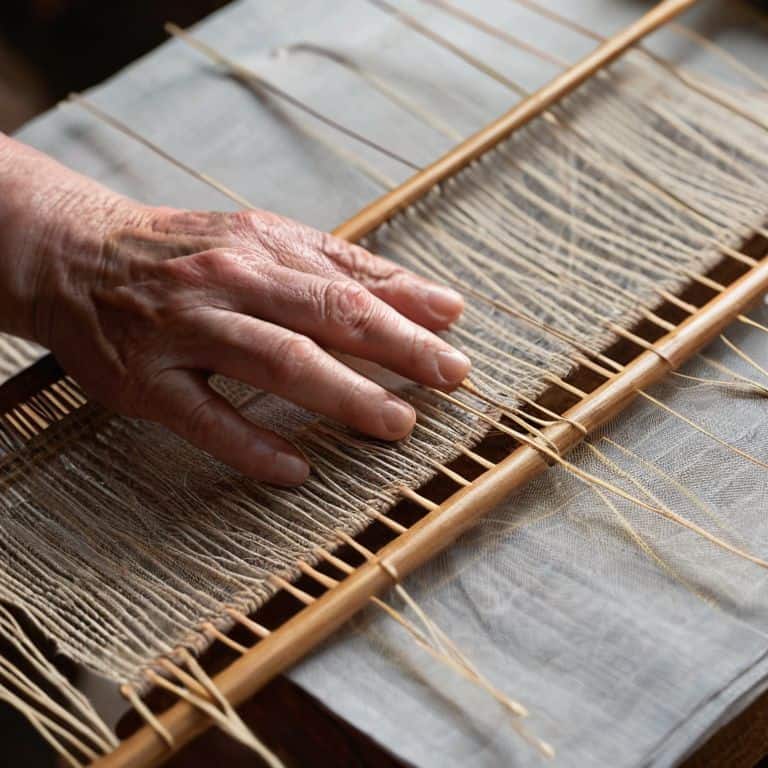
- 1. To start reading a weaving draft, understand the basics: a weaving draft is essentially a map that guides you through the process of creating a specific textile pattern. It’s like a blueprint for your loom, and just as an architect would study a building’s plans, you’ll need to decipher this map to bring your textile design to life. Begin by familiarizing yourself with the draft’s layout, which typically includes a series of squares or grid lines representing the warp and weft threads.
- 2. Next, identify the key elements of the draft, such as the warp threading, weft picks, and any special instructions or notes. These elements will help you navigate the pattern and ensure that your textile turns out as intended. Take your time to study each component, and don’t hesitate to refer back to your weaving resources if you need clarification on any of the terms or symbols used in the draft.
- 3. Now, break down the draft into sections: separate the warp threading from the weft picks, and look for any repeating patterns or sequences. This will help you to better understand the overall structure of the design and make it easier to follow the instructions. As you work through each section, use a pencil to mark off the rows or sequences as you complete them, helping you to stay organized and on track.
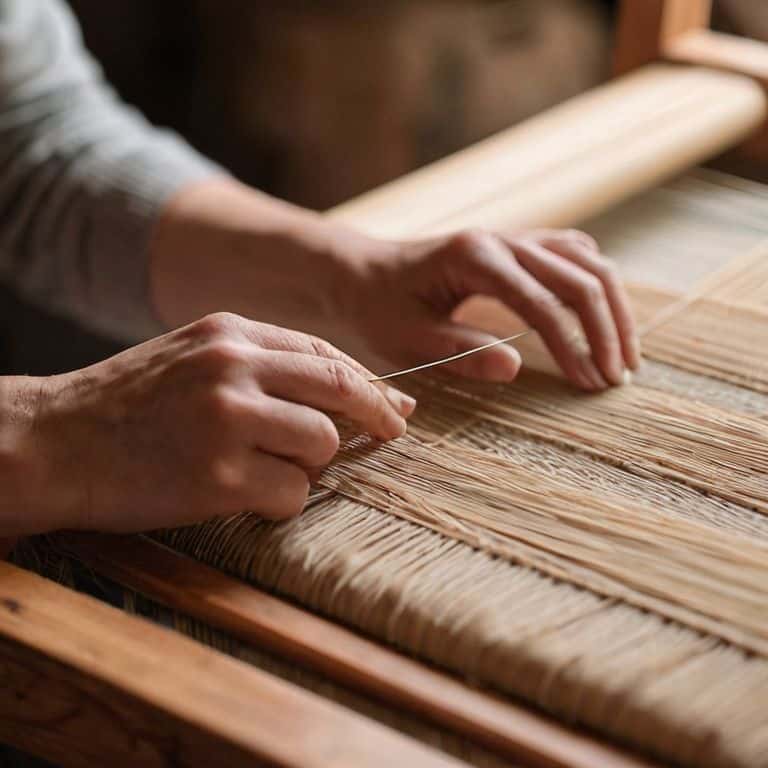
- 4. With your draft sections identified, it’s time to start weaving: begin by threading your warp threads according to the draft’s specifications, making sure to maintain the correct tension and spacing. As you work, double-check your threading against the draft to ensure accuracy, and don’t be afraid to adjust your threads as needed to achieve the desired pattern.
- 5. Once your warp is threaded, move on to the weft: using the draft as your guide, start weaving the weft picks, row by row. Pay close attention to the draft’s instructions for the weft, as this is where the magic happens, and your textile begins to take shape. Remember to maintain a consistent beat and to use the correct yarn or thread type, as specified in the draft or your own design plan.
- 6. As you continue weaving, pay attention to the texture and drape of your fabric: the draft should provide guidance on the desired texture and drape, but it’s up to you to bring this to life. Experiment with different yarns, thread counts, and weaving techniques to achieve the desired effect, and don’t be afraid to deviate from the draft if you feel it will enhance the overall design.
- 7. Finally, review and refine your work: once you’ve completed the weaving process, take a step back to admire your handiwork, and make any necessary adjustments to the tension, texture, or overall design. This is your chance to fine-tune the details, ensuring that your textile meets your artistic vision, and that you’re proud to display it as a finished piece of woven art.
Decoding the Loom
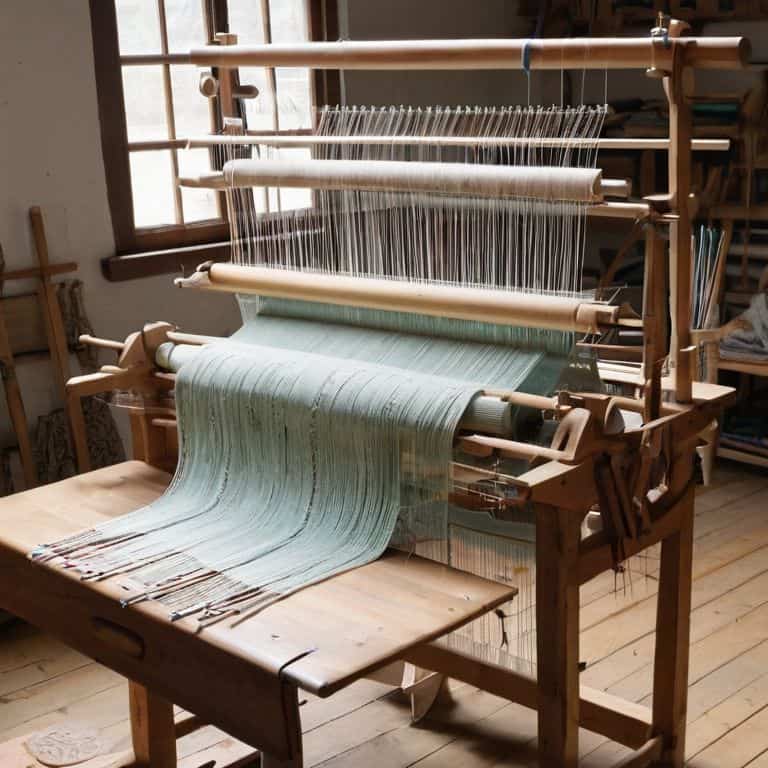
As I delve into the world of looms, I’m reminded of my architectural background, where precision and attention to detail were paramount. When it comes to decoding the loom, understanding the weaving notation is crucial. It’s like reading a blueprint, where each symbol and mark corresponds to a specific action or setting on the loom. By grasping this notation, you’ll be able to navigate even the most complex multi shaft loom setup instructions with ease.
When working with different fibers, it’s essential to consider their unique properties and how they’ll interact with the loom. Drafting for different fiber types requires a deep understanding of their texture, weight, and drape. For instance, a dense, thick yarn will require a different approach than a lightweight, airy one. By taking the time to understand the intricacies of each fiber, you’ll be able to create truly stunning textiles that showcase their natural beauty.
As you become more comfortable with the loom, you may want to explore weaving pattern design software to take your creations to the next level. These tools allow you to visualize and experiment with different patterns, colors, and textures, giving you a level of control and precision that’s hard to achieve by hand. By combining traditional techniques with modern technology, you’ll be able to unlock new possibilities and push the boundaries of what’s possible with weaving.
Drafting for Different Fibers the Art of Adaptation
When working with different fibers, it’s essential to consider their unique characteristics and how they’ll interact with your loom. I like to think of it as designing a building for a specific landscape – you must adapt your blueprint to the environment. For instance, delicate fibers like raw silk require a more nuanced approach, while hearty fibers like linen can withstand more tension. By understanding the strengths and weaknesses of each fiber, you can draft a pattern that showcases their natural beauty.
This art of adaptation is where the true magic of weaving lies. As I sketch out my designs on graph paper, I’m constantly thinking about how the fiber will behave, how it will drape, and how it will respond to the loom’s tension. It’s a delicate dance between fiber, form, and function, and one that requires patience, experimentation, and a willingness to evolve your design.
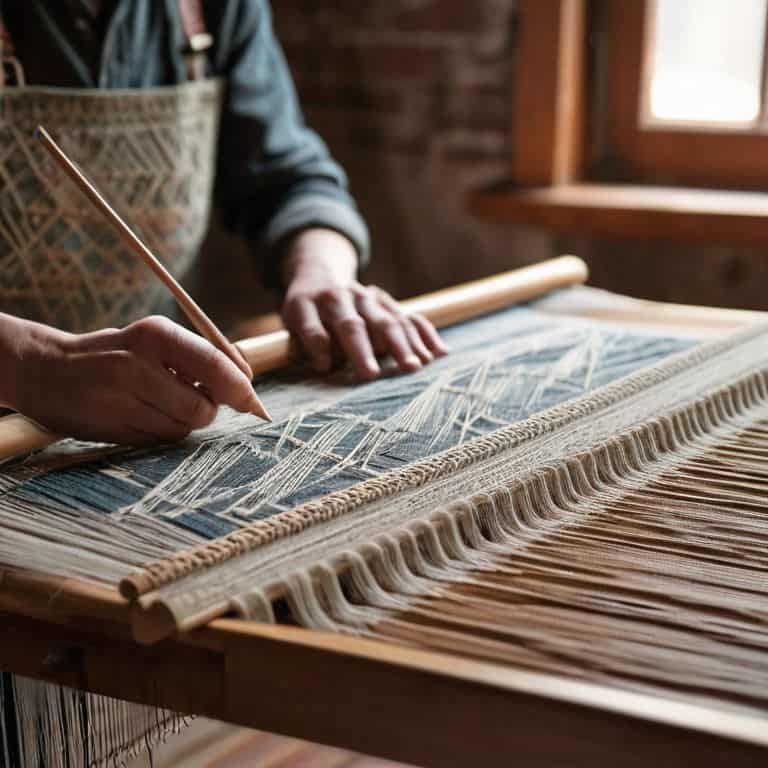
Understanding Weaving Notation a Blueprint for Beauty
As I delve into the world of weaving notation, I’m reminded of my architectural background – the intricate maps of threads and yarns resemble blueprints. Weaving notation is a language that, once deciphered, reveals the hidden patterns and structures of a textile. It’s a code that, when cracked, allows us to build complex and beautiful designs, one thread at a time. I sketch out my designs on graph paper, much like I used to draft building plans, and I’m always amazed at how this precise notation can give rise to such organic, tactile creations.
In weaving notation, every symbol and mark holds meaning – a dash might indicate a specific yarn, while a series of dots could signify a particular weave. By understanding this notation, we can begin to see the loom as a tool, not just for weaving, but for building with yarn. The notation becomes a blueprint for beauty, guiding our hands as we bring a design to life.
Unraveling the Threads: 5 Essential Tips for Reading a Weaving Draft
- Start by understanding the grid: A weaving draft is essentially a map of your loom, with each square representing a specific intersection of warp and weft threads
- Identify the repeat: Look for the section of the draft that repeats, as this will help you understand the pattern and make it easier to read
- Pay attention to threading and treadling: These two elements work together to create the fabric’s texture and drape, so make sure you understand how they interact
- Consider the fiber and yarn weight: Different fibers and yarn weights require different sett and pick-up rates, so take this into account when reading your draft
- Practice, practice, practice: The more you work with weaving drafts, the more intuitive they’ll become – don’t be afraid to experiment and try new things to build your skills
Weaving Wisdom: 3 Key Takeaways
Mastering the art of reading a weaving draft is akin to deciphering a blueprint, where every thread and yarn count contributes to the overall texture and form of your woven piece
Understanding weaving notation is crucial, as it serves as the foundation for creating intricate patterns and designs, much like an architect studies blueprints to bring a building to life
By adapting your weaving techniques to different fibers and yarns, you can unlock a world of creative possibilities, from the subtle sheen of raw silk to the earthy warmth of linen, and elevate your woven art to new heights
The Weaver's Insight
A weaving draft is not just a map, it’s a blueprint for creating texture, form, and beauty – every thread, every yarn, and every weave is a deliberate choice that brings your vision to life, one intersection at a time.
Ethan Thorne
Weaving a New Path
As we’ve explored the world of weaving drafts, I hope you’ve gained a deeper understanding of how to decode the loom and bring your textile visions to life. From understanding weaving notation to drafting for different fibers, we’ve covered the essential steps to reading a weaving draft. By mastering these skills, you’ll be able to create intricate patterns, experiment with various yarns, and push the boundaries of what’s possible with fiber art. Remember, the key to success lies in attention to detail and a willingness to adapt and innovate.
As you continue on your weaving journey, I encourage you to see the craft as a form of architectural art, where every thread and fiber is a building block of something new and beautiful. Don’t be afraid to experiment and take risks, for it’s often in the unknown that we discover our most stunning creations. With every pass of the shuttle, you’re not just weaving a piece of fabric – you’re building a world of texture and form, one thread at a time. So, go forth, weave with passion, and watch your creations come alive.
Frequently Asked Questions
What does the numbering system on a weaving draft represent and how do I use it to guide my weaving?
The numbering system on a weaving draft represents the sequence of threads to be lifted or lowered on the loom. Think of it as a blueprint for your weave. Each number corresponds to a specific pick-up or shed, guiding you through the weaving process. By following this sequence, you’ll bring your design to life, thread by thread.
How do I account for different yarn weights and textures when reading a weaving draft?
When working with diverse yarns, I consider their weight and texture as crucial factors in my weaving draft. To account for these variations, I adjust the sett and pick-up patterns accordingly, ensuring a harmonious balance of tension and drape. This thoughtful approach allows me to coax the unique character from each yarn, resulting in a rich tapestry of textures and visual interest.
Can I create my own custom weaving drafts or do I need to rely on pre-existing patterns?
Absolutely, you can create your own custom weaving drafts. I encourage it, actually. By understanding the basics of weaving notation, you can design unique patterns that reflect your personal style and creativity, allowing you to build with yarn in entirely new ways.