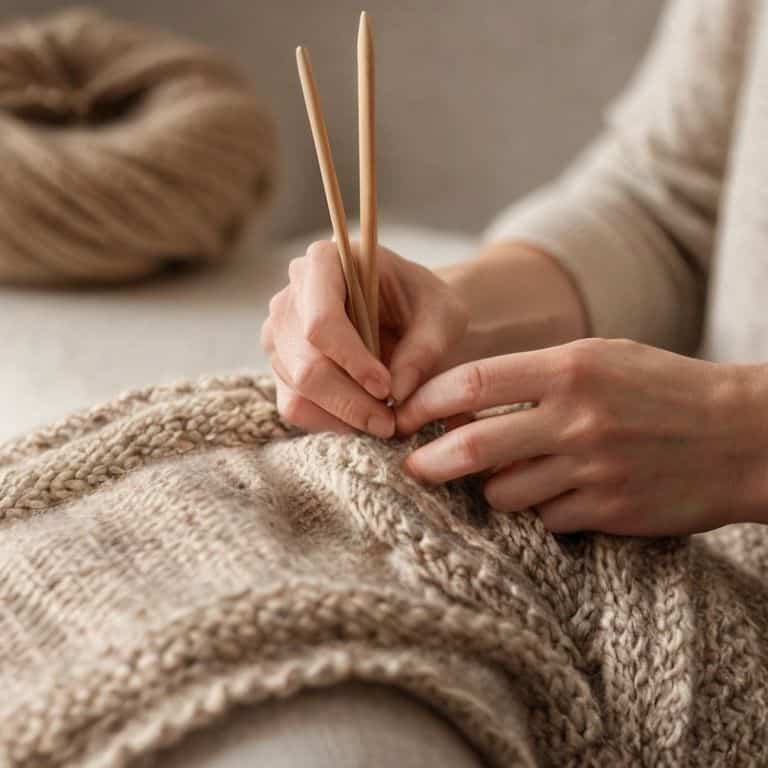
I still remember the first time I tried to learn how to knit seed stitch – I was frustrated and felt like I was all thumbs. A common myth is that knitting is only for those with a natural talent, but I’m here to tell you that with a clear plan and practice, anyone can master the seed stitch. I’ve seen many beginners get discouraged by the complexity of knitting patterns, but I believe that breaking it down into simple steps is the key to success. My own journey with knitting began as a librarian, where I would often help students find resources on various crafts, including knitting.
In this article, I’ll walk you through the process of how to knit seed stitch in a way that’s easy to follow and understand. I’ll provide you with practical advice and step-by-step instructions to help you overcome any challenges you may face. You’ll learn how to create a beautiful, textured fabric using the seed stitch, and by the end of this guide, you’ll be confident in your ability to knit this versatile stitch. Whether you’re a beginner or looking to refresh your skills, I’m excited to share my knowledge with you and help you achieve your knitting goals.
Table of Contents
Guide Overview: What You'll Need
Total Time: 1 hour 30 minutes
Estimated Cost: $10 – $30
Difficulty Level: Easy
Tools Required
- Knitting needles US size 8 or 9
- Scissors for cutting yarn
- Tapestry needle for weaving in ends
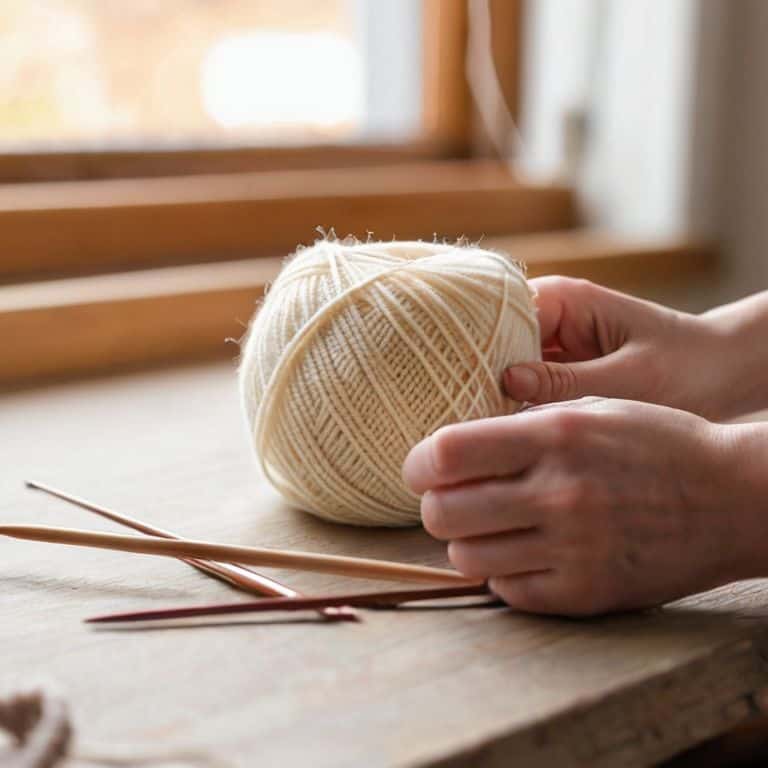
Supplies & Materials
- Yarn choose a smooth, medium-weight yarn
- Measuring tape or ruler to measure work in inches
- Stitch markers optional, for marking beginning of round or pattern
Step-by-Step Instructions
- 1. First, let’s start by preparing our knitting needles and yarn. Choose a comfortable and quiet spot to sit, and make sure you have all the necessary materials within reach. Take a few deep breaths, and let’s get started on this cozy journey to mastering the seed stitch.
- 2. Next, create a slip knot on one of your knitting needles. To do this, hold the yarn in one hand, make a loop with the yarn, and then hook the needle through the loop. Pull the yarn gently to tighten the knot, and you’ll have a secure slip knot to begin with.
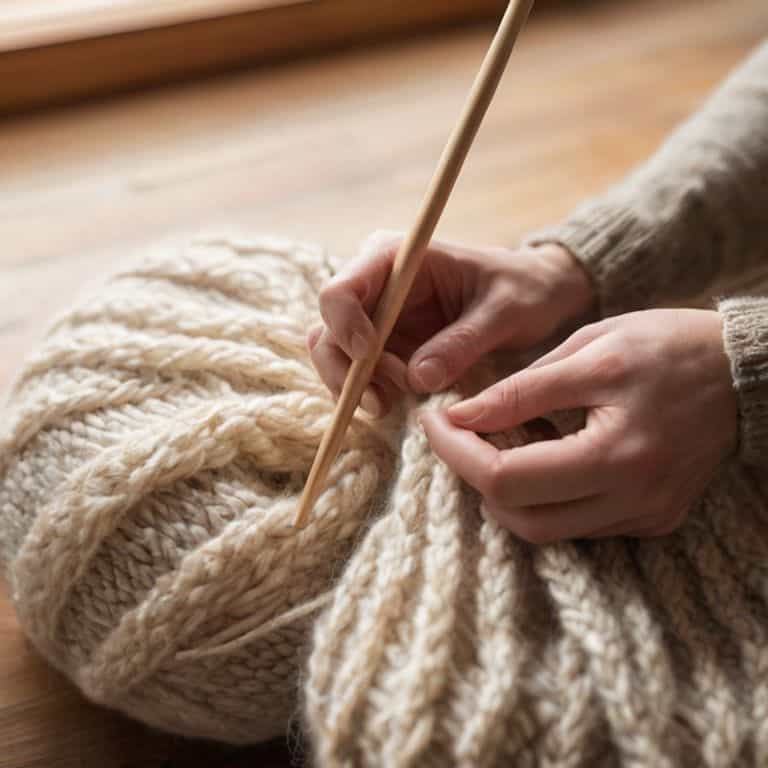
- 3. Now, let’s cast on the stitches. For a seed stitch project, you’ll want to cast on an odd number of stitches. I like to use the long-tail cast-on method, as it creates a neat and stretchy edge. To cast on, create a slip knot on your needle, then insert the right needle into the stitch, and pull up a loop. Repeat this process until you have the desired number of stitches.
- 4. With your stitches cast on, it’s time to start knitting. Begin with a knit stitch, inserting the right needle into the first stitch on the left needle. Wrap the yarn around the right needle, and then pull it through the stitch. You’ll now have one knit stitch completed.
- 5. Next, we’ll work on the purl stitch. To purl, insert the right needle into the next stitch on the left needle, but this time, make sure the yarn is in front of your work. Wrap the yarn around the right needle, and then pull it through the stitch. You’ll now have one purl stitch completed.
- 6. The seed stitch pattern is all about alternating between knit and purl stitches. So, for the next row, you’ll alternate between knit and purl stitches, starting with a knit stitch, then a purl stitch, and so on. Remember to keep your tension even, and don’t pull the yarn too tightly, as this can cause the fabric to pucker.
- 7. As you work on the seed stitch pattern, keep track of your rows by counting the number of rows you’ve completed. You can also use a row counter or a piece of paper to keep track of your progress. Don’t worry if you make a mistake – it’s easy to fix, and I’ll show you how to do that in the next steps.
Mastering Seed Stitch
As you continue to work on your seed stitch project, you’ll notice that the seed stitch pattern for beginners is quite forgiving. This is because the stitch creates a fabric with a subtle texture that can hide small mistakes. To master the rhythm of the seed stitch, try to focus on the repetitive nature of the knit and purl stitches. You’ll find that your hands will begin to move automatically, allowing you to relax and enjoy the process.
When working with the seed stitch, it’s essential to consider the properties of the fabric you’re creating. The seed stitch fabric has a tendency to be slightly dense, which makes it ideal for projects like scarves or hats. If you’re looking to create a reversible seed stitch scarf, make sure to maintain a consistent tension throughout your project. This will ensure that the fabric lies flat and looks beautiful from both sides.
To take your seed stitch skills to the next level, try experimenting with different yarn weights and types. Knitting seed stitch with bulky yarn can create a beautiful, textured fabric that’s perfect for cold winter days. Remember to always swatch your yarn before starting a new project to ensure that you’re getting the desired fabric properties. With practice and patience, you’ll be able to create stunning seed stitch projects that showcase your skills and attention to detail.
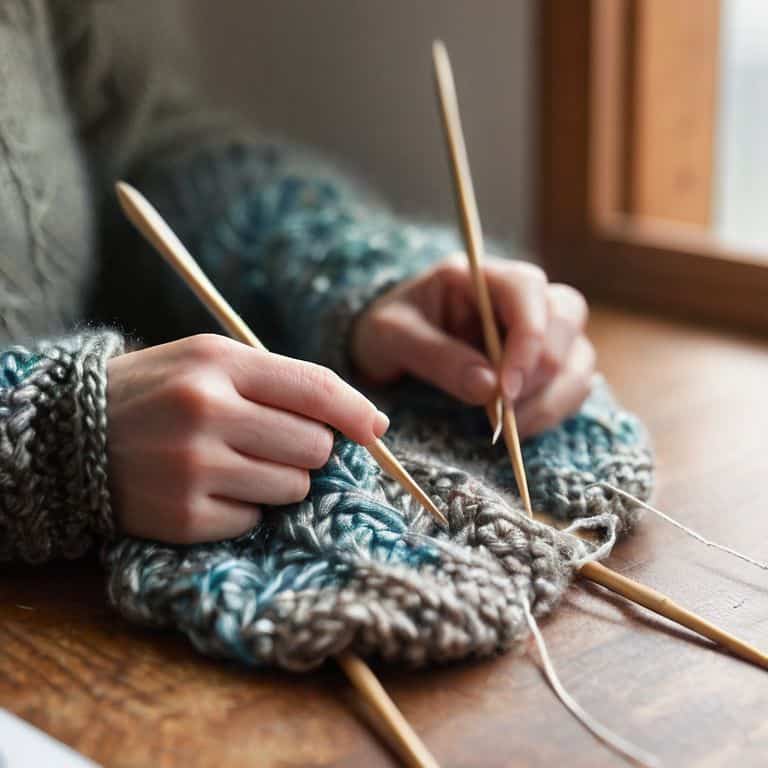
Knitting Seed Stitch in the Round
When knitting seed stitch in the round, it’s essential to maintain the alternating knit and purl pattern. To achieve this, you’ll need to ensure that you’re purling the stitches that were knitted in the previous round, and vice versa. I find it helpful to use a stitch marker to denote the beginning of the round, so I can keep track of my progress. As you work in the round, remember to keep your tension even, as this will affect the overall fabric of your project.
By following these simple guidelines, you’ll be able to create a beautiful, seamless seed stitch fabric in the round. Just take your time, and don’t hesitate to refer back to your pattern or notes if you need to – with practice, knitting seed stitch in the round will become second nature to you.
Seed Stitch Pattern for Beginners
As you become more comfortable with the seed stitch, you’ll start to notice its versatility. The seed stitch pattern is perfect for beginners because it creates a beautiful, textured fabric with a subtle visual interest. To work the seed stitch pattern, simply alternate between knit and purl stitches in a single row. This creates a charming, pebbled texture that’s perfect for scarves, hats, or blankets.
Remember, the key to mastering the seed stitch pattern is to maintain a consistent rhythm. Try to keep your tension even, and don’t be afraid to count your stitches as you go. With practice, you’ll find that the seed stitch becomes second nature, and you’ll be able to create beautiful, cohesive pieces with ease.
Sowing the Seeds of Success: 5 Essential Tips for Knitting the Seed Stitch
- Start with the right tools: invest in a good quality yarn and a pair of knitting needles that feel comfortable in your hands
- Pay attention to tension: keeping an even tension is crucial for a beautiful seed stitch fabric, so try to keep your stitches consistent
- Watch your rows: to maintain the seed stitch pattern, make sure to alternate between knit and purl stitches in each row
- Don’t be afraid to frog it: if you make a mistake, don’t worry – it’s easy to fix, and ripping out your work can be a great learning experience
- Practice, practice, practice: like any new skill, knitting the seed stitch takes time and practice to master, so be patient and enjoy the process
Key Takeaways for Knitting the Seed Stitch
By following a simple, step-by-step approach, you can master the seed stitch and create beautiful, textured fabrics for your knitting projects
With practice, you’ll be able to knit the seed stitch in both rows and rounds, opening up a world of creative possibilities for hats, scarves, and other accessories
Remember, the key to success with the seed stitch is patience and attention to detail – take your time, and don’t be afraid to rip out your work and start again if you make a mistake, as this is all part of the learning process
Embracing the Joy of Seed Stitch Knitting
As we conclude our journey through the world of seed stitch knitting, let’s take a moment to reflect on the key takeaways. We’ve covered the basic steps to get you started, from casting on to binding off, and explored the seed stitch pattern for beginners. We’ve also delved into the nuances of knitting seed stitch in the round, providing you with a comprehensive understanding of this versatile stitch. By following these simple, yet detailed instructions, you’ve gained the confidence to create beautiful, textured fabrics that will elevate your knitting projects.
As you continue to knit and experiment with the seed stitch, remember that the true beauty of this craft lies in the process, not just the product. Don’t be afraid to make mistakes or try new things – it’s all part of the journey. With patience, practice, and a willingness to learn, you’ll find that knitting seed stitch becomes a meditative and enjoyable experience, allowing you to unwind and express your creativity. So, go ahead, pick up your needles, and let the rhythmic clickety-clack of knitting transport you to a world of serenity and joy.
Frequently Asked Questions
What if I accidentally drop a stitch while knitting the seed stitch, how do I fix it?
Don’t worry, it’s easy to fix a dropped stitch in seed stitch knitting. Simply insert your needle into the stitch below, pull up the dropped stitch, and place it back on your needle. You can also use a crochet hook to help pick up the stitch if it’s fallen too far. Take a deep breath and gently work it back into place – your project will be good as new.
How do I know when to switch from knit to purl stitches in the seed stitch pattern?
To switch between knit and purl stitches in the seed stitch pattern, simply remember that you’ll be knitting one stitch, then purling the next. As you work, look at your previous row: if the stitch is a knit, purl the next one, and if it’s a purl, knit the next. This simple rhythm will guide your needles and help you maintain the seed stitch’s subtle texture.
Can I use the seed stitch pattern to create a fabric with a specific texture or drape, and if so, how do I adjust my tension to achieve that?
To achieve a specific texture or drape, you can adjust your tension while knitting the seed stitch. Try loosening or tightening your stitches to see how it affects the fabric’s texture and drape. Remember, it’s all about experimentation, so don’t be afraid to try different tensions until you find the one that works best for your project.