I still remember the day my wife, an avid spinner, complained about the flimsy niddy noddy she was using. She needed a tool that could keep up with her passion, and I, being a carpenter, saw an opportunity to create something special. That’s when I discovered the joy of making custom craft tools, and my journey to understand what is a niddy noddy and how to make one began. As I delved deeper, I realized that a niddy noddy is more than just a tool – it’s a gateway to unlocking the full potential of your spinning endeavors.
In this article, I’ll share my hands-on experience and practical advice on what is a niddy noddy and how to make one that will become your trusted companion in the spinning room. You’ll learn how to choose the right materials, design a functional and beautiful niddy noddy, and bring it to life with your own hands. I’ll guide you through the process, sharing step-by-step tips and tricks of the trade that will make your project a success. Whether you’re a seasoned spinner or just starting out, this guide will empower you to create a high-quality niddy noddy that will elevate your craft and make your spinning experience more enjoyable.
Table of Contents
Guide Overview: What You'll Need
Total Time: 1 hour 30 minutes
Estimated Cost: $10 – $20
Difficulty Level: Easy
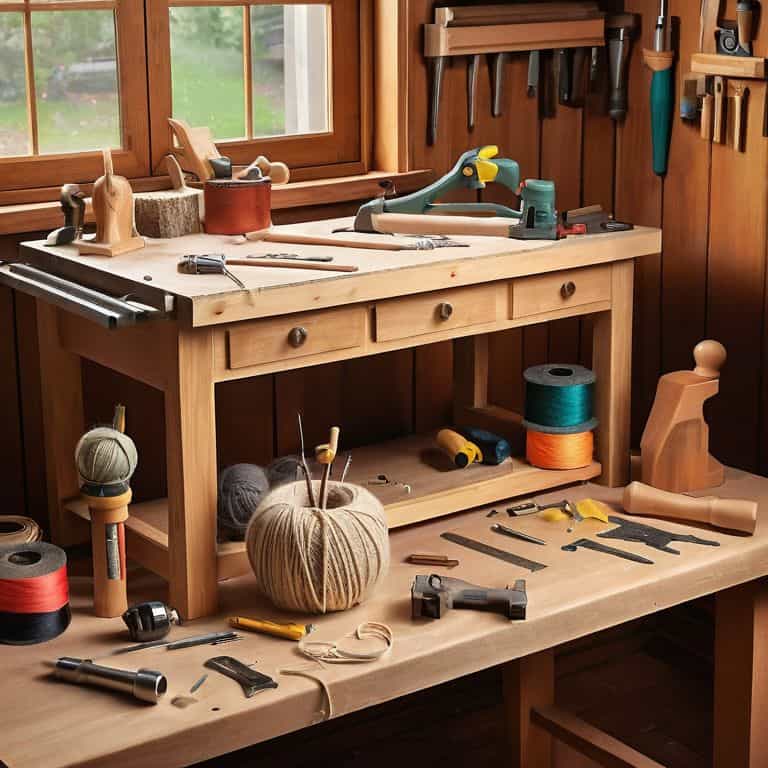
Tools Required
- Drill (with drill bits)
- Saw (for cutting wood)
- Sandpaper (for smoothing wood)
- Measuring tape (for accurate measurements)
Supplies & Materials
- 1-in x 2-in lumber (for the base and arms)
- 1/4-in dowel rod (for the axle)
- Wood glue (for assembling the niddy noddy)
- Nails or screws (for securing the parts together)
- Wood finish (optional, for protecting the wood)
Step-by-Step Instructions
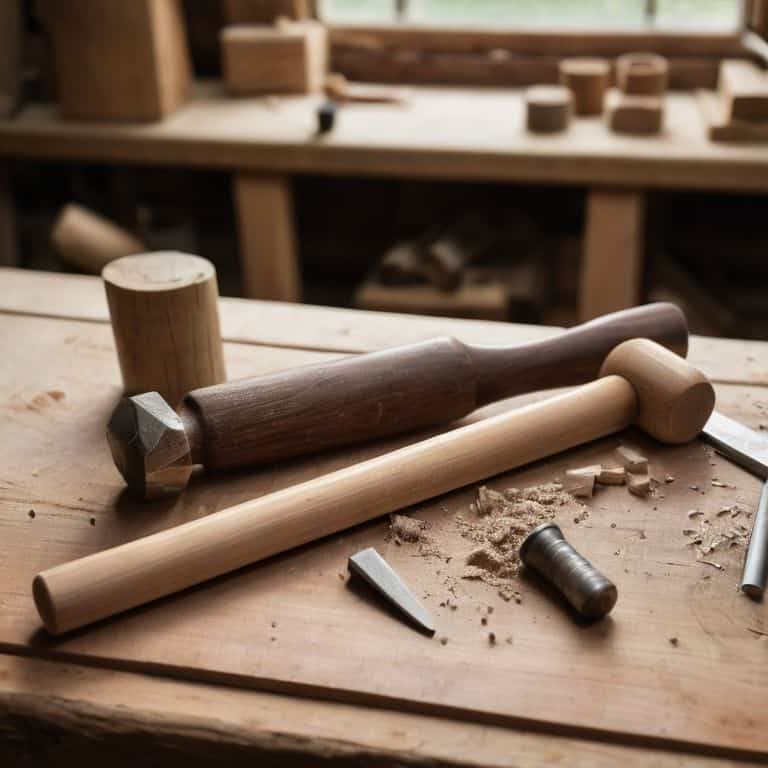
- 1. First, let’s start by understanding the basic components of a niddy noddy, which typically include a central pole, two arms, and a crosspiece – all of which we’ll be crafting from scratch. To begin, you’ll need to gather your materials, including a piece of straight-grained wood (I prefer ash or oak for their strength and workability), a drill press, a hand saw or bandsaw, and some sandpaper.
- 2. Next, we’ll need to cut the central pole to the desired length – for a standard niddy noddy, this is usually around 24-30 inches. When cutting, remember to always wear protective gear, including safety glasses and a dust mask, and make sure your work area is clear of any debris or obstacles. I like to use a miter saw for precise cuts, but a hand saw will also work if you don’t have access to power tools.
- 3. Now, let’s move on to crafting the arms and crosspiece, which will be responsible for holding your yarn in place as you wind it onto the niddy noddy. For these pieces, you’ll want to cut two identical arms and one crosspiece, all slightly curved to fit comfortably in your hand. I recommend using a jigsaw or bandsaw for curved cuts, as they offer more control and flexibility.
- 4. With our components cut, it’s time to assemble the niddy noddy using some sturdy wood glue and screws. Start by attaching the arms to the central pole, making sure they’re evenly spaced and securely fastened. Then, add the crosspiece, which should be positioned about 2-3 inches from the top of the pole. Double-check your measurements to ensure everything is properly aligned.
- 5. Once the glue has dried, sand the entire niddy noddy to smooth out any rough edges or splinters. This is an important step, as it will help prevent your yarn from getting caught or damaged as you work with it. I like to start with a coarse-grit sandpaper (about 80-100) and work my way up to a finer grit (around 220-240) for a silky-smooth finish.
- 6. To add some extra ergonomic comfort to your niddy noddy, consider wrapping the handle with a piece of leather or cotton twine. This will not only provide a more secure grip but also help to reduce fatigue as you work. Simply cut a length of your chosen material, wrap it around the handle, and secure it with a few stitches or a dab of glue.
- 7. Finally, let’s finish and protect our niddy noddy with a coat of natural oil or wax. This will help to condition the wood, preventing it from drying out or cracking over time, while also enhancing the overall appearance of the piece. I recommend using a tung oil or beeswax for their durability and non-toxic properties. Apply a thin coat, let it dry, and your niddy noddy is ready to use!
What Is a Niddy Noddy
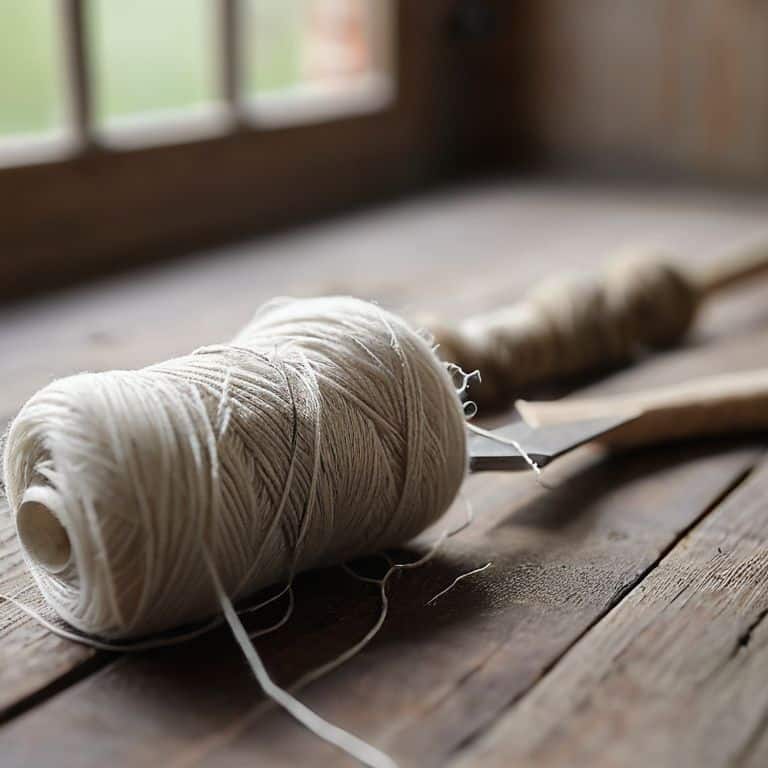
As I delve into the world of handmade yarn tools, I’m often asked about the importance of a niddy noddy in measuring yarn length. A niddy noddy is a simple, yet ingenious tool that allows spinners and weavers to measure and manage their yarn with ease. Woodworking for fiber arts is a niche that I’m particularly passionate about, and creating a niddy noddy is a great project for those looking to explore this intersection of crafts.
When it comes to skein winding techniques, a niddy noddy is an essential tool. It allows you to wind your yarn into a consistent, manageable skein, making it easier to work with. I’ve found that having a niddy noddy on hand has streamlined my workflow and reduced waste. If you’re interested in exploring more diy fiber craft projects, I recommend checking out some niddy noddy plans online or in woodworking books.
In my experience, a well-made niddy noddy can be a game-changer for spinners and weavers. By creating your own niddy noddy, you’ll not only have a functional tool, but also a sense of pride and accomplishment. Measuring yarn length will become a breeze, and you’ll be able to focus on the creative aspects of your craft. Whether you’re a seasoned pro or just starting out, a niddy noddy is a valuable addition to any fiber arts toolkit.
Measuring Yarn With Handmade Tools
Measuring Yarn with Handmade Tools
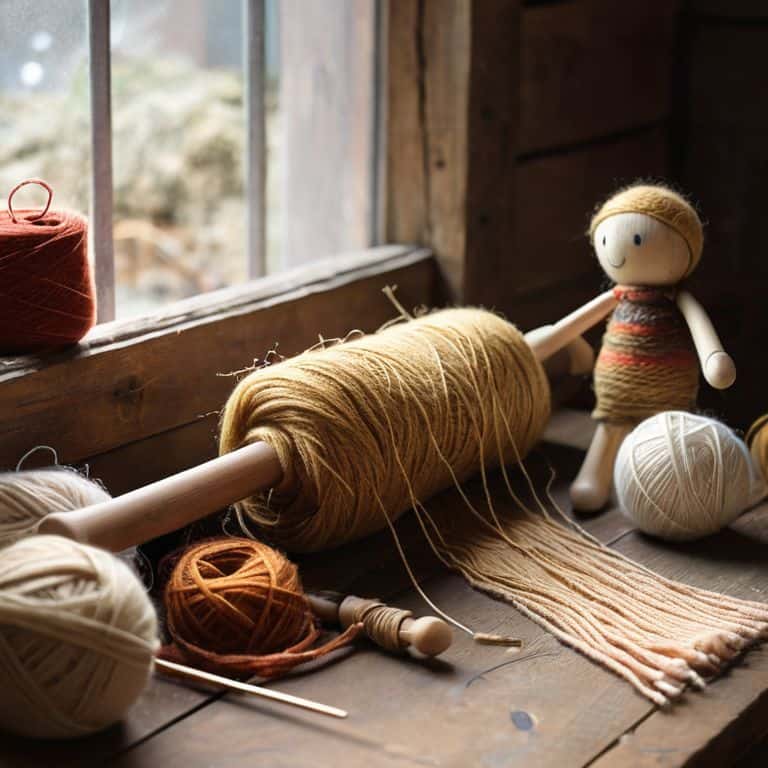
When I first started making niddy noddies for my wife, I realized how crucial accurate measurements were. A handmade niddy noddy allows you to measure yarn with precision, taking into account the unique characteristics of each fiber. By using a tool that’s tailored to your specific needs, you can ensure that your yarn is wound and measured with ease.
I love how a niddy noddy made from beautifully grained wood, like maple or walnut, can add a touch of warmth to the measuring process. The smooth, sanded surface of the wood seems to whisper a promise of precision, and the gentle curve of the arm invites you to wrap your yarn around it, waiting to be measured and transformed into something new.
Woodworking for Fiber Arts Beginners
As a carpenter turned craft tool maker, I’ve seen how woodworking can elevate fiber arts. For beginners, it’s essential to understand that woodworking for fiber arts is about creating functional beauty. I remember when I first started making tools for my wife, I was amazed by the precision and care required to craft something that would help her measure yarn accurately. With the right tools, like a handmade niddy noddy, spinners and weavers can take their craft to the next level. By combining woodworking skills with fiber arts, makers can create custom tools that fit their unique needs, making the entire process more enjoyable and rewarding.
5 Essential Tips for Crafting Your Own Niddy Noddy
- Choose the Right Wood: Select a hardwood like maple or cherry for durability and a smooth finish, just like I do for my custom looms
- Measure Twice, Cut Once: Ensure accurate measurements for your niddy noddy’s arms and crossbar to guarantee precise yarn measurements
- Sand with Care: Smooth out any rough edges or splinters to prevent snagging or damaging your precious yarn
- Add a Personal Touch: Consider adding a wooden or leather handle for comfortable winding and a touch of handmade character
- Test and Refine: Before putting your niddy noddy to work, test it with a few skeins to ensure it’s working smoothly and make any necessary adjustments
Key Takeaways for Crafting Your Own Niddy Noddy
By creating your own niddy noddy from scratch, you’ll not only have a functional tool for measuring yarn, but also a beautiful, handmade piece that reflects your personal touch
Understanding the basics of woodworking and applying them to fiber arts can elevate your crafting experience, allowing you to create custom tools tailored to your specific needs
Embracing the process of making your own tools, such as a niddy noddy, can deepen your appreciation for the craft of spinning and weaving, and encourage a more mindful, creative approach to your work
The Heart of Spinning
A niddy noddy is more than just a tool, it’s a gateway to understanding the very fabric of your yarn – and making one yourself is a journey that weaves together the beauty of woodworking and the joy of spinning, allowing you to touch every thread of your craft.
Finnian "Finn" Burke
Bringing It All Together: The Joy of Crafting a Niddy Noddy
As we’ve explored the world of niddy noddies, from understanding what they are to building one with our own hands, it’s clear that this simple tool can bring a new level of precision and joy to our fiber arts projects. We’ve delved into the process of measuring yarn with handmade tools, discussing how a niddy noddy can become an indispensable companion in our spinning and weaving journeys. Additionally, we touched on woodworking for fiber arts beginners, highlighting the accessibility of creating our own tools, even for those new to woodworking. By embracing the DIY spirit and investing time in crafting our tools, we not only enhance our creative process but also develop a deeper appreciation for the materials and techniques involved.
As you finish your niddy noddy and it finds its place in your workshop or spinning room, remember that the true beauty of handmade tools lies not just in their functionality, but in the story they tell and the connection they forge between the maker, the tool, and the craft. Whether you’re a seasoned woodworker, an avid spinner, or just starting to explore the world of fiber arts, the act of creating something with your own hands is a powerful reminder of the value of patience, creativity, and self-expression. So, go ahead, get your hands dirty, and let the joy of making flourish in every skein of yarn, every plank of wood, and every handmade tool that brings your vision to life.
Frequently Asked Questions
What type of wood is best suited for making a niddy noddy?
For a niddy noddy, I recommend using hardwoods like maple, cherry, or walnut. They’re durable and can withstand repeated use. I personally love working with maple – it’s smooth, stable, and has a beautiful grain pattern. Plus, it smells amazing when sanded!
Can I customize the size of my niddy noddy to fit specific yarn measurements?
Absolutely, you can customize your niddy noddy’s size to fit specific yarn measurements. I’ve made them in various sizes for my wife, from compact ones for lace yarns to larger ones for bulky wools. Simply adjust the arm length and crosspiece spacing to suit your yarn’s unique requirements, and you’ll have a tailored tool that makes measuring a breeze.
How do I properly finish and protect the wood on my handmade niddy noddy to ensure it lasts for years to come?
To finish and protect your handmade niddy noddy, I recommend applying a food-safe wood finish like beeswax or tung oil. These will enhance the wood’s natural beauty while shielding it from the wear and tear of regular use. Simply apply a thin coat, let it dry, and buff it out with a soft cloth – your niddy noddy will be protected and looking great for years to come!