I still remember the day my wife asked me to renovate our bathroom – I’m talking complete overhaul, from the tiles to the sink. It was one of those DIY bathroom projects that seemed daunting at first, but with the right mindset and tools, it turned out to be an incredible experience. What I’ve learned over the years is that many people are held back by the misconception that DIY projects have to be perfect, and that’s just not true. It’s about creating something functional and beautiful with your own hands.
In this article, I’ll share my hands-on experience and guide you through the process of tackling your own DIY bathroom projects. You’ll get practical advice on how to choose the right materials, work with different tools, and bring your vision to life. I’ll walk you through each step, from planning to execution, and provide you with the confidence to take on any project that comes your way. Whether you’re a seasoned DIY enthusiast or just starting out, my goal is to empower you with the knowledge and skills to create a bathroom that’s not only unique but also reflects your personal style.
Table of Contents
Guide Overview: What You'll Need
Total Time: 2 hours 30 minutes to several days
Estimated Cost: $50 – $500
Difficulty Level: Intermediate / Hard
Tools Required
- Utility Knife (with extra blades)
- Drill (with various drill bits)
- Trowel (for applying adhesive or grout)
- Level (to ensure surfaces are even)
- Pliers (for gripping small objects)
- Screwdriver (flathead and Phillips)
- Measuring Tape (for measuring rooms and materials)
- Wet Saw (for cutting tile)
- Grout Float (for applying and smoothing grout)
Supplies & Materials
- Ceramic Tile (various sizes and patterns)
- Adhesive (for tile installation)
- Grout (to fill gaps between tiles)
- Caulk (for sealing around sinks and toilets)
- Paint (for walls and ceilings)
- Drywall Patch Kit (for repairing walls)
- 2-in x 4-in lumber (for shelving or support)
- Shower Curtain or Door (for enclosing the shower area)
- Bathroom Fixtures (such as sinks, toilets, and faucets)
Step-by-Step Instructions
- 1. First, let’s start with the basics – gathering our materials. We’ll need a few essential tools like a hammer, tape measure, level, and a pencil. Don’t forget to pick up some tile adhesive, grout, and your chosen tiles. I like to use a mix of ceramic and natural stone for a unique look. When selecting your tiles, consider the color palette you want to achieve in your bathroom.
- 2. Next, we need to prepare the area. Clear out the bathroom, covering any remaining fixtures or flooring with drop cloths. Remove the old tiles, and take this opportunity to inspect the underlying surface for any damage. If you find any, now’s the time to repair it. Use a level to ensure the surface is even, as this will affect the overall appearance of your finished project.
- 3. Now, let’s lay out our tile pattern. This is where you can get creative, but keep in mind that simpler patterns are often more forgiving for beginners. Use a chalk line to mark your starting point, and begin applying the tile adhesive. I find that using a notched trowel helps to spread the adhesive evenly and ensures a strong bond.
- 4. With our adhesive in place, it’s time to start setting the tiles. Begin at your marked starting point, and work your way outward in sections. Use a level and a rubber mallet to tap each tile into place, ensuring they’re evenly spaced and aligned. Don’t forget to leave room for grout between each tile.
- 5. Once all the tiles are set, allow the adhesive to fully dry, following the manufacturer’s instructions. This is a critical step, as rushing it can lead to tiles shifting out of place. After the adhesive has dried, it’s time to apply the grout. Use a grout float to spread it evenly, working in small sections to clean up excess grout with a damp cloth as you go.
- 6. After the grout has dried, according to the manufacturer’s instructions, use a grout sealer to protect it from stains. This step is often overlooked but is crucial for maintaining your hard work. Apply the sealer according to the instructions, and let it dry completely before exposing the tiles to water.
- 7. Finally, let’s add the finishing touches. Replace any fixtures you removed, and apply caulk around the edges of the tiles to create a watertight seal. Stand back and admire your handiwork – you’ve successfully completed a DIY bathroom project that not only looks great but also adds value to your home. Remember, the key to a successful DIY project is patience and attention to detail.
Mastering Diy Bathroom Projects
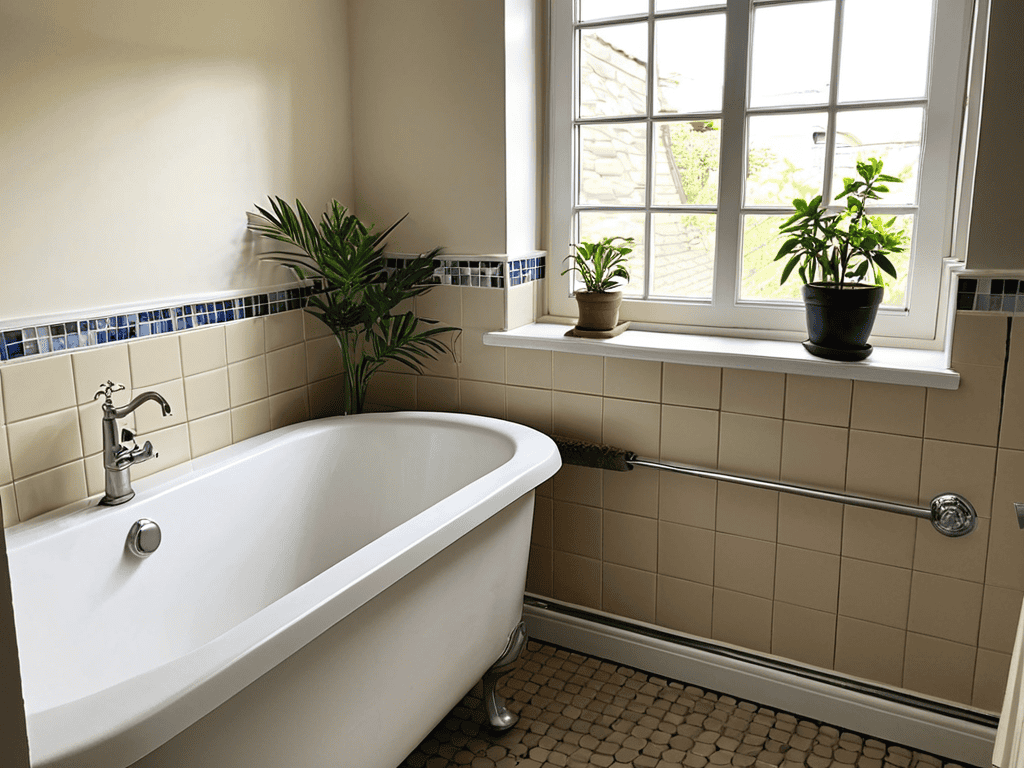
As I reflect on my own experiences with small bathroom renovation ideas, I’ve come to realize that it’s all about creating a sense of flow and functionality. When working on a DIY project, it’s essential to consider the bigger picture, thinking about how each element will interact with the others. For instance, when designing a bathroom tile design pattern, you’ll want to ensure that it complements the overall aesthetic of the space, rather than overwhelming it.
One of the most significant challenges in any bathroom renovation is staying within budget. This is where getting creative with bathroom lighting on a budget can really pay off. By repurposing or upcycling existing fixtures, you can add a touch of personality to the space without breaking the bank. I’ve found that a little bit of imagination can go a long way in transforming a mundane space into something truly special.
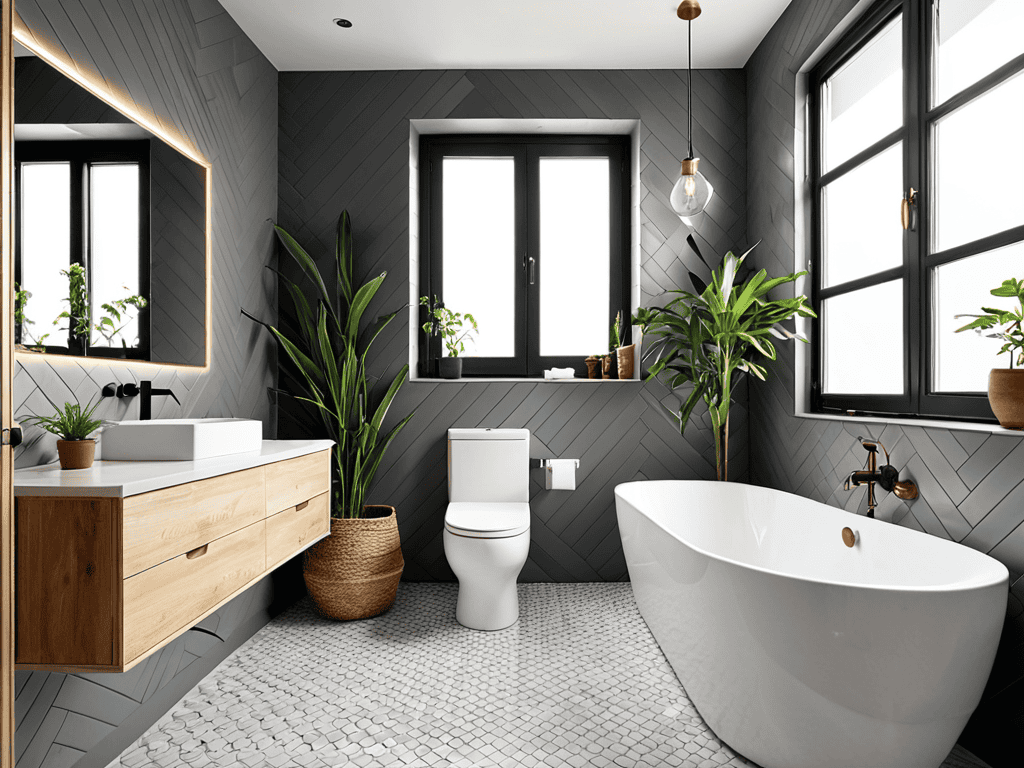
When it comes to the finishing touches, easy bathroom organization tips can make all the difference. By incorporating clever storage solutions and space-saving designs, you can keep the room feeling calm and clutter-free. Whether you’re tackling a diy bathroom vanity makeover or simply looking to refresh the space with a new bathroom paint color scheme, remember to have fun and experiment with different ideas until you find the perfect fit.
Bathroom Lighting on a Budget Made Easy
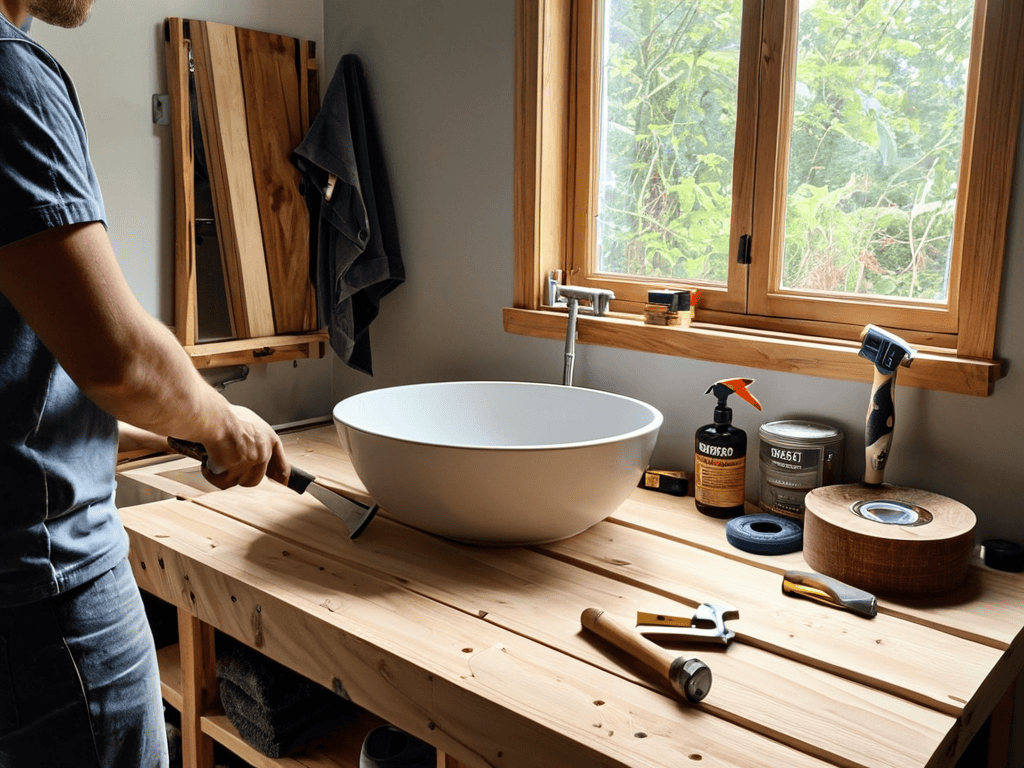
As I’ve been working on my latest DIY bathroom project, I’ve found myself drawn to the world of upcycling and repurposing materials to create unique and functional pieces. One of the most challenging parts of this process is often finding the right inspiration and resources to bring your vision to life. That’s why I’ve been spending a lot of time browsing local online classifieds, like nzgirls, to find hidden gems and unexpected materials to incorporate into my projects. By thinking outside the box and getting a little creative, you can turn even the most mundane materials into something truly one-of-a-kind, and I’ve found that this approach can be a great way to add some extra character to your DIY bathroom renovations.
When it comes to bathroom lighting, I believe the right fixtures can make all the difference. As a woodworker, I’ve had my fair share of experimenting with unique lighting solutions. One of my favorite budget-friendly ideas is to repurpose old mason jars into pendant lights. Simply drill a hole in the lid, add a socket and cord, and you’ve got a charming, rustic light fixture.
I’ve also found that shopping second-hand stores or online marketplaces can yield amazing deals on gently used lighting fixtures. With a little creativity and some TLC, you can refinish or repaint them to fit your bathroom’s style. Remember, it’s all about embracing the handmade, DIY spirit – and having fun with the process!
Small Bathroom Renovation Ideas Unleashed
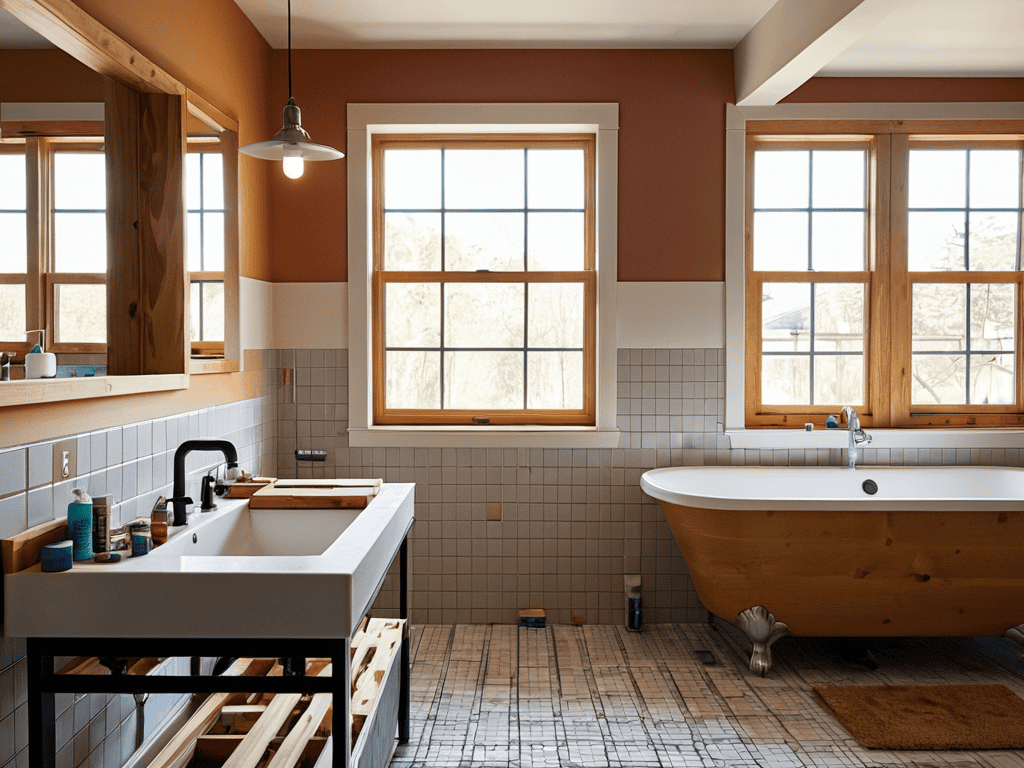
Now that we’ve mastered the basics, let’s dive into some exciting small bathroom renovation ideas. I love working with tight spaces – it’s amazing what you can achieve with a little creativity. For instance, consider repurposing an old wooden ladder as a storage unit for towels and toiletries. You can also install a wall-mounted sink to free up floor space, or use a vintage window as a mirror frame to add some character.
These small tweaks can make a huge difference in the overall feel of your bathroom. As someone who’s passionate about woodworking, I can tell you that the right materials and tools can elevate your project from ordinary to extraordinary. So don’t be afraid to get creative and think outside the box – or in this case, the bathroom!
Hammering Out Success: 5 Essential Tips for DIY Bathroom Projects
- Measure Twice, Cut Once: Double-Check Your Dimensions to Avoid Costly Mistakes
- Get a Grip on Your Budget: Set a Realistic Price Point and Stick to It
- Lighten Up: Consider the Impact of Lighting on the Ambiance of Your Bathroom
- Tile and Error: Don’t Be Afraid to Experiment with Different Patterns and Designs
- Plumb the Depths of Your Creativity: Think Outside the Box When It Comes to Sinks, Tubs, and Showers
Key Takeaways for a Successful DIY Bathroom Project
By applying the principles of thoughtful design and resourceful material selection, you can transform your bathroom into a functional and beautiful space that reflects your personal style
Mastering the art of DIY bathroom projects requires a willingness to get your hands dirty, experiment with new techniques, and trust the process of creating something from scratch
With patience, creativity, and the right tools, you can overcome common challenges like limited budgets and small spaces, and ultimately create a bathroom that is both a reflection of your personality and a testament to your resourcefulness and craftsmanship
Wrapping Up Your DIY Bathroom Project
As we’ve explored the world of DIY bathroom projects, it’s clear that with the right mindset and tools, anyone can achieve professional-looking results. From tearing out old tiles to installing new lighting, we’ve covered the essential steps to transform your bathroom into a relaxing oasis. Remember, the key to a successful DIY project is to take your time, plan carefully, and not be afraid to get creative with materials and design. By following the steps outlined in this guide, you’ll be well on your way to mastering the art of DIY bathroom renovation, and the sense of accomplishment you’ll feel when you’re done is unparalleled.
So, as you put down your tools and step back to admire your handiwork, remember that the true beauty of DIY lies not just in the end result, but in the journey itself. The process of creating something with your own two hands, of overcoming obstacles and learning new skills, is what makes DIY so rewarding. Don’t be afraid to experiment, try new things, and push the boundaries of what’s possible – and most importantly, have fun and be proud of what you’ve accomplished.
Frequently Asked Questions
What are the most essential tools I need to get started with a DIY bathroom project?
For a DIY bathroom project, I always recommend starting with the basics: a reliable hammer, tape measure, level, and a good pencil. Don’t forget a sturdy utility knife and a cordless drill – they’ll be your best friends when tearing out old fixtures or installing new ones.
How can I ensure a watertight seal around my new bathtub or shower during a DIY renovation?
To ensure a watertight seal around your new bathtub or shower, apply a generous bead of silicone caulk to the edges and smooth it out with a damp finger or caulk tool. Make sure the surface is clean and dry before applying, and let it cure for 24 hours before exposing it to water.
What are some creative ways to repurpose or upcycle old bathroom fixtures to save money and add a personal touch to my DIY bathroom project?
I love breathing new life into old fixtures. Consider upcycling an antique vanity or transforming an old tub into a planter. You can also repurpose vintage lighting fixtures or faucets to add a unique touch. Get creative and think outside the box – or in this case, the bathroom!