As I sit here surrounded by balls of yarn and half-finished knitting projects, I often think about the first time I encountered a guide to reading cable knitting charts. It was a bit of a daunting experience, to be honest. I had heard that cable knitting was only for experienced knitters, and that reading those intricate charts was a mysterious art that only a select few could master. But I was determined to learn, and I soon discovered that with a little practice and patience, deciphering cable knitting charts was not only accessible, but also incredibly rewarding.
In this article, I’ll share my own approach to reading cable knitting charts, and provide you with practical tips and tricks to help you navigate even the most complex patterns. You’ll learn how to break down charts into manageable sections, how to identify potential pitfalls, and how to troubleshoot common mistakes. My goal is to make a guide to reading cable knitting charts feel approachable and enjoyable, rather than overwhelming or intimidating. By the end of this guide, you’ll be equipped with the skills and confidence to tackle even the most challenging cable knitting projects, and to create beautiful, intricate pieces that you’ll treasure for years to come.
Table of Contents
Guide Overview: What You'll Need
Total Time: 1 hour 30 minutes
Estimated Cost: $0 – $10
Difficulty Level: Intermediate
Tools Required
- Knitting needles US size 8 or size of your choice
- Measuring tape for measuring gauge in inches
- Ruler for measuring rows in inches
Supplies & Materials
- Yarn choose a yarn suitable for cable knitting
- Cable knitting pattern or chart printed or digital copy
- Scissors for cutting yarn
- Stitch markers optional, for marking cable crosses
Step-by-Step Instructions
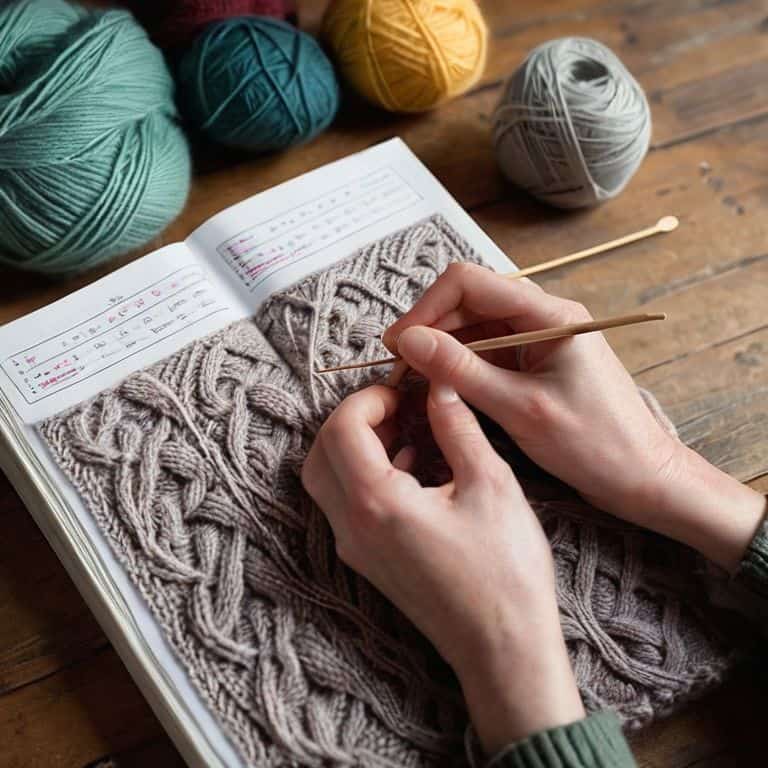
- 1. First, let’s start by understanding the basics of cable knitting charts. A cable knitting chart is a graphical representation of the stitches and rows in a knitting pattern, showing how the cables intersect and twist. To read the chart, you’ll need to familiarize yourself with the symbols and abbreviations used, which can vary depending on the pattern or designer.
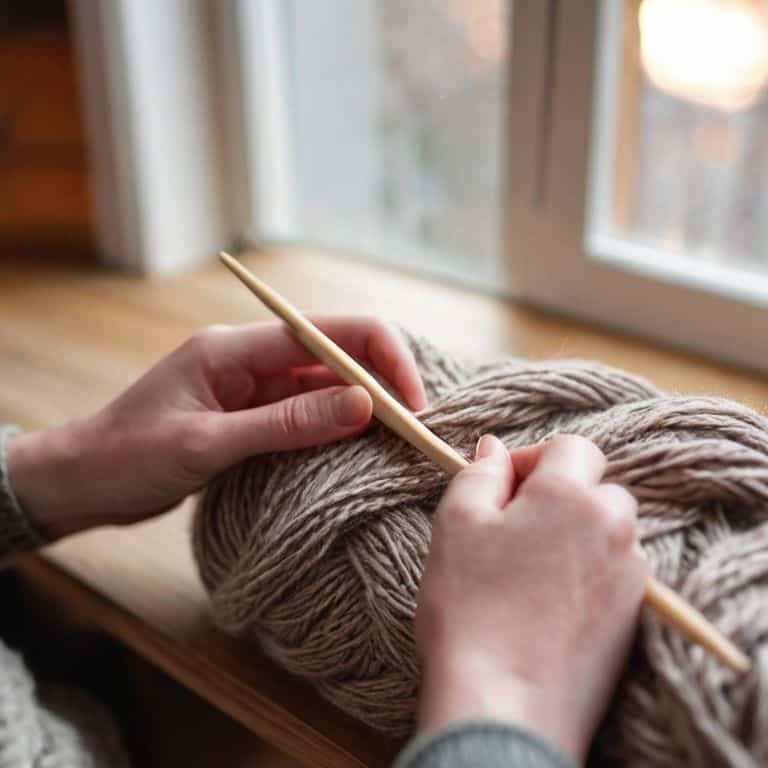
- 2. Next, choose a comfortable and quiet spot to work on your knitting project, with good lighting and a cup of your favorite tea or coffee nearby. As you begin to work with cable knitting charts, it’s essential to have a clear mind and a relaxed attitude, allowing you to focus on the stitches and the flow of the pattern.
- 3. Now, let’s break down the components of a cable knitting chart. Typically, a chart will consist of a grid with rows and columns, representing the stitches and rows in your knitting project. Each symbol on the chart corresponds to a specific stitch or action, such as knit, purl, or cable cross. Take your time to study the legend, which explains the meaning of each symbol, and make sure you understand the relationship between the symbols and the stitches.
- 4. To start reading the chart, begin with the first row and work your way up, row by row. As you read each row, pay attention to the stitch count, ensuring that you have the correct number of stitches on your needles. If you encounter any mistakes or discrepancies, don’t worry – simply frogging (ripping out) your work and starting again is all part of the process.
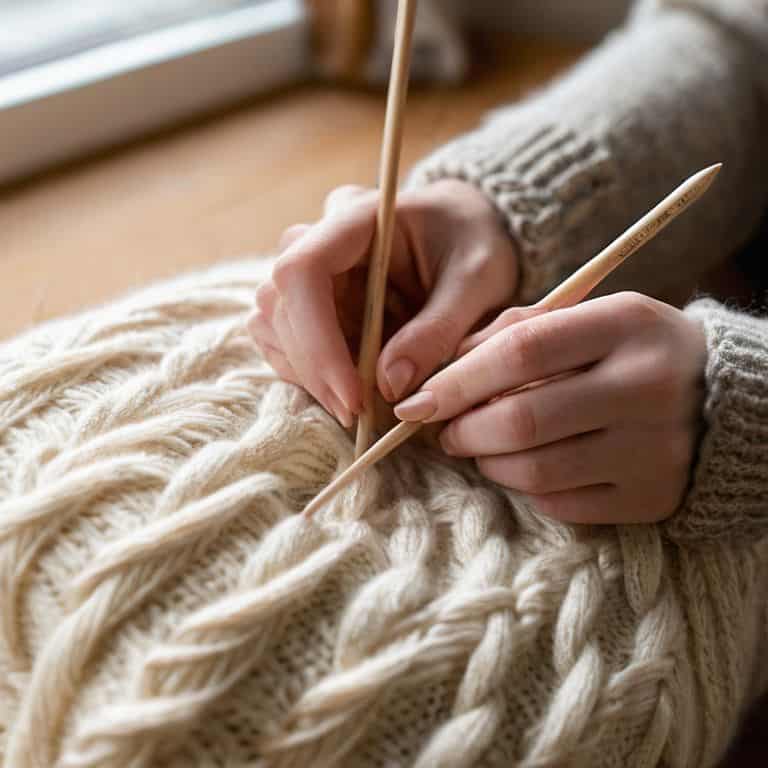
- 5. When working with cables, it’s crucial to understand how to cross the cables correctly. This involves slipping stitches to a cable needle, holding them in front of or behind the work, and then knitting or purling them in a specific order. Practice crossing cables on a swatch before working on your actual project to build confidence and develop muscle memory.
- 6. As you progress through the chart, you may encounter repeat rows or repeat sections, which involve repeating a sequence of stitches or rows a specified number of times. Make sure to keep track of your progress, using a row counter, sticky notes, or a knitting app to help you stay organized and focused.
- 7. Finally, don’t be afraid to take your time and work slowly, especially when navigating complex cable patterns. It’s better to take a break and come back to your project when you’re feeling fresh and focused than to rush through and risk making mistakes. With patience and practice, you’ll become more comfortable reading cable knitting charts and creating beautiful, intricate patterns.
Reading Cable Charts
As we delve into the world of cable knitting, it’s essential to develop a strong understanding of understanding knitting chart symbols. These symbols are the backbone of any knitting pattern, and being able to decipher them will make all the difference in your knitting journey. When reading cable charts, pay close attention to the cable knit pattern repeats, as these will help you create a beautiful, cohesive fabric.
To help you better understand cable knitting charts, I recommend exploring visual knitting chart tutorials. These tutorials will give you a hands-on look at how to read and work with cable charts, making it easier to tackle more complex patterns. You can also utilize knitting chart software tools to help you create and customize your own cable knitting charts.
As you become more comfortable reading cable charts, you’ll begin to notice the various cable knitting stitch patterns that can be created. From simple, textured stitches to intricate, multi-cable designs, the possibilities are endless. Remember to take your time and practice reading knitting charts for beginners, and soon you’ll be creating stunning cable knit pieces with ease.
Unravel Cable Knit Symbols
Now that we’ve covered the basics of reading cable charts, let’s take a closer look at the symbols used in these diagrams. Cable knit symbols can seem intimidating at first, but trust me, once you understand what each one represents, you’ll be hooked. The most common symbols include the cable cross, which indicates a cable pattern, and the twist symbol, which shows a twisted stitch. By recognizing these symbols, you’ll be able to decipher even the most complex cable charts with ease.
As you become more comfortable with cable knit symbols, you’ll start to see the beauty in their simplicity. Each symbol has a specific meaning, and once you’ve mastered them, you’ll be able to tackle even the most intricate cable patterns with confidence. Remember, practice makes perfect, so don’t be afraid to experiment and try out new patterns – you never know what stunning creations you might discover.
Visual Tutorials for Beginners
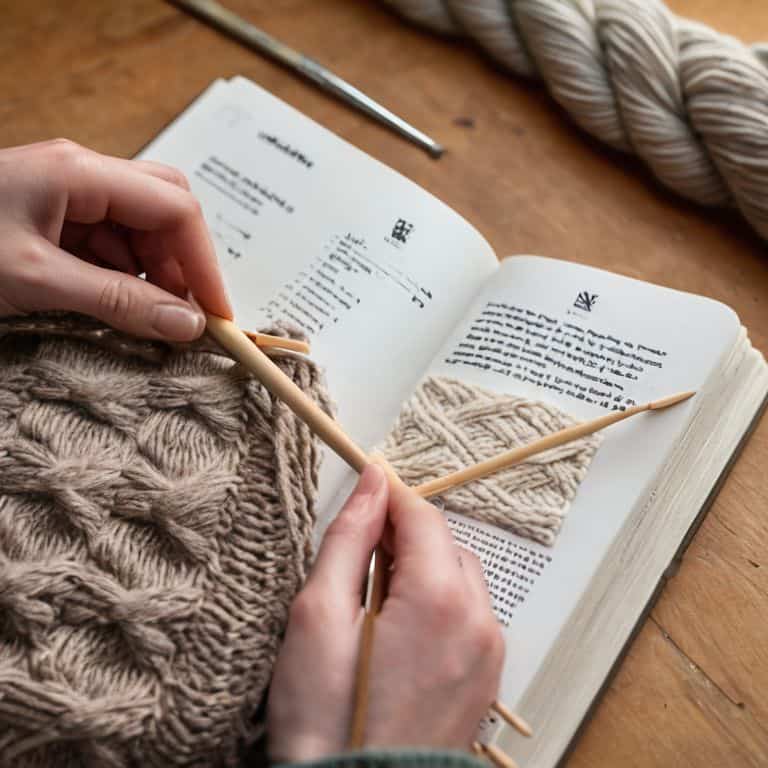
As we explore the world of cable knitting charts, I want to share some visual tutorials that have been game-changers for my students. Sometimes, seeing the stitches come to life can make all the difference in understanding the pattern. I’ve found that short, step-by-step videos or photographs can help to clarify even the most complex cable crossings. By breaking down each step into a clear, visual guide, you’ll be able to see exactly how the stitches interact and flow into one another.
For beginners, I recommend starting with simple cable patterns and gradually working your way up to more intricate designs. You can find many wonderful visual resources online, or join me in my upcoming workshop where we’ll dive into the world of cables together. With a little practice and patience, you’ll be reading cable charts like a pro and creating beautiful, intricate knits that will impress even the most seasoned knitters.
Weaving Wisdom: 5 Essential Tips for Mastering Cable Knitting Charts
- Start with the basics: understanding the foundation of cable knitting charts is crucial, so take your time to learn the symbols and abbreviations
- Practice, practice, practice: the more you work with cable knitting charts, the more comfortable you’ll become with reading them, so don’t be afraid to try new patterns
- Break it down: when faced with a complex cable chart, break it down into smaller sections and focus on one step at a time to avoid feeling overwhelmed
- Use visual aids: watching video tutorials or looking at step-by-step photos can help you better understand how to read cable charts and implement the stitches
- Join a community: connecting with other knitters who are also learning to read cable charts can be a great way to get support, share tips, and stay motivated to continue improving your skills
Key Takeaways for Mastering Cable Knitting Charts
Understand the basic symbols and abbreviations used in cable knitting charts to confidently start your project
Practice reading cable charts by following visual tutorials and step-by-step guides to improve your skills
Combine patience and mindfulness with your knitting practice to enjoy the process and create beautiful, intricate cable patterns
Wisdom from the Yarn
As we learn to decipher the language of cable knitting charts, remember that every stitch is a story, every row a journey, and every finished piece a testament to the gentle magic of creation.
Clara Meadows
Embracing the Art of Cable Knitting
As we come to the end of this guide to reading cable knitting charts, I hope you feel more confident in your ability to unravel the mystery of these intricate designs. We’ve covered the basics of cable charts, from understanding the symbols to visual tutorials for beginners. Remember, practice makes perfect, and it’s essential to take your time and not be afraid to make mistakes. The world of cable knitting is full of possibilities, and with patience and dedication, you can create truly stunning pieces that showcase your skill and craftsmanship.
Now that you have the tools to tackle even the most complex cable patterns, I encourage you to let your creativity shine. Don’t be afraid to experiment with different yarns, colors, and textures to make each project truly unique. As you sit with your needles and yarn, remember that knitting is not just about creating something beautiful, but also about the journey itself – the calm, the focus, and the joy that comes with crafting something with your own hands. Happy knitting, and I look forward to seeing the amazing things you create!
Frequently Asked Questions
How do I know when to cross cables to the front or back in a pattern?
When it comes to crossing cables, it’s all about the symbol. If the cable symbol has an arrow pointing to the right, you’ll cross to the front, and if it points to the left, you’ll cross to the back. Think of it as the arrow ‘pointing’ the way the stitches will move.
What's the best way to keep track of multiple cable crossings in a complex chart?
When working with complex cable charts, I find it helpful to use a highlighter or sticky notes to mark each cable crossing as I complete it. You can also try using a row counter or a small notebook to keep track of your progress, noting which cables have been worked and which are still to come.
Can I adapt cable charts designed for larger or smaller needles to fit my current project's gauge?
Absolutely, you can adapt cable charts to fit your project’s gauge. Simply adjust the number of stitches or rows to match your gauge, taking care to maintain the cable pattern’s integrity. I like to swatch and re-calculate my stitches to ensure a perfect fit, and I’m happy to guide you through this process.