As I sit here surrounded by balls of yarn and half-finished projects, I’m reminded of the first time I attempted a guide to cable knitting. I was a beginner, and the thought of crossing stitches and creating intricate patterns seemed daunting. But, I soon discovered that with a little patience and practice, cable knitting can be a truly _meditative_ experience. The common myth that cable knitting is only for experienced knitters is simply not true – with the right guidance, anyone can master this beautiful technique.
In this article, I promise to share my honest and practical advice on how to tackle a guide to cable knitting. I’ll walk you through the basics of cable knitting, from choosing the right yarn to mastering the _cable stitch_. You’ll learn how to read patterns, troubleshoot common mistakes, and create stunning, textured fabrics. My goal is to empower you with the confidence to take on any cable knitting project, and to share the joy and calm that comes with creating something beautiful with your own hands. So, let’s get started on this journey together, and discover the magic of cable knitting!
Table of Contents
Guide Overview: What You'll Need

Total Time: 2 hours 30 minutes
Estimated Cost: $20 – $50
Difficulty Level: Intermediate
Tools Required
- Knitting Needles US size 7 or 8
- Scissors (for cutting yarn)
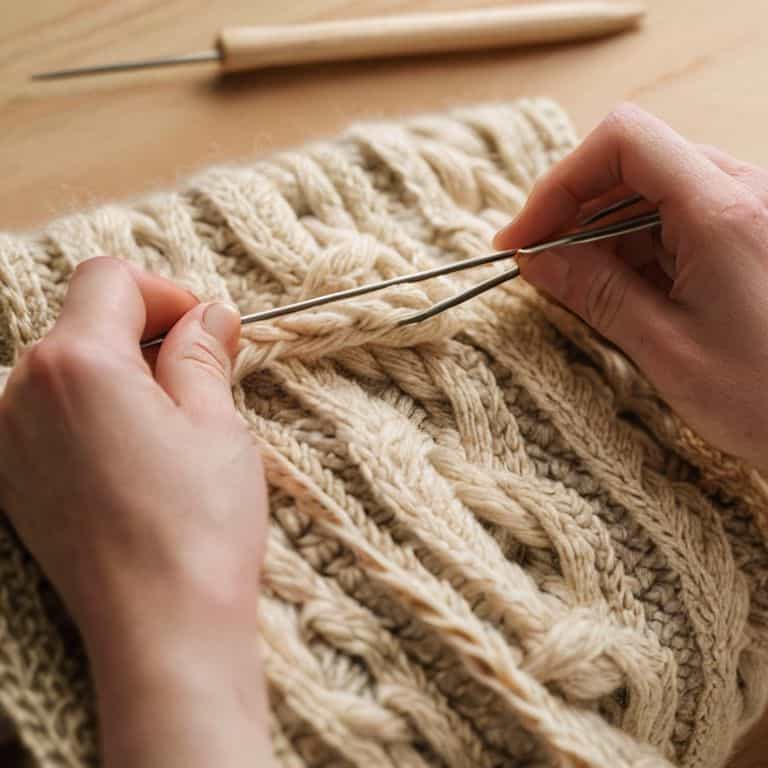
- Tapestry Needle (for weaving in ends)
- Measuring Tape (for measuring work)
- Stitch Markers (optional)
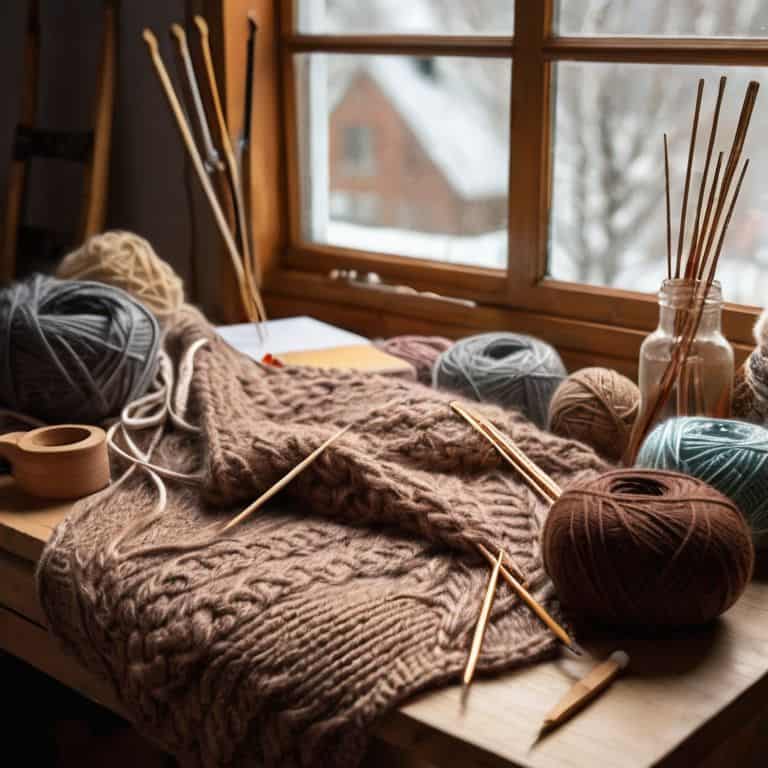
Supplies & Materials
- Worsted Weight Yarn approximately 300-400 yards
- Cable Pattern choose a simple or complex pattern
- Stitch Dictionary (for reference)
Step-by-Step Instructions
- 1. First, let’s start by understanding the basics of cable knitting. To begin, you’ll need to cast on an even number of stitches, as cables work best with an even number. Make sure to choose a yarn that has a bit of texture and stitch definition, as this will help your cables stand out. I personally love using natural fibers like wool or alpaca for their warmth and drape.
- 2. Next, you’ll need to create a foundation for your cables. This typically involves knitting a few rows of stockinette stitch or a simple texture pattern. Don’t worry too much about this part, as it’s just the setup for the fun to come. Focus on getting a smooth, even fabric that will provide a nice backdrop for your cables.
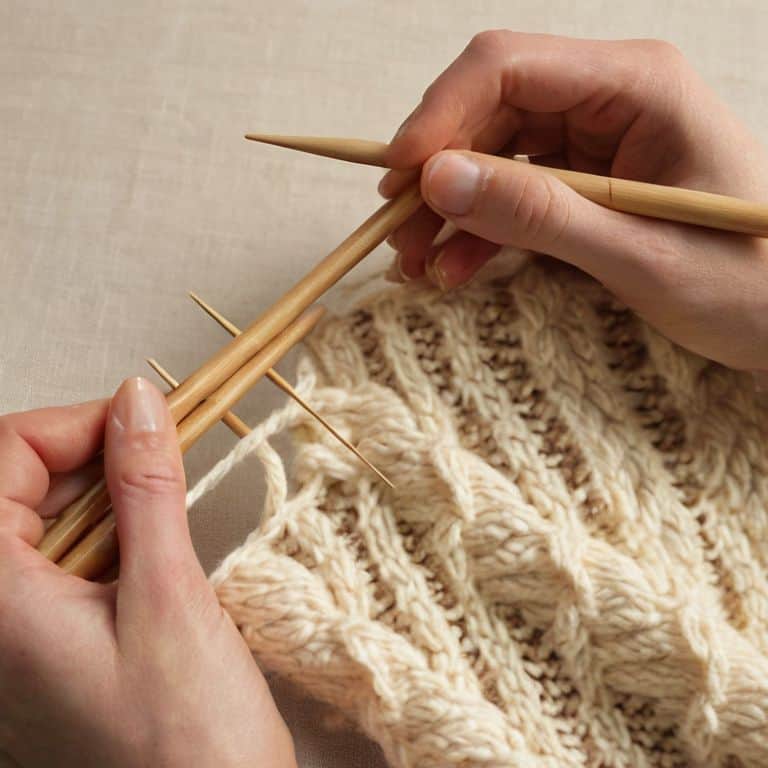
- 3. Now it’s time to introduce the cables. To do this, you’ll need to use a cable needle, which is a special type of needle that allows you to hold stitches temporarily while you work on other stitches. Start by knitting to the point where you want your cable to begin, then slip the stitches you want to cable onto the cable needle. Hold the cable needle in front of or behind your work, depending on the type of cable you’re trying to create.
- 4. With your stitches safely on the cable needle, it’s time to start crossing them over. To do this, you’ll need to knit the stitches on the cable needle, then knit the corresponding stitches on your main needle. This will create the twist that gives cables their signature look. Be careful not to pull the yarn too tightly, as this can cause your fabric to pucker.
- 5. As you continue to knit, you’ll need to repeat the process of cabling every few rows. This will help create a cohesive, textured look that’s perfect for sweaters, hats, and scarves. Don’t be afraid to experiment with different cable patterns, as these can add a lot of visual interest to your project. You can find plenty of inspiration online or in knitting books.
- 6. One of the most important things to keep in mind when working with cables is tension. Make sure to keep your stitches even and relaxed, as tight stitches can cause your cables to become distorted. It’s also a good idea to block your finished project, as this will help even out the stitches and give your cables a nice, defined shape.
- 7. Finally, don’t be discouraged if your cables don’t turn out perfectly at first. Practice makes perfect, and it may take a few tries to get the hang of crossing stitches and creating the right tension. The good news is that cables are actually quite forgiving, and small mistakes can often be hidden or fixed with a bit of clever knitting. With patience and practice, you’ll be creating beautiful, intricate cables in no time.
A Guide to Cable Knitting
As I sit here surrounded by balls of yarn and half-finished projects, I’m reminded of the joy that cable knit stitch patterns can bring to a design. There’s something truly special about watching a simple stitch transform into a intricate, textured fabric. To achieve this, it’s essential to understand cable charts and diagrams, which can seem daunting at first, but trust me, with practice, you’ll be reading them like a pro.
When working with cable needles, I always recommend starting with a simple project, like a scarf or hat, to get a feel for the technique. This will help you develop the necessary skills and confidence to tackle more complex knitting cable sweaters for beginners. Remember, the key to successful cable knitting is patience and attention to detail. Don’t be afraid to frog your work if you make a mistake – it’s all part of the process.
As you become more comfortable with cable knitting, you can start to experiment with advanced cable knitting techniques, like twisting and turning stitches to create unique textures and designs. The possibilities are endless, and I encourage you to push the boundaries of what you thought was possible with cable knit texture and design. With time and practice, you’ll be creating stunning, one-of-a-kind pieces that showcase your skills and creativity.
Mastering Cable Charts for Beginners
As we delve into the world of cable knitting, it’s essential to become comfortable with reading cable charts. These visual representations of our stitches can seem intimidating at first, but trust me, they’re a game-changer. I remember when I first started knitting, I found charts to be a bit puzzling, but with practice, I grew to love how they helped me visualize the fabric of my knitting.
To start, let’s break down the basics of a cable chart. Each symbol on the chart corresponds to a specific stitch or action, such as a knit stitch or a cable cross. By following the chart row by row, you’ll begin to see the cables take shape. Don’t worry if it takes a little time to get the hang of it – with patience and practice, you’ll be reading cable charts like a pro in no time.
Unraveling Cable Knit Stitch Patterns
As we delve deeper into the world of cable knitting, let’s explore the various stitch patterns that make this technique so captivating. From the subtle twists of the honeycomb stitch to the more complex crossings of the rope stitch, each pattern has its own unique character. I just love how these stitches can add texture and visual interest to a garment, making it truly one-of-a-kind.
When working with cable knit stitch patterns, it’s essential to understand how to read and interpret the charts and instructions. Don’t worry if it seems daunting at first – with practice, you’ll become more comfortable navigating these diagrams and creating beautiful, intricate designs. Remember, the key to mastering cable knitting is patience and attention to detail, so take your time and enjoy the process of unraveling these stunning stitch patterns.
Weaving Wisdom: 5 Essential Tips for Cable Knitting
- Start with the right tools: invest in a good quality cable needle that feels comfortable in your hand, and don’t be afraid to experiment with different yarn weights and textures to find your perfect match
- Read your cable charts like a pro: pay attention to the symbols and abbreviations, and take your time to understand the pattern before you begin – it’s like unraveling a treasure map to a cozy haven
- Swatch, swatch, swatch: before diving into your main project, create a swatch to get a feel for the stitch pattern and to ensure that your tension is just right – it’s the secret to a beautifully balanced fabric
- Don’t be too hard on yourself: cable knitting can be a bit fiddly at first, but with practice, you’ll get the hang of it – remember that it’s okay to make mistakes, and that they can often be gently coaxed back into place
- Join the cable knitting community: share your projects, ask for advice, and bask in the joy of creating something beautiful with like-minded makers – it’s a wonderful way to stay motivated, inspired, and wrapped in wonder
Key Takeaways for Mastering Cable Knitting
I’ve found that the key to beautiful cable knitting lies in the gentle balance between tension and texture, allowing the cables to pop against the background stitches
Practicing with simple cable charts and gradually moving to more complex patterns has been a game-changer for my students, helping them build confidence and skill
Remember, cable knitting is a journey, not a race – taking your time to understand the stitch patterns, and not being afraid to frog your work when needed, will lead to truly enchanting results
The Heart of Cable Knitting
As I often say to my students, cable knitting is not just about manipulating stitches, it’s about telling a story with yarn – one twist, one turn, and one row at a time.
Clara Meadows
Embracing the Joy of Cable Knitting
As we come to the end of this guide to cable knitting, I hope you’ve enjoyed the journey of discovering the intricacies of cable stitch patterns and mastering the art of reading cable charts. We’ve covered the essential steps to create beautiful, intricate designs that will elevate your knitting projects. From understanding the basics of cable knitting to exploring advanced techniques, you’re now equipped with the knowledge to tackle a wide range of patterns and create something truly unique. Remember, practice makes perfect, so don’t be discouraged if it takes a few attempts to get the hang of it – the process is just as important as the end result.
As you continue on your cable knitting journey, I encourage you to experiment and push boundaries. Try combining different yarns, colors, and textures to create one-of-a-kind pieces that reflect your personality. And when you’re stuck or need inspiration, take a step back and appreciate the process – the gentle click of the needles, the feel of the yarn flowing through your fingers, and the sense of accomplishment that comes with creating something with your own hands. Happy knitting, and I look forward to seeing the beautiful cable knit creations you’ll make!
Frequently Asked Questions
How do I choose the right yarn and needle size for a cable knitting project to ensure the best texture and drape?
When choosing yarn and needles for cable knitting, I always consider the texture and drape I want to achieve. Look for yarns with a bit of give, like merino wool or a wool-blend, and pair them with needles that allow for a comfortable tension. A swatch is essential to ensure the right balance – it’s a little extra work, but trust me, it’s worth it for that perfect cable knit fabric.
What are some common mistakes to avoid when reading cable charts for beginners, and how can I troubleshoot issues as they arise?
When reading cable charts, beware of miscounting stitches or misinterpreting symbols. To troubleshoot, take a deep breath, and gently work backwards to identify the issue. Don’t be afraid to frogging your work – it’s all part of the process. I like to think of it as a gentle unraveling, allowing us to restart with clarity and patience.
Can I adapt cable knitting patterns to create my own unique designs, and if so, what are some tips for successfully modifying existing patterns?
Absolutely, my friend! You can definitely adapt cable knitting patterns to create your own unique designs. To modify existing patterns, try swapping out yarn weights, experimenting with different cable crossing techniques, or adding your own subtle twists to the stitch sequence. Remember, it’s all about playing and having fun with the design process!