I still remember the first time I tried to read a crochet chart or diagram – it was like staring at a foreign language. As a former librarian and now a full-time craft instructor, I’ve seen many beginners get frustrated with the intricate symbols and codes. But the truth is, decoding these charts is not as daunting as it seems. In fact, with a clear, step-by-step approach, anyone can learn how to read a crochet chart or diagram and unlock a world of creative possibilities.
In this article, I promise to guide you through the process with practical advice and easy-to-follow instructions. You’ll learn how to break down complex charts into manageable parts, understand the different symbols and abbreviations, and even practice reading simple diagrams. My goal is to take the intimidation out of learning this new skill, so you can focus on what really matters – creating something beautiful with your own hands. By the end of this journey, you’ll be confident in your ability to read a crochet chart or diagram and take your crochet skills to the next level.
Table of Contents
Guide Overview: What You'll Need
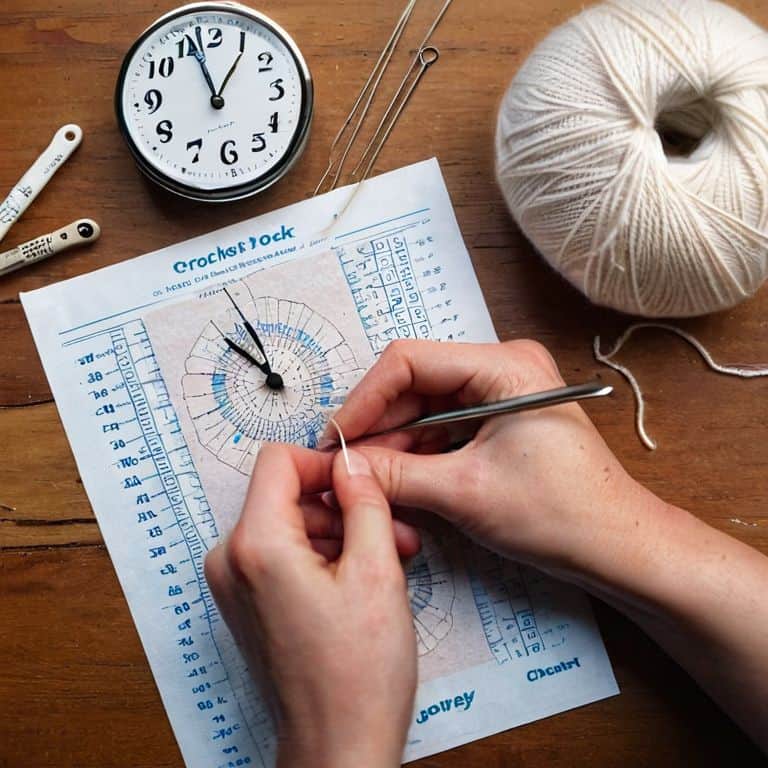
Total Time: 1 hour
Estimated Cost: free – $10
Difficulty Level: Easy
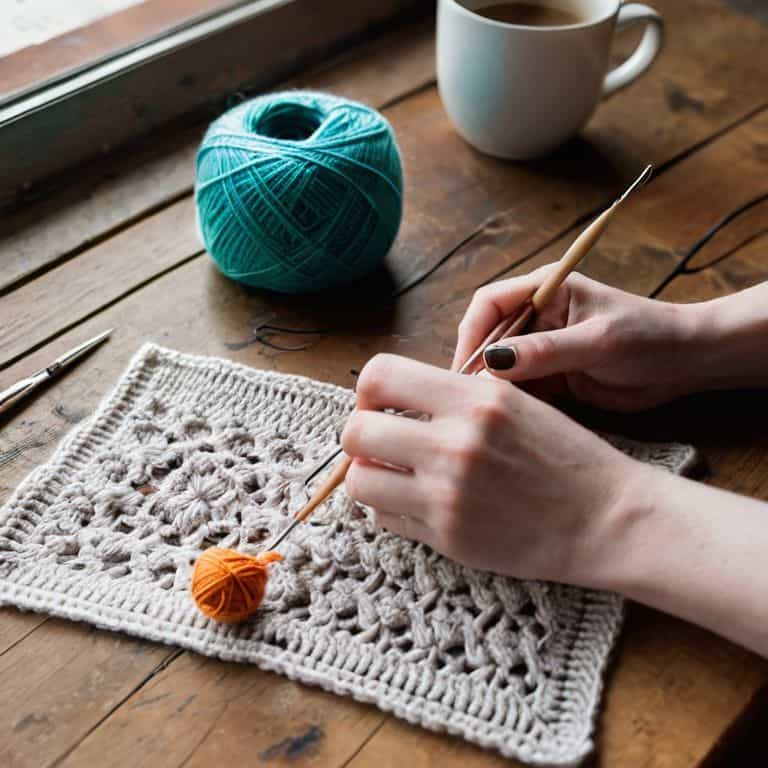
Tools Required
- Crochet pattern or diagram printed or digital
- Pen or pencil for marking the chart
Supplies & Materials
- Crochet hook for reference
- Stitch markers optional, for tracking progress
Step-by-Step Instructions
- 1. First, let’s start with the basics: understanding the layout of a crochet chart or diagram. Take a close look at the chart in front of you and notice the grid-like pattern. This grid is divided into rows and columns, and each square represents a stitch. Don’t worry if it looks overwhelming at first; we’ll break it down together.
- 2. Next, familiarize yourself with the legend or key provided with the chart. This is usually a small box or section that explains what each symbol or color represents in the pattern. Take a moment to study the legend and make sure you understand what each symbol means. If you’re unsure, don’t hesitate to look up additional resources or ask for help.
- 3. Now, let’s talk about reading the patterns from left to right and top to bottom. Just like reading a book, you’ll start at the top left corner of the chart and work your way across, then move down to the next row. This will help you keep track of your place and ensure that you’re completing each stitch correctly.
- 4. As you begin to read the chart, pay close attention to the stitch symbols. These symbols will indicate what type of stitch to make, such as a single crochet, half double crochet, or double crochet. Make sure you understand the difference between each symbol and practice making the corresponding stitches before moving on.
- 5. When working with a crochet chart, it’s essential to count your stitches carefully. Take the time to count each stitch as you complete it, and make sure you have the correct number of stitches at the end of each row. This will help you avoid mistakes and ensure that your project turns out as intended.
- 6. Another crucial step is to identify any repeats in the pattern. If a section of the chart is repeated, it will be indicated by a symbol or notation. Make sure you understand how many times to repeat the section and where to start and stop. This can be a bit tricky, but don’t worry, with practice, you’ll become more comfortable.
- 7. Finally, don’t be afraid to use a highlighter or marker to mark your place on the chart as you work. This will help you keep track of which row you’re on and which stitches you’ve already completed. You can also use sticky notes or a row counter to help you stay organized and focused.
Decoding Crochet Charts
As you become more comfortable with understanding crochet notation, you’ll start to notice that each chart or diagram has its own unique rhythm. To truly master reading these visual aids, it’s essential to take your time and not rush through the process. I always recommend that my students start by familiarizing themselves with the common crochet symbol mistakes that can trip them up, and then practice, practice, practice.
When working with visual crochet pattern tutorials, it’s crucial to pay attention to the details. Make sure you understand the crochet diagram best practices before diving in, as this will help you avoid confusion down the line. One of the most common mistakes beginners make is misinterpreting crochet stitch abbreviations, so take a moment to review these before starting your project.
By following these tips and being mindful of your own learning pace, you’ll be well on your way to deciphering crochet stitch abbreviations like a pro. Remember, the key to success lies in taking it one step at a time and not being afraid to ask for help when you need it. With patience and practice, you’ll be reading crochet charts for beginners in no time, and moving on to more complex projects with confidence.
Understanding Crochet Notation
Now that we’ve covered the basics of decoding crochet charts, let’s dive deeper into understanding crochet notation. This is where things can get a bit tricky, but don’t worry, I’m here to guide you through it. Crochet notation is essentially a shorthand way of writing down patterns, using abbreviations and symbols to represent different stitches and techniques.
Think of it like a secret code, where “ch” means chain, “sc” means single crochet, and so on. By familiarizing yourself with these abbreviations, you’ll be able to read patterns with ease and confidence. I like to think of it as learning a new language – it takes a little practice, but soon you’ll be fluent in crochet notation and ready to tackle even the most complex patterns.
Visual Pattern Tutorials
Now that we’ve covered the basics of understanding crochet notation, let’s move on to visual pattern tutorials. These are a fantastic way to learn how to read crochet charts, as they provide a step-by-step visual guide. I like to think of them as a roadmap to decoding crochet diagrams. By following along with a visual pattern tutorial, you’ll be able to see exactly how each stitch is worked and how the different symbols interact with one another.
Through these tutorials, you’ll gain hands-on experience in reading crochet charts, which will help build your confidence and skills. I recommend starting with simple tutorials and gradually moving on to more complex ones as you become more comfortable with the process. Remember, practice makes perfect, so don’t be afraid to try out a few different visual pattern tutorials to find the ones that work best for you.
5 Essential Tips to Master Reading Crochet Charts
- Start by familiarizing yourself with the key or legend provided with the crochet chart, as it explains what each symbol represents
- Pay attention to the grid layout of the chart, noting that each square represents a single stitch and each row corresponds to a row of stitches in your project
- Understand that crochet charts can be read either from the bottom up or from left to right, depending on the designer’s preference, so make sure to check the pattern’s instructions
- Use a highlighter or a piece of tape to mark your place on the chart as you work, helping you keep track of which row or stitch you’re on
- Practice reading crochet charts with simple projects before moving on to more complex ones, allowing you to build confidence and develop your skills in decoding these diagrams
Key Takeaways for Mastering Crochet Charts
Always start by reading the chart’s key or legend to understand the specific stitches and abbreviations used in the pattern
Practice visualizing the stitches and rows as you work through the chart, using the provided tutorials and notation guides to help you stay on track
Break down complex charts into smaller, manageable sections, and don’t be afraid to mark up your chart with notes and highlights as you work through it to ensure a smooth and enjoyable crochet experience
Embracing the Art of Crochet Literacy
The key to mastering crochet charts isn’t about being a genius, it’s about breaking it down to the smallest, most manageable pieces, and then, with patience and practice, watching your skills blossom into something truly beautiful.
Beatrice "Bea" Quinn
Conclusion: Mastering the Art of Reading Crochet Charts
As we conclude our journey through the world of crochet charts and diagrams, let’s take a moment to reflect on the key takeaways. We’ve covered the essential steps to decode crochet notation, from understanding the basics of visual pattern tutorials to recognizing the various symbols and abbreviations used in crochet patterns. By following these steps and practicing your skills, you’ll become more confident in your ability to read and work with crochet charts. Remember, the goal is to make the process enjoyable and rewarding, so don’t be too hard on yourself if you encounter any setbacks – simply take a deep breath, refer back to our guide, and keep moving forward.
Now that you’ve gained a solid foundation in reading crochet charts, it’s time to unleash your creativity and take your skills to the next level. Whether you’re working on a complex project or a simple scarf, the sense of accomplishment you’ll feel when you complete it will be incredibly fulfilling. As you continue to explore the world of crochet, remember that every stitch, every row, and every finished project is a testament to your patience, dedication, and passion for the craft. So, go ahead, pick up your hook and yarn, and let the joy of making something beautiful with your own hands be your constant inspiration.
Frequently Asked Questions
What if the crochet chart I'm reading has a lot of abbreviations I've never seen before, how do I decipher them?
Don’t worry, friend! If you encounter unfamiliar abbreviations, simply refer to the key or legend usually provided with the chart. It’s like a dictionary for your crochet pattern, explaining what each abbreviation means. Take a deep breath, match the mystery abbreviation to its definition, and you’ll be back to crocheting in no time!
How do I know which stitches to repeat and when to move on to the next row in a crochet diagram?
To determine which stitches to repeat and when to move on, look for repeat brackets or asterisks in the diagram, indicating a pattern to repeat. Count your stitches carefully and check the row count to ensure you’re on track. I like to make a little checklist to keep myself organized – it’s a librarian’s habit, I suppose!
Are there any online tools or apps that can help me practice reading crochet charts and diagrams with interactive tutorials or exercises?
For interactive practice, I recommend checking out Moogly or The Crochet Crowd, they offer excellent online tools and tutorials to help you sharpen your skills. You can also try the Crochet Geek app, which provides interactive exercises and quizzes to test your understanding of crochet charts and diagrams.