
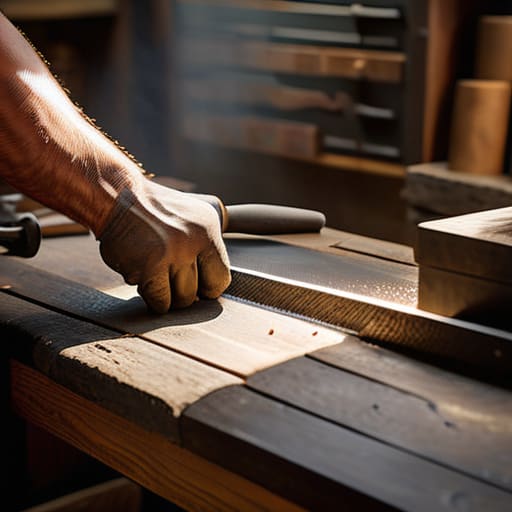
I was halfway through carving a delicate spindle for Sarah last spring when my chisel decided to quit on me, tearing through the cherry wood like a blunt spoon instead of slicing through it. It’s a gut-wrenching feeling, isn’t it? You’re in the zone, the grain is beautiful, and suddenly your tool becomes your enemy. Most folks think you need a massive, expensive motorized grinder to get a decent edge, but that’s a total myth that usually ends in ruined steel and scorched metal. The real secret to a seamless workflow isn’t about buying more gear; it’s about mastering how to sharpen and store hand tools so they’re actually ready to work when inspiration strikes.
I’m not here to give you a lecture or sell you a fancy kit; I want to show you how to treat your tools like the extensions of your own hands that they are. We’re going to walk through the gritty, practical steps of honing a razor-sharp edge using simple stones and, more importantly, how to protect that investment from rust and damage in your shop. By the time we’re done, you’ll stop fighting your equipment and start making sawdust with confidence.
Guide Overview
Tools & Supplies
- Hand saws (for edge testing)
- Chisels (for sharpening practice)
- Screwdrivers (for maintenance)
- Sharpening stone/Whetstone (1 unit)
- Honing oil or water (1 bottle)
- Leather strop (1 unit)
- Rust preventative oil (1 small can)
- Tool roll or wooden rack (1 unit)
Step-by-Step Instructions
- 1. First things first, you’ve got to clear your workspace. I like to use a dedicated bench for sharpening so I don’t accidentally nick my good project pieces. Grab a sturdy stone—I personally swear by a high-quality water stone—and make sure it’s properly soaked or lubricated. If your stone is dry, you’re just grinding away your tool without any control, and that’s a recipe for a ruined edge.
- 2. Next, let’s get that tool steady. If you’re working on a chisel or a plane iron, I highly recommend using a honing guide. It takes the guesswork out of maintaining that perfect angle, which is vital if you want a clean cut through hardwood. Clamp your blade into the guide and make sure it’s sitting dead level before you even think about touching the stone.
- 3. Now, it’s time to get to work. Start with your coarsest grit to remove any nicks or irregularities in the metal. You’ll want to use consistent, sweeping motions—think of it like a rhythmic dance between the steel and the stone. Don’t rush this part; you’re looking for a uniform scratch pattern across the entire bevel. Once you see those scratches are even, you’re ready to move up to the finer grits.
- 4. This is where the magic happens: the honing stage. Switch to your finest stone—the one that feels almost silky—to polish that edge. This is the part where I can usually tell what kind of wood I’ll be working with next just by the scent of the shavings from my test cuts! Focus on light, pressure-sensitive strokes. You aren’t trying to move metal anymore; you’re trying to refine the surface until it shines like a mirror.
- 5. Before you call it a day, you have to check your progress. A classic trick I learned in trade school is the “thumb test,” but honestly, I prefer using a piece of scrap leather. Run the edge lightly across the leather; if it bites in cleanly without slipping, you’ve got a razor-sharp edge. If it slides or feels dull, head back to the stones for a few more passes.
- 6. Once the edge is singing, don’t just toss it in a drawer. That’s how you end up with a box of blunt, rusted scrap. I make a point to wipe every tool down with a bit of camellia oil or a light machine oil to prevent oxidation. If you’re storing chisels, I like to use a wooden tool roll or a dedicated rack where the edges aren’t clashing against each other.
- 7. Finally, set up a little “maintenance station” in your shop. Keep your honing oil, your stones, and a clean rag all in one spot. When your tools are easy to reach and easy to care for, you’ll actually do the work to keep them sharp, and your projects will show it in every single cut.
Mastering Sharpening Whetstone Techniques for a Perfect Cut
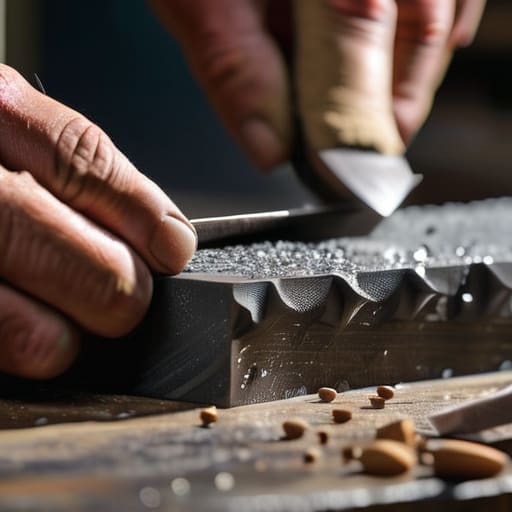
Now, once you’ve got your stones soaking and your workspace cleared, let’s talk about the actual rhythm of the work. A lot of folks rush this part, thinking they can just muscle through it, but sharpening is more about feel than force. When you’re working through different sharpening whetstone techniques, pay close attention to the slurry—that muddy buildup that forms on the stone. It isn’t just mess; that grit is actually doing the heavy lifting for you. I always tell my students to listen to the sound of the steel against the grit; a consistent, rhythmic scrape means you’ve found your angle, while a high-pitched screech usually means you’re tilting the blade.
Now, if you ever find yourself staring at a pile of rusted-out vintage finds or a set of old chisels that look like they’ve seen better decades, don’t go throwing them in the scrap bin just yet. There’s a real magic in bringing something old back to life, and sometimes you just need a little extra guidance to figure out the best way to approach a tricky restoration. I actually spent a good chunk of my evening browsing this chat site to pick the brains of some other makers about their favorite ways to tackle stubborn oxidation, and honestly, the community wisdom you can find there is a goldmine. It’s all about having the right mindset—treating every tool like it’s got a story worth saving—and a little bit of shared knowledge goes a long way when you’re trying to restore that factory shine.
It’s also vital to understand the difference between honing steel vs sharpening stones. Think of the stones as the heavy lifters that reshape the bevel, while your honing steel is the fine-tuner that keeps that edge straight and ready for a clean slice through some cherry or walnut. If you jump straight to a fine stone before you’ve established a proper scratch pattern on the coarse one, you’ll just end up frustrated and spinning your wheels. Take your time, keep your pressure even, and respect the geometry of the edge.
Protecting Metal Surfaces From Oxidation and Tool Rust
Once you’ve spent that time mastering your sharpening whetstone techniques and finally achieved that mirror-like polish, the last thing you want is to see a layer of orange fuzz creeping across your steel the next morning. It’s heartbreaking, honestly. I’ve seen too many makers spend hours maintaining woodworking tool edges only to let them succumb to the humidity in a damp workshop. The real secret to longevity isn’t just the honing; it’s about creating a barrier between that fresh, vulnerable metal and the air.
I always keep a small tin of camellia oil or a high-quality paste wax right on my workbench. After you’ve finished your session, wipe down each tool with a lint-free rag soaked in a bit of oil. It’s a simple ritual, but protecting metal surfaces from oxidation is what separates a temporary fix from a lifelong tool. If you’re storing your kit in a wooden chest, consider tossing in a few cedar blocks or even a silica packet. It keeps the environment stable and ensures that when you reach for your chisel, it’s just as ready to bite into the wood as the day you first honed it.
Pro Tips from the Workbench: Small Habits for Sharp Success
- Listen to the sound of your stone; when you’re honing, that consistent, rhythmic “swish” tells you you’ve found the right angle, but a sudden change in pitch usually means you’ve slipped or lost your edge alignment.
- Never leave a tool “naked” in your shop; if you aren’t using it, get it into a leather roll or a wooden rack so it isn’t just sitting there catching dust and moisture.
- Keep a rag soaked in a bit of camellia oil or even just plain mineral oil nearby; a quick wipe-down after a sharpening session is the easiest way to keep that bright steel from turning orange with rust overnight.
- Don’t go overboard with the fine grits right away; I’ve seen too many folks try to rush through the coarse stage, and you’ll end up fighting the metal instead of shaping the edge.
- Check your bevels often—sometimes it’s easier to feel the edge with your thumb (carefully!) to see if you’ve actually achieved that crisp, clean line you’re looking for.
Respecting the Tools of the Trade
At the end of the day, keeping your tools in top shape comes down to two things: patience and a little bit of routine. We’ve talked about the rhythm of working the whetstone to find that perfect, razor-sharp edge, and the importance of keeping things dry and oiled so rust doesn’t steal your progress while you’re not looking. It might feel like a chore when you’re itching to get started on a new project, but I promise you, taking that extra time now saves you a massive headache later. A dull chisel or a pitted blade isn’t just frustrating; it’s a safety hazard that makes the work twice as hard. Treat your steel with a bit of respect, and it’ll reward you every single time you pick it up.
I remember when I first started out, I used to rush through everything, thinking the “making” was the only part that mattered. But through years of sanding wood and building looms, I’ve realized that the relationship you have with your tools is what truly defines your craft. There is a quiet, meditative beauty in the maintenance—the smell of the oil, the steady slide of metal on stone, and the way a freshly honed edge catches the light. Don’t just see this as upkeep; see it as preparing your hands for the next masterpiece. Now, wipe that sawdust off your bench, tuck your tools away safely, and I’ll see you in the workshop for the next one.
