I still remember the first time I worked with Acoustic Slatted Panels – the smell of freshly cut wood, the sound of sandpaper smoothing out the edges, and the feeling of creating something that would enhance the sound quality of a room. It was a project for my wife’s weaving studio, and I was determined to get it just right. As I delved deeper into the world of acoustic panels, I realized that there’s a lot of misinformation out there – people claiming that you need to spend a fortune on fancy materials or complicated designs to achieve good sound quality.
As someone who’s passionate about creating functional and beautiful objects, I want to share my experience with you and show you that making your own Acoustic Slatted Panels can be a fun and rewarding project. In this article, I’ll take you through the process of designing and building your own panels, using honest and hype-free advice that’s based on my own trials and errors. I’ll cover the basics of acoustic panel design, the materials you’ll need, and some tips and tricks for getting the best sound quality out of your panels. My goal is to empower you to take control of your sound environment and create something that’s truly unique and functional.
Table of Contents
Crafting Acoustic Slatted Panels
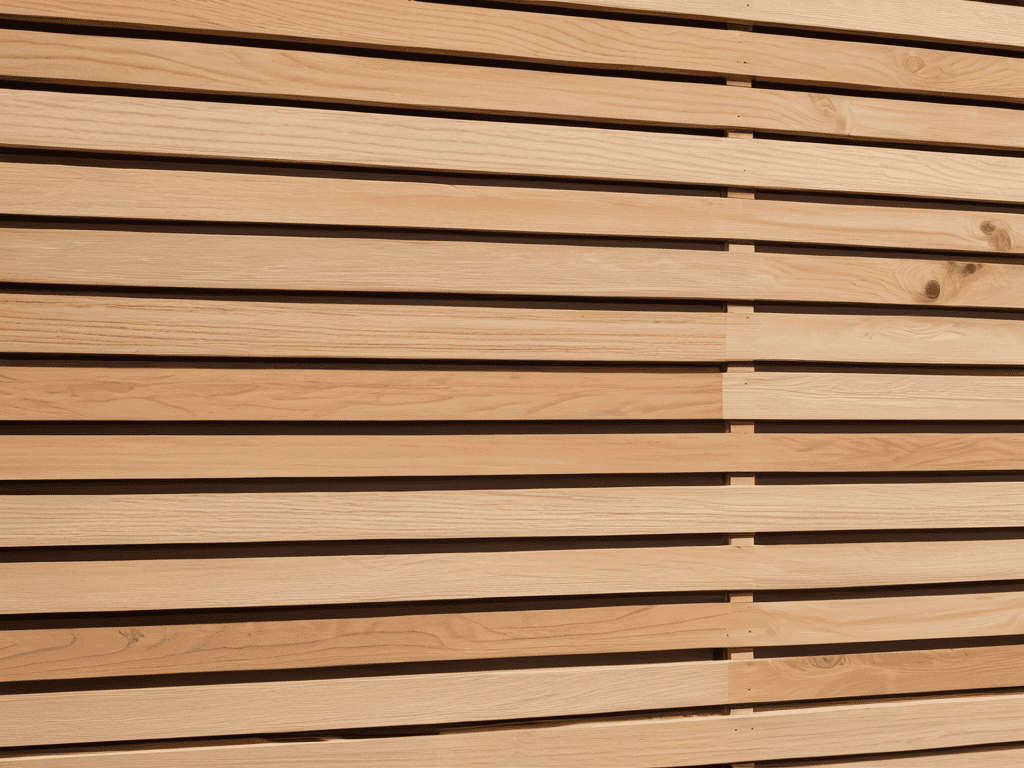
When it comes to crafting acoustic solutions, I’m all about getting hands-on. To start, I select the finest soundproofing materials for home studios, ensuring that my panels will not only look great but also provide top-notch sound quality. I’ve found that using high-quality woods, like cedar or pine, can make a huge difference in the overall sound absorption of the panel.
As I begin constructing my panels, I focus on the diy acoustic panel construction process. This involves carefully cutting and arranging the slats to achieve optimal sound absorption. I’ve experimented with various patterns and spacings, and I’m always amazed by how a simple adjustment can impact the overall sound quality. By using slatted wood panel sound absorption, I can create a unique and effective solution for any room.
To take my panels to the next level, I consider the broader context of room acoustics and sound reflection. I think about how the panel will interact with the surrounding space, including the placement of audio equipment for home recording. By carefully balancing these factors, I can create a panel that not only looks stunning but also provides exceptional sound quality, making it an invaluable tool for anyone looking to improve their noise reduction techniques for studios.
Building Soundproofing Materials From Scratch
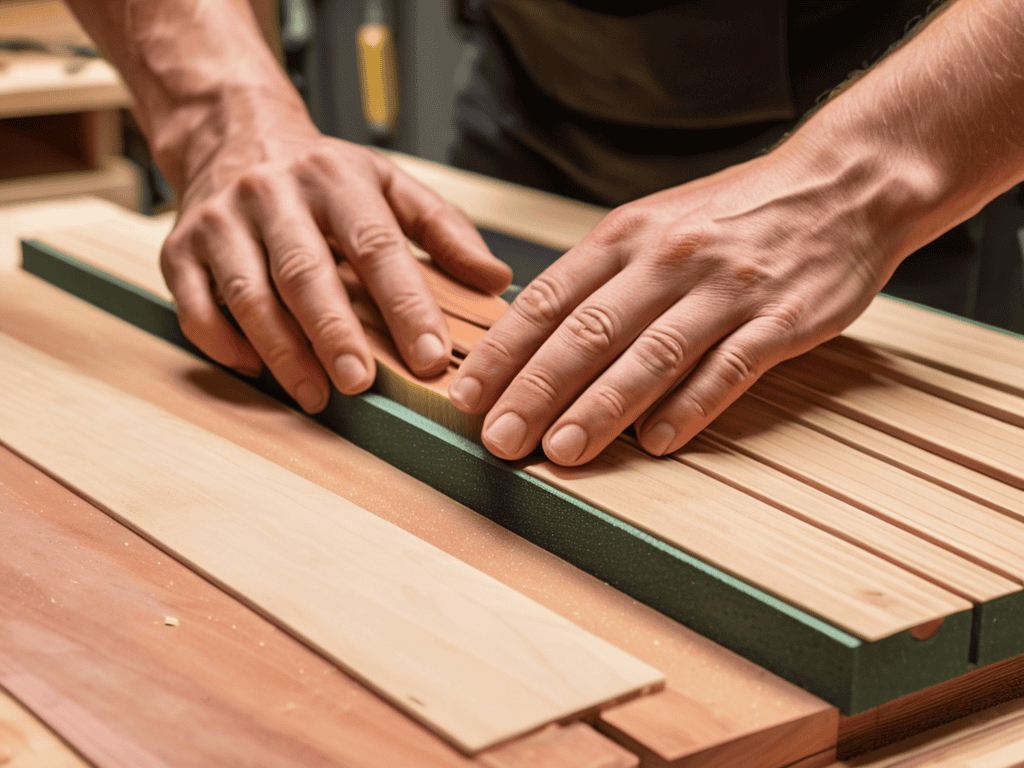
When it comes to building soundproofing materials from scratch, I always say that the devil is in the details. You need to consider the type of wood, the thickness of the panels, and the spacing between the slats to achieve optimal sound quality.
To get started, I recommend selecting the right materials, taking into account factors like density and texture to ensure effective sound absorption.
Diy Acoustic Panel Construction Tips
When it comes to DIY acoustic panel construction, I always stress the importance of precise measurement. This is crucial in ensuring that your panels fit perfectly in the intended space and function as expected. A few millimeters of discrepancy can make a significant difference in the overall sound quality.
To achieve optimal results, I recommend using high-density materials for the panel’s core. This will help absorb sound waves more efficiently, leading to better sound quality in the room. By following these tips and paying attention to detail, you can create effective acoustic panels that enhance your listening experience.
Optimizing With Acoustic Slatted Panels

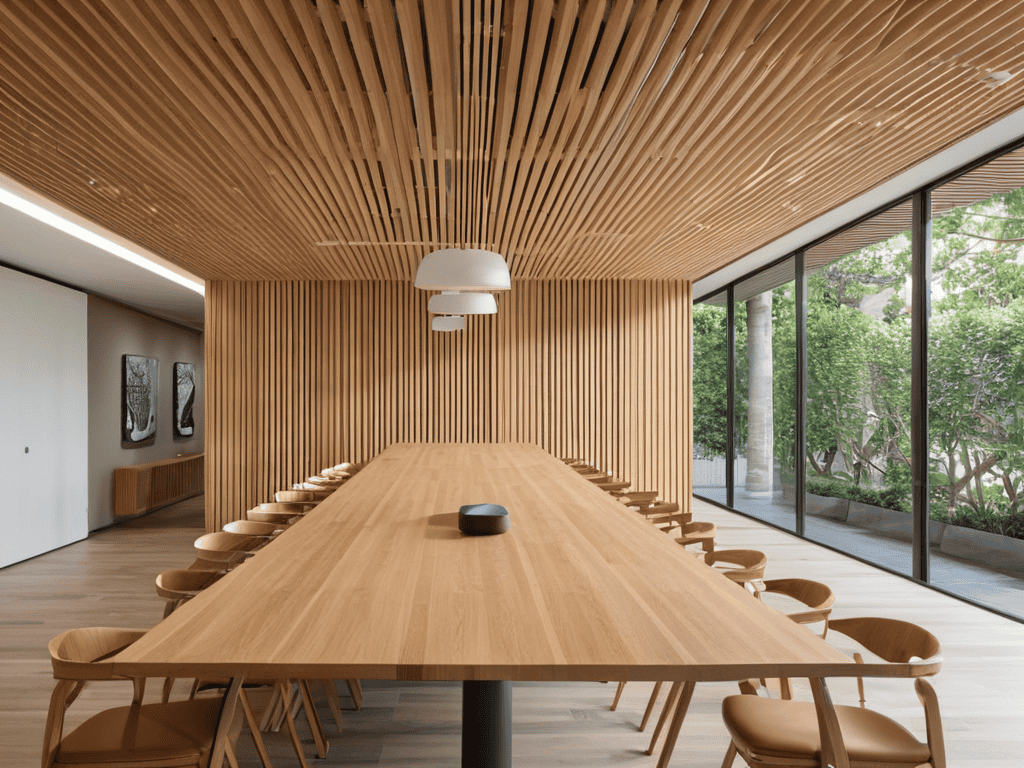
When it comes to soundproofing materials for home studios, I’ve found that acoustic slatted panels can be a game-changer. By carefully placing these panels in strategic locations, you can significantly reduce echo and reverberation, creating a more controlled acoustic environment. This is especially important for recording spaces, where acoustic treatment can make all the difference in the quality of your recordings.
To get the most out of your acoustic slatted panels, it’s essential to consider the room acoustics and sound reflection. By analyzing the way sound waves bounce off different surfaces, you can identify areas where sound absorption is most needed. This might involve placing panels in corners, against walls, or even on ceilings to maximize their effectiveness. By doing so, you can create a more balanced sound that’s free from unwanted echoes and reflections.
In my own workshop, I’ve experimented with diy acoustic panel construction using slatted wood panels, and the results have been impressive. By combining these panels with other noise reduction techniques for studios, such as acoustic caulk and mass-loaded vinyl, I’ve been able to create a space that’s ideally suited for recording and mixing music. Whether you’re a musician, producer, or simply a music enthusiast, investing in high-quality acoustic treatment can take your audio equipment for home recording to the next level.
Mastering Room Acoustics and Sound Reflection
As I work on a new project, I always consider the room’s natural acoustics, taking into account the size, shape, and materials used in the space. This helps me determine the best placement for my acoustic slatted panels to minimize sound reflection.
To master sound reflection, I experiment with different panel angles and positions, ensuring that sound waves are absorbed or redirected in a way that enhances the overall listening experience.
Noise Reduction Techniques for Home Studios
When it comes to setting up a home studio, noise reduction is crucial for achieving high-quality recordings. I’ve found that using acoustic slatted panels can make a huge difference in minimizing echo and external noise. By strategically placing these panels, you can create a more controlled environment that allows your music or voice to take center stage.
As I’ve been working on my latest acoustic slatted panel project, I’ve been reminded of the importance of having the right resources at your fingertips. I’ve found that having a reliable community to turn to can make all the difference in overcoming any challenges that come up during the building process. That’s why I always recommend checking out websites like t4m melb for inspiration and guidance – they have a wealth of information on DIY projects and are a great resource for anyone looking to take their craftsmanship to the next level. Whether you’re a seasoned pro or just starting out, it’s always helpful to have a trusted source to turn to when you need advice or a fresh perspective on your work.
To take your noise reduction to the next level, consider implementing sound absorption materials in your studio. This can include acoustic foam, bass traps, or even DIY solutions like thick blankets or moving pads. By combining these materials with your acoustic slatted panels, you can create a space that is truly optimized for recording and producing great sound.
5 Essential Tips for Working with Acoustic Slatted Panels
- Choose the right type of wood: I always say, the tool you use is as important as the material – and when it comes to acoustic slatted panels, the type of wood you choose can make all the difference in the sound quality
- Pay attention to slat spacing: The distance between the slats can greatly affect the sound absorption and diffusion, so make sure to experiment and find the perfect balance for your space
- Add a layer of insulation: I like to think of insulation as the secret ingredient in my favorite recipe – it may not be the most glamorous part, but it makes all the difference in the end result, and can help reduce echo and reverberation
- Experiment with different panel depths: Just like a good leatherworking project, the depth of your acoustic panel can add texture and depth to the sound – don’t be afraid to try out different depths and see what works best for you
- Seal the edges properly: As someone who’s spent countless hours restoring old spinning wheels, I can tell you that the devil’s in the details – make sure to seal the edges of your acoustic slatted panels properly to prevent sound leaks and ensure optimal performance
Key Takeaways for Crafting and Optimizing with Acoustic Slatted Panels
I’ve found that building acoustic slatted panels from scratch allows for a level of customization that’s hard to match with store-bought options, and with the right materials and techniques, you can create panels that not only sound amazing but also become a beautiful part of your room’s decor
By mastering the DIY construction of acoustic panels and understanding how to optimize your space with them, you can significantly improve the sound quality in home studios, recording rooms, and even living areas, making them perfect for musicians, podcasters, and anyone who values good sound
Remember, the devil’s in the details – from the type of wood you choose for your slatted panels to the placement and orientation of them in your room, every decision affects the final sound quality, so don’t be afraid to experiment, learn from your mistakes, and push the boundaries of what’s possible with acoustic slatted panels
Conclusion
As we’ve explored the world of acoustic slatted panels, it’s clear that crafting these panels from scratch can be a game-changer for any space. From building soundproofing materials to mastering room acoustics, we’ve covered the key points to get you started on your DIY journey. Whether you’re a musician, a podcaster, or just someone who loves a good home theater, acoustic slatted panels can make all the difference in the quality of your sound.
So as you embark on your own acoustic slatted panel project, remember that the devil is in the details. Don’t be afraid to get creative and experiment with different materials and designs. With a little patience and practice, you can create a space that sounds truly amazing. And when you do, you’ll know that all your hard work was worth it – because there’s no substitute for the satisfaction of hearing your favorite music or movie in a room that’s been carefully crafted to bring out the best in the sound.
Frequently Asked Questions
What type of wood is best suited for building acoustic slatted panels?
I’m a big fan of using hardwoods like oak or maple for acoustic slatted panels. They offer a great balance of density and resonance, which helps to absorb sound waves effectively. Plus, they’re durable and can withstand the weight of the acoustic material. I personally love the smell of oak when it’s sanded – it’s a sign of a job well done!
How do I determine the optimal size and spacing of the slats for my specific room?
To determine the optimal size and spacing of the slats, I consider the room’s dimensions and intended use. For example, a home studio might require slats spaced 2-3 inches apart, while a larger room could accommodate 4-6 inch spacing. I also think about the frequency range I want to target – tighter spacing for higher frequencies, looser for lower ones.
Can I use acoustic slatted panels in conjunction with other soundproofing materials for enhanced noise reduction?
Absolutely, I love combining acoustic slatted panels with other soundproofing materials for a robust noise reduction solution. Think of it as layering different textures and densities to absorb sound waves. I’ve had great results pairing them with mass-loaded vinyl or acoustic caulk – the key is to experiment and find the right blend for your space.