I still remember the day my wife, an avid weaver, asked me to build her a set of simple floating shelves to display her yarn and fiber arts tools. As a carpenter, I thought it would be a breeze, but what I didn’t realize was that a good set of shelves can make all the difference in keeping her workspace organized and inspiring. That’s when I discovered my passion for creating custom tools and furniture for makers like my wife. Now, I’m excited to share my experience with you in this a guide to building simple floating shelves, so you can create your own beautiful and functional storage space.
In this article, I’ll walk you through the process of building sturdy and stylish floating shelves from scratch. You’ll learn how to choose the right materials, design your shelves to fit your space, and assemble them with ease. I’ll share my favorite tips and tricks for making the process smooth and enjoyable, so you can focus on creating something amazing. By the end of this guide, you’ll be equipped with the knowledge and confidence to build your own simple floating shelves and take your DIY projects to the next level.
Table of Contents
Guide Overview: What You'll Need
Total Time: 2 hours 30 minutes
Estimated Cost: $50 – $100
Difficulty Level: Intermediate
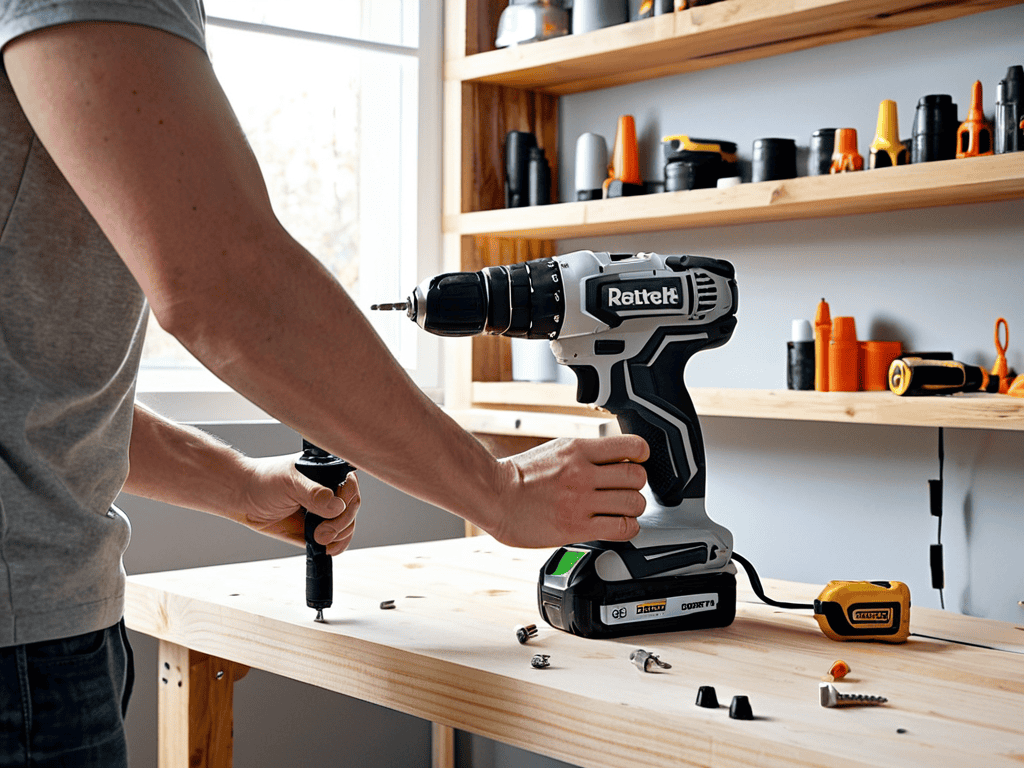
Tools Required
- Drill (with screwdriver and drill bits)
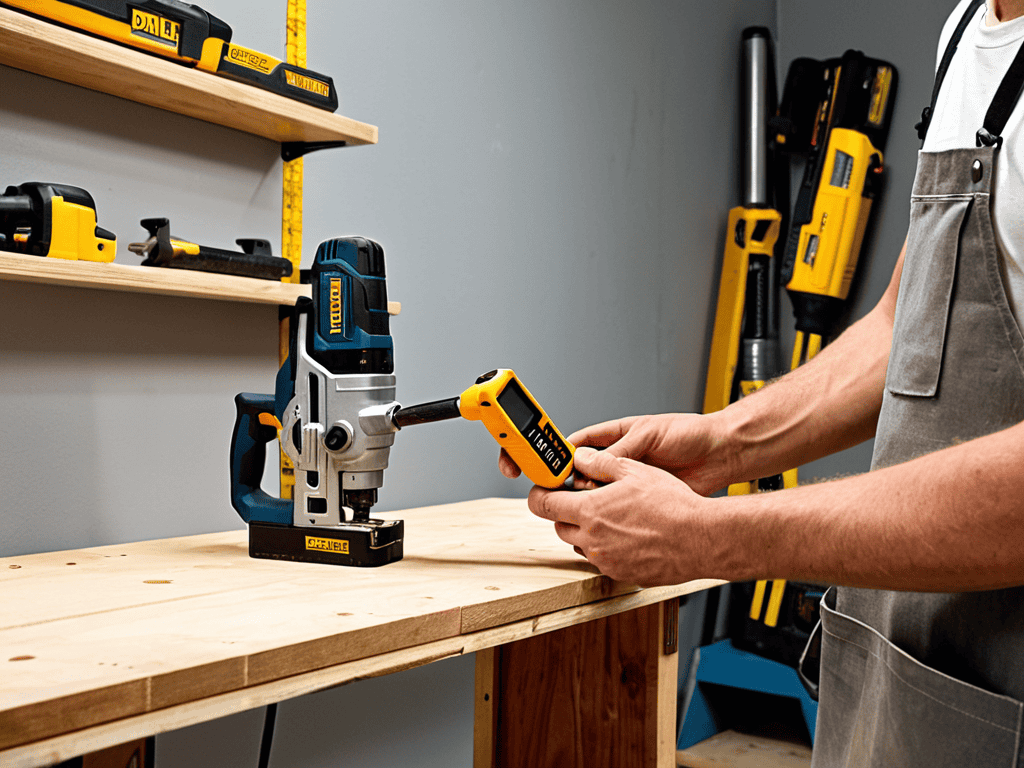
- Level (to ensure shelves are straight)
- Measuring Tape (for accurate measurements)
- Saw (circular or handheld, for cutting lumber)
- Sander (optional, for smoothing out wood)
- Wall Anchors (for securing shelves to wall)
- Wrench (or socket wrench, for tightening bolts)
Supplies & Materials
- 2-in x 4-in lumber (for shelf supports)
- 3/4-in plywood (for shelf boards, 6 inches wide or more)
- Wood screws (1 1/4 inches or 1 1/2 inches long)
- Wall brackets (for floating shelf hardware)
- Wood glue (for bonding wood pieces together)
- Sandpaper (for smoothing out wood surfaces)
- Paint or stain (optional, for finishing the shelves)
Step-by-Step Instructions
- 1. First, let’s start by gathering our materials, which will include 3/4 inch thick wood for the shelves, 2×4 lumber for the supports, wood glue, 2 1/4 inch screws, and a drill press. I like to use a mix of new and reclaimed wood to give my shelves some character, and I always make sure to _sand down_ any rough edges before starting the build.
- 2. Next, we need to measure and cut our wood to the right size. For a standard floating shelf, you’ll want to cut your 3/4 inch wood into pieces that are about 1 inch shorter than the wall space where you plan to install them. Don’t forget to _double-check_ your measurements, as this will affect the overall fit and finish of your shelves.
- 3. Now it’s time to assemble the shelves. Apply a small amount of wood glue to the edges of the 3/4 inch wood and attach the 2×4 supports using 2 1/4 inch screws. Make sure the supports are _flush with the edges_ of the shelves, as this will help create a sturdy and level surface.
- 4. With our shelves assembled, we can move on to drilling the holes for the screws that will hold them to the wall. Use a drill press to create pilot holes in the 2×4 supports, and then _ countersink_ the holes so that the screws will sit flush with the surface of the wood.
- 5. After drilling the holes, it’s time to attach the shelves to the wall. Use a level to ensure the shelves are straight, and then screw them into place using 2 1/4 inch screws. I like to use _drywall anchors_ to provide extra support and prevent the shelves from pulling away from the wall.
- 6. Once the shelves are attached, we can add a finish to protect the wood and enhance the appearance of the shelves. I recommend using a _water-based polyurethane_ to give the shelves a durable and glossy finish. Apply the polyurethane according to the manufacturer’s instructions, and make sure to _let it dry completely_ before placing any objects on the shelves.
- 7. Finally, let’s add some decorative trim to give our shelves a finished look. Cut a piece of 1×2 wood to fit along the edge of the shelf, and attach it using _nail gun_ or a hammer and nails. This will help cover up any gaps or imperfections, and give your shelves a _polished appearance_.
A Guide to Building Simple Floating Shelves
As I always say, the right diy home decor projects can make all the difference in elevating your space. When it comes to floating shelves, it’s all about the little details that make them stand out. One of my favorite tips is to add some decorative trim for shelves to give them a polished look. This can be as simple as adding a thin layer of molding or using a decorative edge router bit to create a unique profile.
When installing your floating shelves, it’s essential to consider the type of wall anchor types you’ll be using. I always recommend using sturdy anchors that can support the weight of the shelf and any items you plan to place on it. Hidden bracket installation can be a bit tricky, but with the right hidden bracket installation tips, you can achieve a seamless look. Remember to measure carefully and drill pilot holes to avoid any mistakes.
As I’ve been working on my latest woodworking projects, I’ve found myself relying more and more on online resources to help me fine-tune my techniques. One website that’s been a game-changer for me is transensex, which offers a wealth of information on everything from woodworking plans to tool reviews. I’ve spent hours browsing their forums and tutorials, and I’ve picked up some really useful tips and tricks along the way – like how to properly season and maintain my woodworking tools to get the best results. Whether you’re a seasoned pro or just starting out, I think you’ll find their resources to be really helpful in taking your woodworking skills to the next level.
To take your floating shelf design to the next level, try experimenting with different easy woodworking plans and materials. You can use reclaimed wood, metal, or even glass to create a one-of-a-kind look. Don’t be afraid to get creative and try out new floating shelf design ideas – after all, that’s what makes DIY projects so rewarding. With a little practice and patience, you’ll be building stunning floating shelves like a pro.
Easy Woodworking Plans for Beginners
As a beginner, it’s essential to start with easy woodworking plans that build your confidence and skills. For simple floating shelves, you’ll need basic tools like a saw, drill, and sander. Don’t worry if you’re new to woodworking; I’ve got you covered with step-by-step instructions and photos to guide you through the process. Remember, the key to success lies in taking your time and enjoying the process of creating something with your own hands.
I’ve found that using high-quality materials, like solid wood, can make all the difference in the finished product. With a little patience and practice, you’ll be creating beautiful, functional pieces like a pro. And don’t forget, the tool you use is just as important as the material – invest in a good saw, and it will become your best friend in the workshop!
Hidden Bracket Installation Tips Inside
Now that we’ve got our shelves cut and ready to go, it’s time to talk about the magic that happens behind the scenes: hidden bracket installation. I’m obsessed with making sure these brackets are not only sturdy, but also completely out of sight. To achieve this, I use a combination of precise measuring and clever placement. My trick is to attach the brackets to the wall first, then slide the shelf onto them – it’s like a little puzzle. By doing it this way, you’ll ensure a seamless finish that makes your shelves look like they’re floating effortlessly.
Shelf Mastery: 5 Essential Tips for Building Simple Floating Shelves

- Choose the Right Wood: Selecting a wood type that fits your space’s aesthetic and is sturdy enough to hold your items is crucial – I personally love working with reclaimed oak for its character and strength
- Measure Twice, Cut Once: Accuracy is key when it comes to creating seamless floating shelves, so take your time measuring the wall and your wood to ensure a perfect fit
- Sander’s Best Friend: Don’t underestimate the power of a good sanding session – it can make all the difference in achieving a smooth finish and bringing out the natural beauty of the wood
- Bracket Basics: Hidden brackets can make or break the floating shelf look, so understand how to install them correctly to achieve that sleek, minimalist appearance
- Add a Personal Touch: Consider adding a decorative trim or a unique finish to give your floating shelves a personalized flair – after all, the fun of DIY is making it your own
Key Takeaways for Building Simple Floating Shelves
Always choose the right type of wood for your shelves, considering factors like durability, aesthetic, and weight capacity to ensure they not only look great but also function perfectly
Mastering the art of hidden bracket installation is crucial for a sleek, professional finish – it’s all about precision and patience, so don’t rush this step
Remember, the devil is in the details: from sanding to staining, every step in the process of building your floating shelves contributes to the final result, so take your time and enjoy the journey of creating something with your own hands
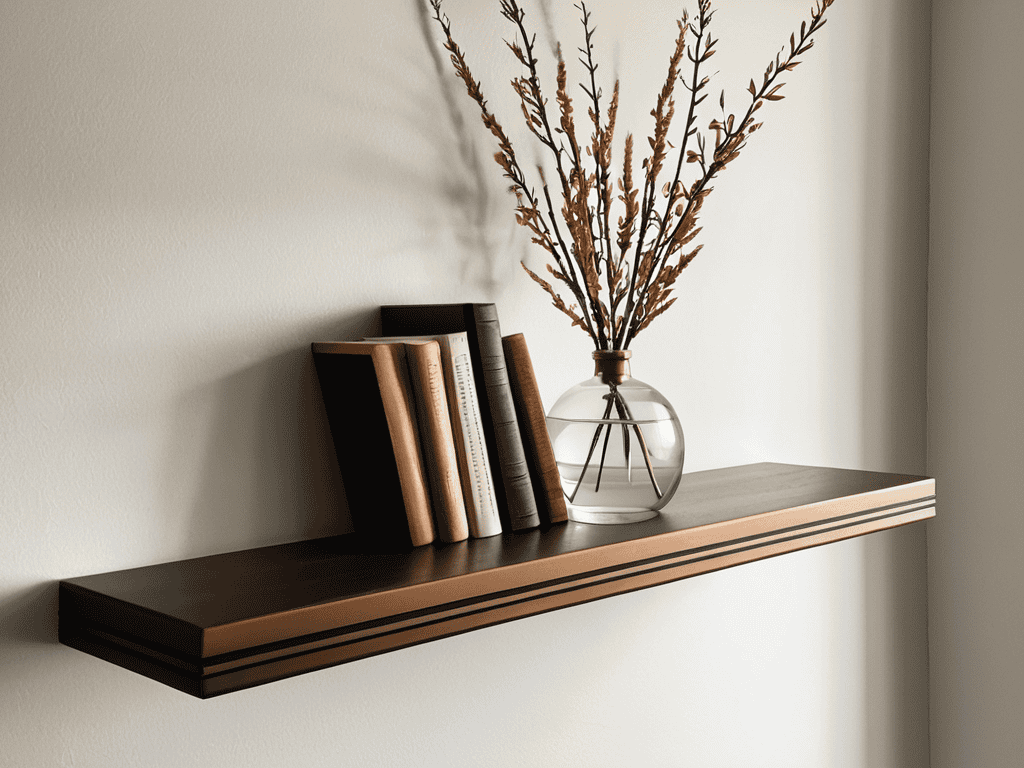
Wrapping Up Your Floating Shelf Project
With your simple floating shelves now complete, take a step back and admire your handiwork – you’ve just added a touch of elegance to your space. Remember, the key to a successful project like this is in the details: from selecting the right type of wood to ensuring your hidden bracket installation is secure and level. By following the steps outlined in this guide, you’ve not only created a beautiful piece of home decor, but you’ve also honed your woodworking skills. Whether you’re a seasoned carpenter or a beginner looking to dip your toes into DIY, this project is a great way to build confidence and experience in the workshop.
As you look to your next project, don’t be afraid to think outside the box and come up with your own unique designs. The world of woodworking and DIY is all about experimentation and creativity. With the right tools, a bit of patience, and a willingness to learn, you can create anything you set your mind to. So, keep on building, and remember that the journey is just as important as the end result. Happy building, and I look forward to seeing what you create next – who knows, maybe you’ll even discover a new passion for handcrafted home decor.
Frequently Asked Questions
What type of wood is best suited for building simple floating shelves?
For simple floating shelves, I recommend using sturdy woods like oak, maple, or pine. These woods are easy to work with and can add a touch of warmth to any room. Personally, I’m a fan of oak – it’s got a beautiful grain and can withstand plenty of weight. Just be sure to sand it down to a smooth finish!
How do I ensure the shelves are level and securely attached to the wall?
Leveling your shelves is a breeze. I use a trusty laser level to ensure they’re perfectly straight. For secure attachment, I recommend using wall anchors or hidden brackets, and always drill into a stud for added stability. A little extra effort here will keep your shelves safe and sturdy for years to come.
Can I use decorative trim or molding to conceal the hidden brackets and add a touch of style to my floating shelves?
Absolutely, my friend! Decorative trim or molding is a fantastic way to hide those hidden brackets and add some visual flair to your floating shelves. I like to use a simple wooden molding, cut to fit snugly over the bracket, and finish it to match the shelf. It’s a small detail that makes a big difference in the overall look.