I still remember the first time I stumbled upon the corner-to-corner (c2c) crochet blanket – I was immediately drawn to its unique, diagonal stitches that seemed to dance across the fabric. As I delved deeper into the world of c2c crochet, I realized that many crafters believed it was a complicated, tedious process, but I’m here to tell you that’s just not true. In fact, I’ve found that with the right guidance, creating a c2c crochet blanket can be a therapeutic and highly rewarding experience.
In this article, I’ll share my personal approach to making a beautiful, one-of-a-kind c2c crochet blanket. I’ll walk you through the simple, yet essential steps to get started, from choosing the perfect yarn to mastering the basic stitches. My goal is to empower you with the confidence to create something truly unique, so you can unwrap the joy of handmade and adorn your home with a stunning, corner-to-corner crochet blanket that tells a story. By the end of this guide, you’ll be well on your way to crafting a cozy, modern masterpiece that reflects your personality and style.
Table of Contents
Guide Overview: What You'll Need
Total Time: 10 hours 30 minutes to several days
Estimated Cost: $50 – $200
Difficulty Level: Intermediate
Tools Required
- Crochet Hook Size depends on yarn choice
- Tapestry Needle For weaving in ends
- Scissors For cutting yarn
- Stitch Markers Optional, for marking corners or patterns
Supplies & Materials
- Medium Weight Yarn Choose a color and brand of your preference, approximately 300-1000 yards
- Yarn Needle For sewing seams or weaving in ends
- Measuring Tape For measuring your work as you go, in inches or centimeters
Step-by-Step Instructions
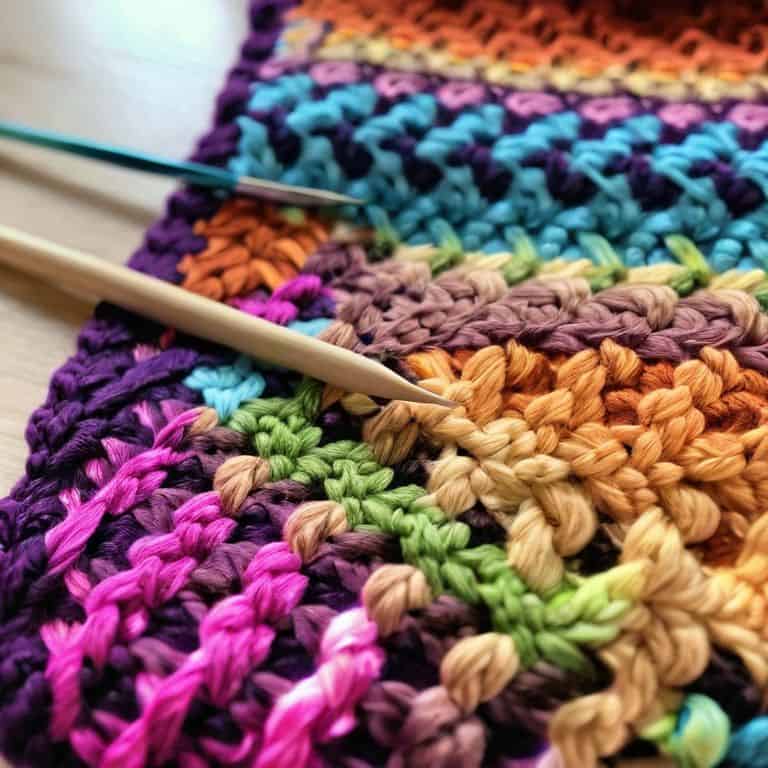
- 1. To start our corner-to-corner crochet blanket journey, let’s first talk about the materials we’ll need. I’m all about using vibrant yarns that reflect our personalities, so pick a color (or two, or three) that makes you happy. You’ll also need a crochet hook that feels comfortable in your hand – I personally love using a hook made from bamboo or wood, it just feels more organic.
- 2. Now, let’s get started with the foundation of our blanket. We’ll begin by creating a slip knot on our hook. Don’t worry if it takes a few tries to get it just right – I still remember the first time I tried to make a slip knot, it took me ages to figure it out. Once you’ve got your slip knot, chain one stitch to secure it, and then we can move on to the fun part.
- 3. The next step is to start building our corner-to-corner pattern. This involves working in rows, using a combination of chain stitches and double crochet stitches. To start a row, chain three (this counts as your first double crochet stitch), then work two double crochet stitches in the stitch indicated in your pattern or the previous row’s last stitch. Remember, the key to a beautiful corner-to-corner blanket is to keep your tension even and consistent.
- 4. As we work our way through the rows, we’ll start to see our blanket take shape. It’s absolutely mesmerizing to watch the stitches come together in a beautiful, one-of-a-kind piece of art. To turn your work at the end of each row, chain one, then turn your work. This sets us up for the next row, where we’ll continue to build our blanket.
- 5. One of the things I love most about the corner-to-corner crochet blanket is the flexibility it offers. You can make it as big or as small as you like, depending on how much yarn you have and how much time you’re willing to commit. If you want a larger blanket, simply keep adding rows until you reach your desired size.
- 6. As we near the end of our project, it’s time to think about edging. I like to keep my edging simple, using a single crochet stitch around the entire blanket to give it a clean finish. This step can be a bit tedious, but trust me, it’s worth it – a well-edged blanket makes all the difference in terms of appearance and durability.
- 7. Finally, the moment we’ve all been waiting for: binding off. Cut your yarn, leaving a tail long enough to weave in ends, then pull the tail through the last loop on your hook. Use a yarn needle to weave in ends, and voila! Your corner-to-corner crochet blanket is complete. Take a step back, admire your handiwork, and bask in the sense of accomplishment that comes with creating something truly unique and beautiful.
Stitching Hygge With C2c Blankets
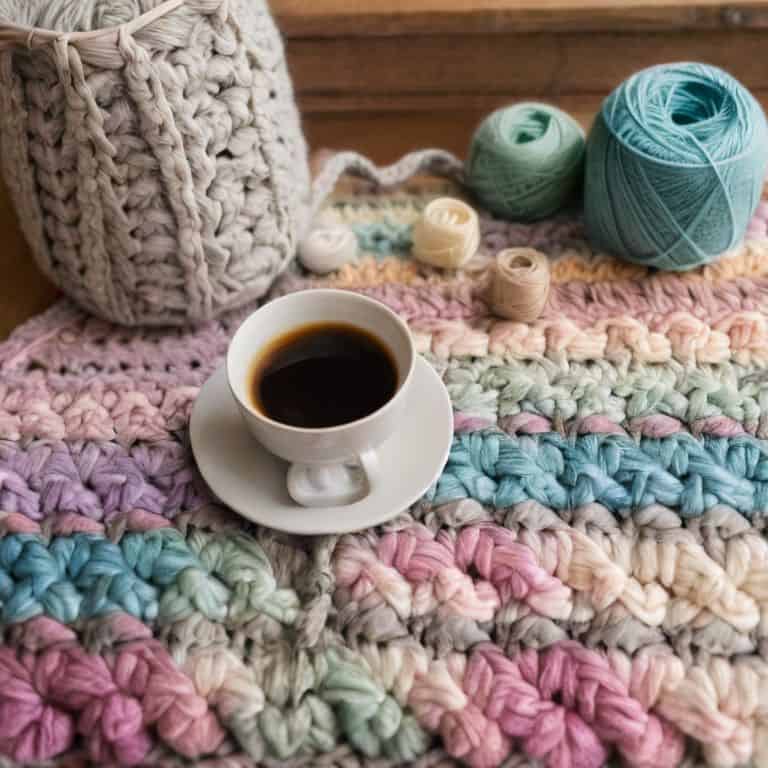
As I work on my latest c2c crochet projects for beginners, I’m reminded of the importance of choosing the best yarn for c2c blankets. The right yarn can make all the difference in the texture and durability of your finished blanket. I prefer to use a soft, chunky yarn that’s perfect for snuggling up on chilly evenings. When it comes to yarn selection, consider the season and the intended use of your blanket. For example, a lightweight yarn is ideal for spring and summer, while a thicker yarn is better suited for winter.
One of the things I love about the c2c crochet stitch is its versatility. You can use it to create a variety of designs, from simple to complex. If you’re looking for a fun and challenging project, try creating a c2c crochet graphgan design. These intricate designs are perfect for experienced crocheters who want to push their skills to the next level. For beginners, I recommend starting with a simple pattern and gradually increasing the complexity as you become more confident in your abilities.
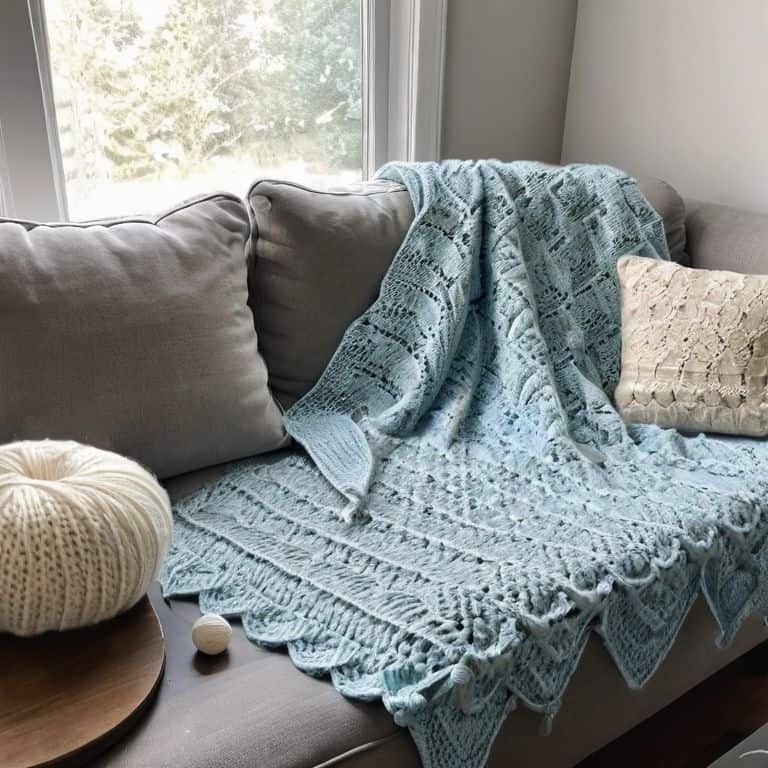
When comparing c2c vs traditional crochet methods, I find that the c2c technique offers a unique advantage. It allows you to create a blanket with a seamless, fabric-like texture that’s perfect for draping over your shoulders or snuggling up on the couch. Plus, the c2c stitch is surprisingly forgiving, making it an excellent choice for beginners who are still getting the hang of crochet. With a little practice and patience, you’ll be hooked on the c2c crochet stitch in no time.
Unraveling C2c Crochet Patterns
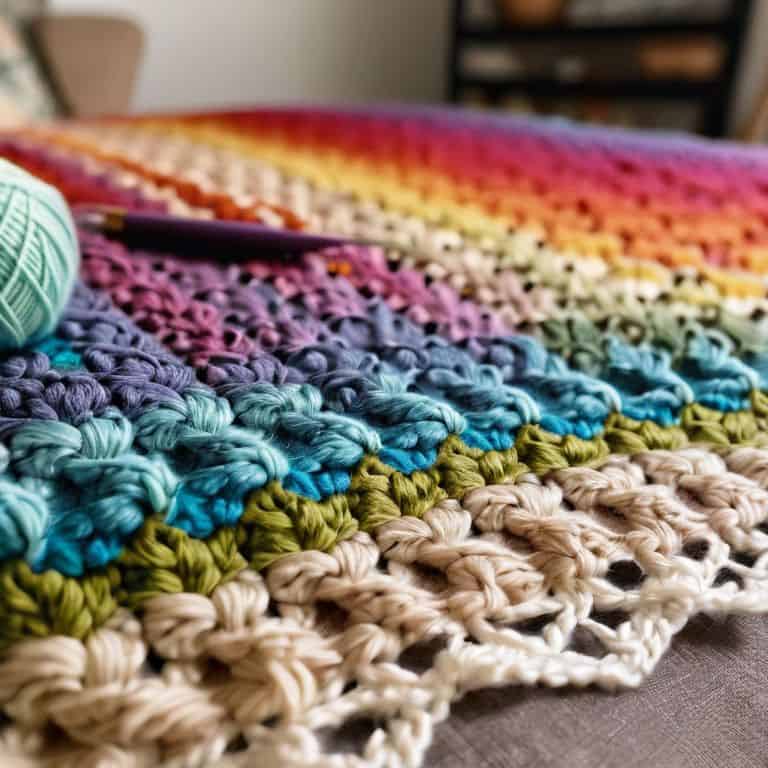
As I delve deeper into the world of corner-to-corner crochet, I’m constantly fascinated by the endless possibilities of patterns. Unraveling C2C crochet patterns is like uncovering a treasure trove of creativity, where each stitch tells a story. I love how a simple change in color or texture can entirely transform the mood of a blanket. For instance, a subtle shift from pastel hues to rich jewel tones can evoke a completely different atmosphere, taking your space from soft and serene to bold and vibrant.
My own approach to C2C patterns is all about experimentation and intuition. I rarely follow a pattern to the letter, instead, I let my yarn stash guide me. I’ll pick a few skeins that speak to me, and then let the stitches unfold organically. It’s amazing how a handmade item can reflect your personality and style, making each piece truly one-of-a-kind.
Yarn Choices for Cozy C2c Blankets
When it comes to yarn choices for my C2C blankets, I’m all about coziness and texture. I adore working with chunky, soft yarns that invite snuggles. Think plush merino wool, velvety acrylic blends, or even rustic cotton – anything that adds a tactile experience to my blankets. I also love experimenting with variegated yarns, watching as the colors shift and blend in a unique, one-of-a-kind pattern.
My yarn stash is a treasure trove of colorful possibilities, and I always seem to find the perfect match for my C2C projects. Whether I’m in the mood for something bold and bright or soft and pastel, I know I can count on my yarn collection to inspire me. And the best part? The yarn choices are endless, so each blanket can be a true reflection of my personality and style.
Weaving Wisdom: 5 Essential Tips for Your Corner-to-Corner Crochet Blanket
- Choose the right hook size to ensure your blanket lies flat and doesn’t pucker – I like to experiment with different sizes to find the perfect tension
- Select a yarn that speaks to you, whether it’s a soft pastel or a vibrant neon – the right color can make all the difference in setting the mood for your space
- Don’t be afraid to mix and match different stitches and patterns to create a truly unique piece – I love adding in subtle texture with a moss stitch or herringbone detail
- Pay attention to your foundation chain – a good base is essential for a blanket that will drape beautifully and last for years to come
- Embrace the imperfections – a handmade blanket is all about character, so don’t stress if your stitches aren’t perfectly uniform or your edges are a bit wobbly
Key Takeaways for Your C2C Crochet Journey
I’ve discovered that the corner-to-corner crochet blanket is an incredibly versatile project that allows for endless creativity and self-expression, making it perfect for crafters of all skill levels who want to add a personal touch to their homes
By experimenting with different yarn choices and colors, you can create a unique C2C blanket that reflects your personality and style, whether you’re aiming for a cozy, hygge-inspired atmosphere or a more modern, trendy look
Remember, the beauty of C2C crochet lies in its flexibility and forgiveness, so don’t be afraid to try new things, make mistakes, and add your own twist to the pattern – it’s all part of the fun and creative process of making something truly handmade and special
The Heart of C2C Crochet
To me, the corner-to-corner crochet blanket is more than just a project – it’s a journey of self-expression, a celebration of imperfections, and a reminder that every stitch tells a story of love, comfort, and the beauty of handmade.
Ruby Warren
Wrapping Up Your C2C Crochet Journey
As we conclude this corner-to-corner crochet blanket adventure, let’s reflect on the key takeaways: from understanding the stitch pattern to selecting the perfect yarn, every detail contributes to a unique piece of art that’s truly yours. We’ve dived into stitching hygge with C2C blankets, unraveling patterns, and exploring yarn choices that bring coziness to life. Whether you’re a seasoned crocheter or just starting out, remember that the beauty of handmade lies in its imperfections and the story it tells.
So, as you finish your blanket and wrap yourself in the warmth of your creation, remember that the joy of making is just as important as the end result. Don’t be afraid to experiment, to add your own twist, and to make mistakes – they’re all part of the journey. Happy crocheting, and I hope our paths cross again in the wonderful world of fiber art, where every stitch is a celebration of creativity and self-expression.
Frequently Asked Questions
What are some common mistakes to avoid when starting a corner-to-corner crochet blanket?
Oh, sweet friend, don’t worry, we’ve all been there! Common mistakes to avoid when starting a c2c blanket include uneven tension, miscounting stitches, and not leaving enough yarn for the next row. Trust me, I’ve learned from my own mistakes – just take your time, and don’t be afraid to frog it (rip it out) if needed!
How do I ensure that my c2c blanket lies flat and doesn't curl up at the edges?
To keep your c2c blanket from curling, try blocking it when you’re done – it’s like a spa day for your yarn! You can also make sure to maintain a consistent tension while stitching, and choose a yarn with a bit of weight to it. I like to add a simple border too, it helps keep everything in line and looking fabulous!
Can I use variegated yarn for a c2c blanket, or will it disrupt the overall pattern?
Variegated yarn can add a gorgeous, unique twist to your c2c blanket. While it may disrupt the overall pattern slightly, the result is often a beautiful, organic look that’s totally worth it. I just love how the color changes can create a sense of movement and energy in the blanket!