
I still remember the first time I tried to photograph my knits – it was a disaster. I had spent hours crafting a beautiful sweater, and when I went to take a picture of it, the lighting was all wrong, the background was cluttered, and the photo just didn’t do it justice. I’ve since learned that how to photograph your knits is just as important as the knitting itself. It’s not just about pointing a camera and clicking – it’s about capturing the story and love that goes into every stitch.
As someone who’s passionate about sharing the stories of makers and their crafts, I want to help you showcase your handmade knits in the best possible light. In this article, I’ll share some practical, no-nonsense tips on how to photograph your knits so that they look amazing on social media, your blog, or just for your own personal pride. From understanding lighting to styling your shots, I’ll cover it all – and I promise, it’s not as intimidating as it seems. By the end of this guide, you’ll be equipped with the knowledge to take beautiful, professional-looking photos of your knits that will make you proud to share them with the world.
Table of Contents
- Guide Overview: What You'll Need
- Step-by-Step Instructions
- Capturing Knit Beauty
- Framing Your Masterpiece: 5 Essential Tips for Photographing Your Knits
- Key Takeaways for Photographing Your Knits
- The Art of Capturing Handmade
- Weaving Together the Threads of Photography and Knitting
- Frequently Asked Questions
Guide Overview: What You'll Need
Total Time: 1 hour 15 minutes
Estimated Cost: $20 – $50
Difficulty Level: Easy
Tools Required
- Camera (DSLR or mirrorless)
- Tripod (for stability)
- Natural Light Source (near a window)
- Reflectors (optional, e.g., white cardboard or dedicated reflector panels)
- Remote Shutter Release or Camera Timer (for minimizing camera shake)
Supplies & Materials
- Plain Background (e.g., white or light-colored fabric, approximately 6 feet by 9 feet)
- Styling Props (optional, e.g., small decorative items, flowers, or greenery)
- Measuring Tape or Ruler (for ensuring items are properly spaced, with markings in inches)
- Clips or Pins (for securing knit items to background or props)
- Iron and Ironing Board (for smoothing out knit items before photography)
Step-by-Step Instructions
- 1. First, let’s talk about natural light – it’s the key to making your knits look amazing in photos. When I’m photographing my own projects, I always try to find a spot near a window with plenty of indirect sunlight. This helps to reduce harsh shadows and brings out the texture of the yarn. I’ve even been known to drag my projects outside on a sunny day to get that perfect shot.
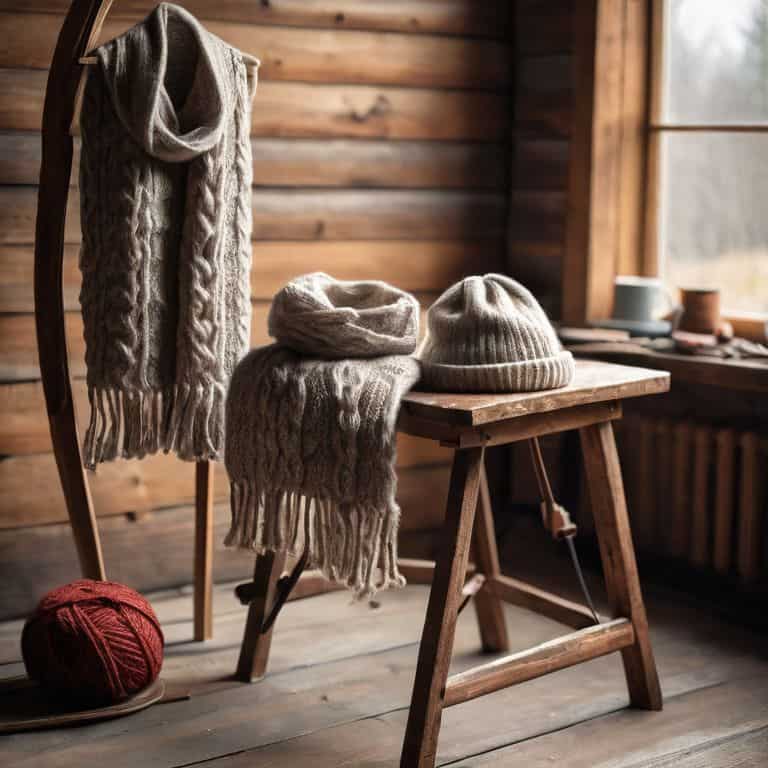
- 2. Next, think about the background of your photo. You want it to be simple and uncluttered, so your knit is the star of the show. I like to use a plain colored wall, a piece of cardboard, or even a dedicated photo backdrop. Just make sure it’s not too distracting or busy, or it’ll take away from the beauty of your handmade item. I’ve seen some amazing photos taken against a rustic wooden background, but it’s all about finding what works for you and your project.
- 3. Now, let’s get to the fun part – styling your knit. This is where you can get creative and add some personality to your photo. Think about the story you want to tell with your image – are you showcasing a cozy winter sweater, or a bright and cheerful summer scarf? Add some props that fit the theme, like a warm cup of coffee or a few fresh flowers. Just be sure not to overdo it, or your photo can start to look cluttered.
- 4. When it comes to camera settings, don’t worry if you’re not a tech expert – most smartphones have amazing cameras that can produce high-quality photos with just a few tweaks. I like to use the portrait mode to blur the background and make my knit stand out. You can also experiment with different angles and compositions to add some visual interest to your photo. Just remember to keep it simple and focus on the knit.
- 5. One of the most important things to consider when photographing your knits is texture. You want to capture the softness, the stitch pattern, and the overall feel of the yarn. To do this, try getting up close and personal with your knit – take a macro shot of the stitches, or capture the way the light reflects off the fibers. This will help bring your photo to life and make the viewer feel like they can reach out and touch the yarn.
- 6. Next up, let’s talk about editing your photos. Now, I know some people might be tempted to over-edit and make their photos look too perfect, but I say, keep it real. A few subtle tweaks to brightness, contrast, and saturation can make a big difference, but don’t be afraid to leave a few imperfections in. After all, handmade items are all about character and charm, right? I like to use a photo editing app to make a few quick adjustments and then call it a day.
- 7. Finally, don’t forget to have fun with the process! Photographing your knits is all about experimenting and trying new things. Don’t be afraid to try out different poses, angles, and styles until you find what works for you and your project. And hey, if all else fails, just remember that it’s okay to make mistakes – they’re all part of the creative journey, and you can always learn from them. Happy snapping, and I’d love to see what you’re working on!
Capturing Knit Beauty
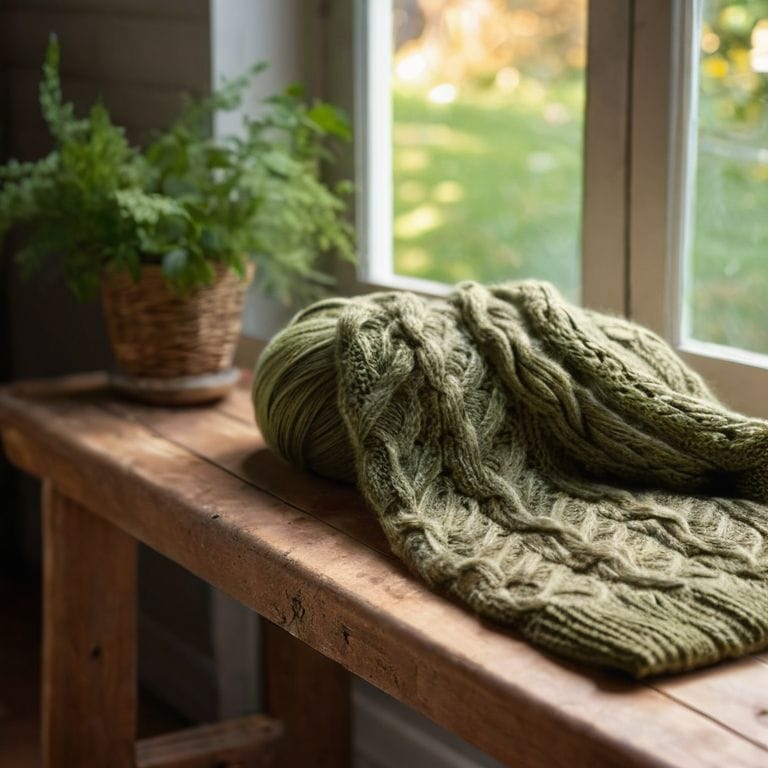
As I’ve traveled to various fiber festivals, I’ve noticed that natural light photography tips can make all the difference in capturing the beauty of handmade knits. There’s something special about the way the sunlight dances through the stitches, highlighting the texture and color of the yarn. When possible, try to take your photos near a window or outside, as this will help to bring out the nuances of your knitwear.
To add an extra layer of depth to your photos, consider exploring knitwear styling inspiration online. Look for ways to creatively arrange your knits, such as draping them over a chair or pairing them with complementary accessories. This will not only add visual interest to your photos but also help to tell a story about the piece you’ve created. For example, you might style a cozy sweater with a warm cup of coffee and a good book to evoke a sense of comfort and relaxation.
When it comes to editing your photos, there are many editing apps for instagram that can help to enhance the colors and textures of your knits. Look for apps that offer presets or filters specifically designed for textiles, as these can help to bring out the unique characteristics of your yarn. By combining great photography with thoughtful editing, you can create images that truly showcase the beauty of your handmade knits and inspire others to do the same.
Knitwear Styling Inspiration
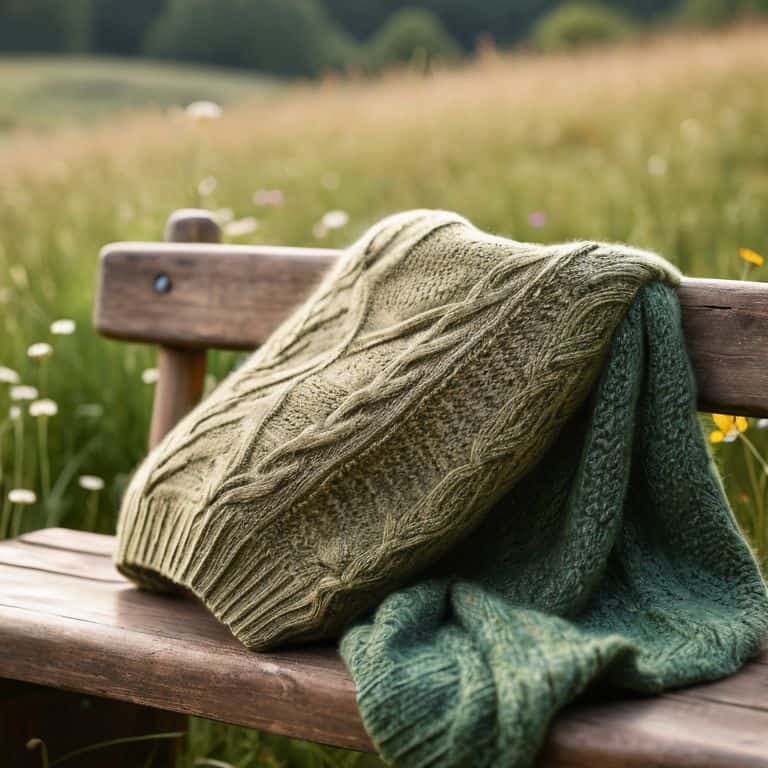
As I’ve traveled to fiber festivals, I’ve seen how a beautifully styled knit can stop people in their tracks. It’s not just about the yarn or the pattern, but how it’s presented. I’ve met designers who swear by simple, rustic backdrops to let the texture of the knit shine, while others love to add pops of color and whimsy. For me, styling is all about telling the story of the piece – where was it made, who made it, and what inspired it?
I’ve picked up some amazing tips from indie makers on how to style their knits for photos. Some swear by adding fresh greenery or flowers, while others use vintage props to add a touch of nostalgia. The key is to have fun and experiment – don’t be afraid to try out new ideas and see what works best for your piece.
Natural Light Photography Tips
When it comes to capturing the true beauty of our knits, natural light is unbeatable. I’ve found that a simple walk to the window or a quick snap outside can make all the difference. Soft, gentle light brings out the texture and color of our yarn, and it’s amazing how it can elevate even the simplest of projects. I recall a conversation with a designer who swore by shooting her garments near a north-facing window – the result was a soft, ethereal quality that made her knits look like they belonged in a magazine.
By leveraging natural light, we can add a professional touch to our photos without needing expensive equipment. Whether you’re a seasoned photographer or just starting out, experimenting with natural light can help you develop your own unique style and voice. So, next time you’re ready to snap a photo of your latest project, try moving to a spot with plenty of natural light – you might be surprised at the difference it makes.
Framing Your Masterpiece: 5 Essential Tips for Photographing Your Knits
- Use a simple and neutral background to let your knitwear be the star of the show
- Experiment with different angles and perspectives to add visual interest to your photos
- Pay attention to the lighting: natural light is always the best option, but if shooting indoors, invest in a good quality light box or softbox
- Style your knitwear with complementary accessories and props to tell a story and evoke a mood
- Edit your photos with a light hand: a little brightness and saturation adjustment can go a long way, but be careful not to overdo it and lose the natural texture of your knits
Key Takeaways for Photographing Your Knits
Natural light is your best friend when it comes to capturing the beauty of your handmade knits, so try to take photos near a window or outside during the golden hour for the most flattering results
Experiment with different styling options, such as adding props or using unusual backdrops, to add visual interest to your photos and make them stand out on social media
Remember, the goal of photographing your knits is to tell a story and share your passion with others, so don’t be afraid to get creative and have fun with the process – it’s okay to make mistakes and try new things
The Art of Capturing Handmade
The true beauty of a handmade knit isn’t just in the stitches, but in the story it tells – and the best photographs are the ones that whisper that story to the viewer.
Noah Byrne
Weaving Together the Threads of Photography and Knitting
As we’ve explored the world of knit photography, I hope you’ve picked up some valuable tips and tricks to elevate your craft. From the importance of natural light to the art of styling your knitwear, it’s all about telling a story through your images. By considering the interplay between texture and tone, you can add depth and visual interest to your photos. Remember, the goal is to capture the essence of your handmade knits, so don’t be afraid to experiment and try new things.
As you continue on your photography journey, I encourage you to keep asking yourself, what story do I want to tell? Whether you’re a seasoned knitter or just starting out, your handmade creations are a reflection of your unique perspective and creativity. By sharing your photos and stories, you become part of a larger community of makers, inspiring and connecting with others who share your passion for knitting and photography. So go ahead, grab your camera, and start framing the familiar – your knits, your way.
Frequently Asked Questions
What are some common mistakes to avoid when photographing handmade knits?
You know, I’ve seen some amazing knit photos in my time, but even the pros can fall into some common traps. One of the biggest mistakes is over-editing – it’s easy to get carried away with filters and adjustments, but sometimes less is more. Also, watch out for cluttered backgrounds and awkward posing, they can really distract from the beauty of your handmade knit.
How can I style my knitwear to make it look appealing in photos?
For me, styling knitwear is all about telling a story. I love adding props like vintage buttons, flowers, or even a favorite book to bring the piece to life. Consider the texture, color, and mood you want to evoke – it’s amazing how a simple scarf or hat can become a character in its own right.
What are some tips for capturing the texture and detail of intricate knit patterns in my photos?
When capturing intricate knit patterns, I swear by getting up close and personal. Try using a macro lens or the portrait mode on your smartphone to really showcase that texture and detail. And don’t be afraid to experiment with different angles – sometimes, shooting from directly above or at a 45-degree angle can make all the difference in highlighting those beautiful stitches.