I still remember the first time I tried to crochet in the round – it was a frustrating experience, to say the least. I had heard that it was a complicated technique, only suitable for experienced crocheters. However, I was determined to master it. After hours of practice and patience, I finally understood the simplicity and beauty of how to crochet in the round. It’s a technique that can be learned by anyone, regardless of their skill level, and it’s a game-changer for creating seamless, professional-looking projects.
In this article, I’ll share my personal approach to how to crochet in the round, breaking it down into simple, easy-to-follow steps. You’ll learn the essential tips and tricks to get started, from choosing the right hook and yarn to mastering the basic stitches. My goal is to provide you with a clear, no-nonsense guide that will have you crocheting in the round like a pro in no time. By the end of this article, you’ll be confident in your ability to create beautiful, rounded projects that will impress anyone. So, let’s get started on this journey together and discover the joy of crochet in the round!
Table of Contents
Guide Overview: What You'll Need
Total Time: 1 hour 30 minutes
Estimated Cost: $10 – $30
Difficulty Level: Intermediate
Tools Required
- Crochet Hook Choose a size appropriate for your yarn
- Tapestry Needle For weaving in ends
- Scissors For cutting yarn
Supplies & Materials
- Crochet Yarn Select a yarn suitable for your project
- Stitch Markers Optional, but helpful for tracking rounds
Step-by-Step Instructions
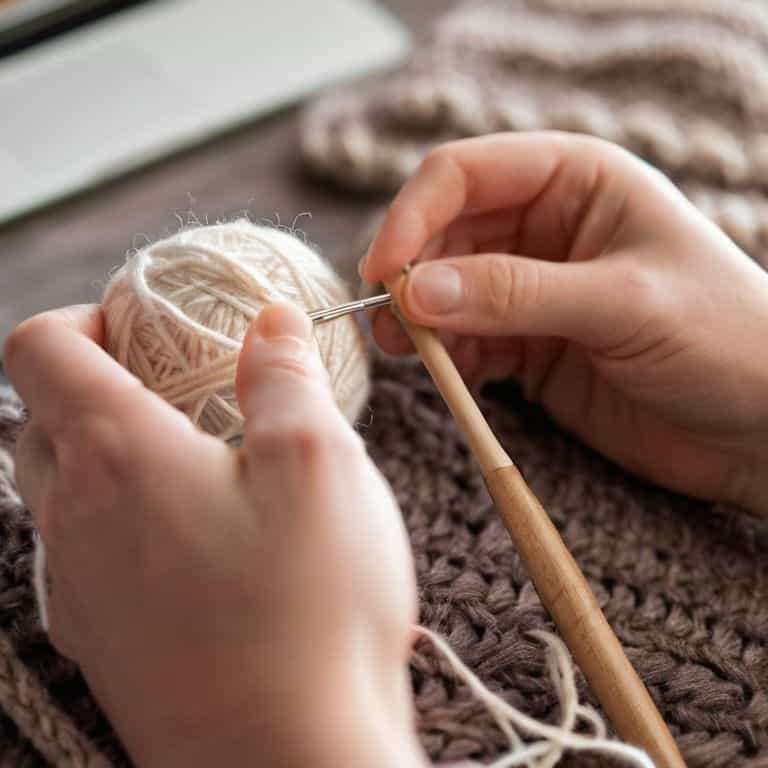
- 1. First, let’s start with the basics: to crochet in the round, you’ll need to create a slip knot on your hook. To do this, hold the yarn in one hand, make a loop with the yarn, and then hook the crochet hook through the loop. Pull the yarn tight to create a small knot. This will be the foundation of your project, so take your time to get it just right.
- 2. Next, you’ll need to chain the desired number of stitches for your project. I like to use a stitch marker to keep track of my place, especially when working in the round. To chain, insert the hook into the stitch directly below the knot, yarn over, and pull the yarn through. You should now have one loop on the hook. Repeat this process until you have the desired number of chains.
- 3. Now it’s time to join your chain to form a ring. To do this, you’ll need to slip stitch into the first chain you made. Insert the hook into the first chain, yarn over, and pull the yarn through both the chain and the loop on the hook. This will create a small seam that will be almost invisible in your finished project.
- 4. With your ring formed, you can now start crocheting in the round. To do this, chain one to create a small anchor, and then insert the hook into the first stitch of the ring. Yarn over, and pull the yarn through the stitch. You should now have one loop on the hook. Repeat this process, moving around the ring, until you have completed one full round.
- 5. As you continue to crochet in the round, it’s essential to keep track of your stitch count. I like to use a piece of paper and a pencil to keep a running tally of my stitches. This will help you ensure that your project is even and symmetrical. Don’t worry if it takes a little practice to get the hang of it – with time, you’ll be a pro at crocheting in the round.
- 6. To increase or decrease stitches as needed, you’ll need to adjust your stitch count accordingly. To increase, simply make an extra stitch in the desired location. To decrease, work two stitches together as one. Remember to keep your tension even, as this can affect the overall shape of your project.
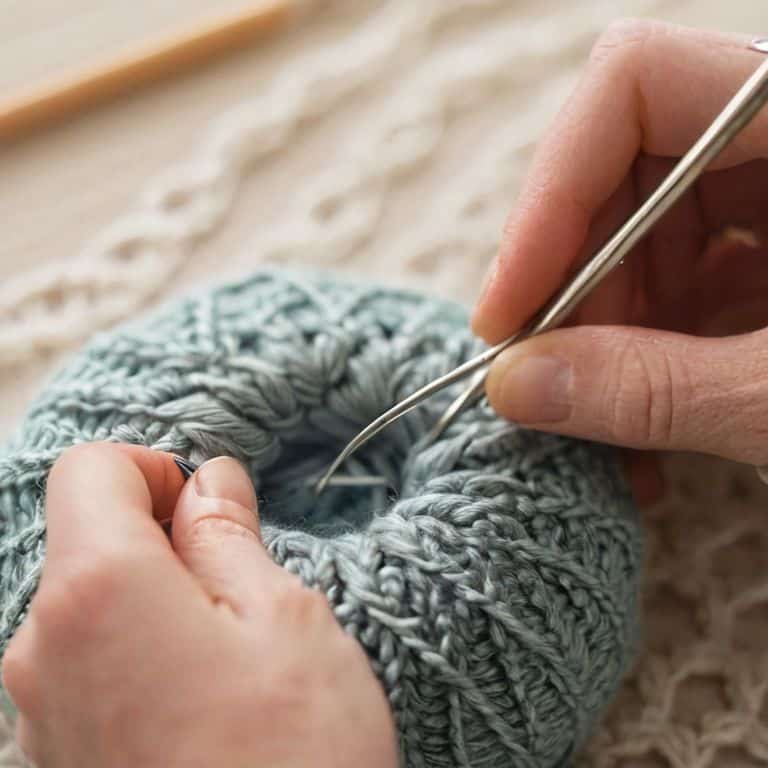
- 7. Finally, as you near the end of your project, you’ll need to fasten off your yarn. To do this, cut the yarn, leaving a long tail, and then pull the tail through the last loop on the hook. Pull the yarn tight to secure it, and then weave in the ends with a yarn needle. Take a step back and admire your handiwork – you’ve successfully crocheted in the round!
Mastering Crochet in the Round
As you continue to work on your project, it’s essential to remember that even spacing is crucial when increasing stitches evenly. This is particularly important when working with crochet circle patterns, as uneven stitches can throw off the entire design. To achieve a professional-looking finish, take your time and make sure to count your stitches carefully.
When working on amigurumi toy designs, it’s not uncommon to encounter challenges with double crochet in the round. However, with practice and patience, you’ll become more comfortable with this technique. One tip is to use a stitch marker to keep track of your place, especially when working with complex patterns. This will help you stay organized and ensure that your stitches are even and consistent.
To take your skills to the next level, consider experimenting with different projects, such as crochet hat sizes or working with magic ring. These techniques will help you develop a deeper understanding of crochet in the round and open up new possibilities for your creations. By mastering these skills, you’ll be able to tackle a wide range of projects, from simple accessories to complex seaming crochet pieces.
Increasing Stitches for Amigurumi Toys
Now that we’ve explored starting with crochet circle patterns, let’s dive into increasing stitches for amigurumi toys. This is where things can get a bit tricky, but don’t worry, I’m here to guide you through it. When creating amigurumi toys, you’ll often need to increase stitches to shape your project. To do this, you’ll work two stitches into one stitch from the previous round. I like to think of it as adding a little “growth” to your project.
I’ve found that using a stitch marker can be helpful in keeping track of where you need to increase. Simply place the marker at the beginning of the round and work your way around, increasing stitches as needed. Remember to count your stitches carefully to ensure you’re increasing evenly. With a little practice, you’ll be creating adorable amigurumi toys in no time.
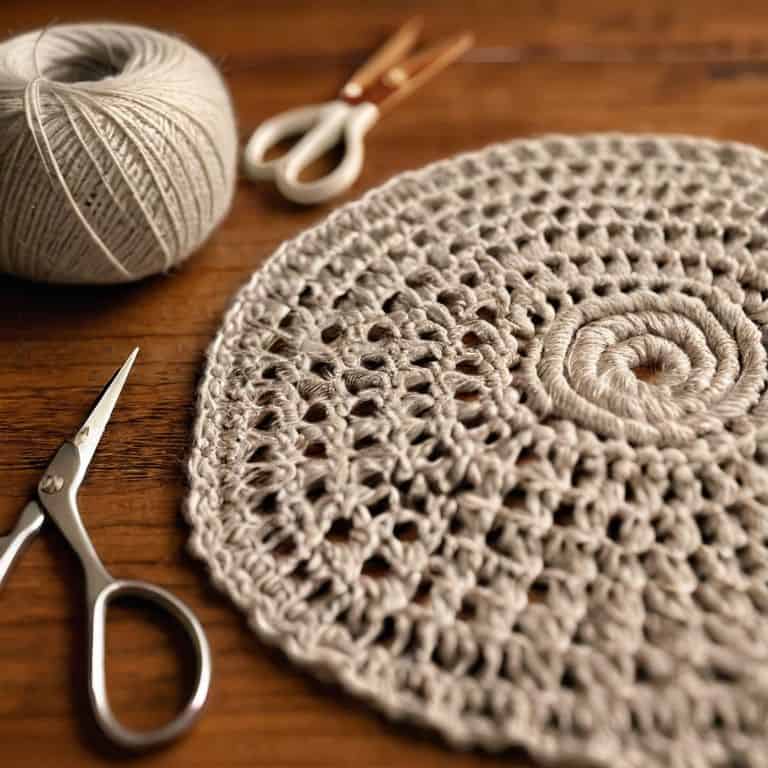
Starting With Crochet Circle Patterns
Now that we’ve covered the basics of crocheting in the round, let’s dive into starting with crochet circle patterns. I just love how versatile and beautiful these patterns can be. To begin, you’ll want to create a slip knot on your hook and chain the required number of stitches for your pattern. Don’t worry if it takes a few tries to get the hang of it – I’ve found that practicing with a simple circle pattern can help build confidence.
As you work on your crochet circle, remember to keep your tension even and your stitches consistent. This will help you achieve a smooth, flat circle that’s perfect for coasters, doilies, or even the beginning of a lovely afghan. Take your time and enjoy the process – with each stitch, you’re getting closer to creating something truly special.
Crocheting in the Round Like a Pro: 5 Essential Tips to Get You Started
- Make sure to count your stitches carefully at the end of each round to avoid mistakes that can be difficult to fix later
- Use a stitch marker to keep track of the beginning of each round, especially when working with complex patterns or multiple colors
- Keep your tension even and consistent, as this will affect the overall shape and size of your project
- Don’t be afraid to frog your work if you make a mistake – it’s better to start over than to continue with a project that’s not turning out as expected
- Practice, practice, practice! The more you crochet in the round, the more comfortable you’ll become with the technique and the better your projects will turn out
Key Takeaways for Mastering Crochet in the Round
I’ve found that breaking down crochet in the round into manageable steps is crucial – start with a solid foundation, like the magic circle, and gradually build up to more complex patterns
Remember, increasing stitches for amigurumi toys requires patience and attention to detail, but with a simple, repeatable process, you’ll be creating adorable toys in no time
By following these steps and practicing regularly, you’ll not only become proficient in crocheting in the round, but you’ll also develop the confidence to tackle more intricate projects and explore the endless possibilities of crochet
Congratulations, You're Now a Crochet in the Round Master!
As we conclude this journey to mastering crochet in the round, let’s summarize the key points we’ve covered. We started with the basics of crochet circle patterns, then moved on to increasing stitches for amigurumi toys. These foundational skills will serve as the building blocks for your future crochet projects. Remember, the key to success lies in taking it one stitch at a time and being patient with yourself as you learn. Don’t be afraid to experiment and try new things – it’s all part of the creative process.
As you put down your hook and yarn, I want to leave you with a final thought: the true beauty of crochet lies not just in the end result, but in the journey itself. The therapeutic benefits of crochet are well-documented, and I encourage you to embrace the calming, meditative aspects of this craft. So, go ahead, get cozy, and keep on crocheting – your next masterpiece is just a stitch away!
Frequently Asked Questions
What are some common mistakes to avoid when crocheting in the round to ensure a seamless and even fabric?
When crocheting in the round, I’ve seen students struggle with uneven tension, misplaced stitches, and forgotten increases. To avoid these common pitfalls, remember to keep a consistent gauge, count your stitches carefully, and use a stitch marker to keep track of your place.
How do I know when to switch to a larger or smaller hook size when working on a crochet in the round project?
To determine when to switch hook sizes, check your gauge by measuring the stitches and rows in your crochet circle. If it’s too loose, try a smaller hook, and if it’s too tight, switch to a larger one. I like to keep a hook size chart handy for quick reference, and I’ve included one in the appendix of my crochet guide for your convenience.
Can I use any type of yarn for crocheting in the round, or are there specific weights or fibers that work best for this technique?
When it comes to crocheting in the round, not all yarns are created equal. I recommend using a medium-weight yarn with a bit of stitch definition, like cotton or acrylic blends. Avoid very bulky or fuzzy yarns, as they can be tricky to work with in the round. Let’s explore some of my favorite yarn options for a seamless and enjoyable crocheting experience.