I still remember the first time I tried to learn how to make a lark’s head knot – I was a total newbie to macrame, and those intricate knots seemed like a secret language that only a select few could decipher. But as I dove deeper into the world of fiber art, I realized that this knot is actually a game-changer for any project, adding a touch of elegance and sophistication that’s hard to replicate with other techniques. The best part? It’s surprisingly easy to master, once you understand the basic principles.
In this article, I’ll share my favorite tips and tricks for how to make a lark’s head knot, along with some practical advice on how to troubleshoot common mistakes and take your knot-tying skills to the next level. You’ll learn how to create a sturdy, beautiful foundation for your macrame projects, and discover the freedom to experiment with different patterns and designs. Whether you’re a seasoned pro or just starting out, my goal is to empower you with the knowledge and confidence to create stunning, handmade pieces that reflect your unique style and personality.
Table of Contents
Guide Overview: What You'll Need
Total Time: 5 minutes
Estimated Cost: $0 – $5
Difficulty Level: Easy
Tools Required
- Rope or cord (preferably with a smooth surface)
Supplies & Materials
- A post or rail (to practice tying the knot)
Step-by-Step Instructions
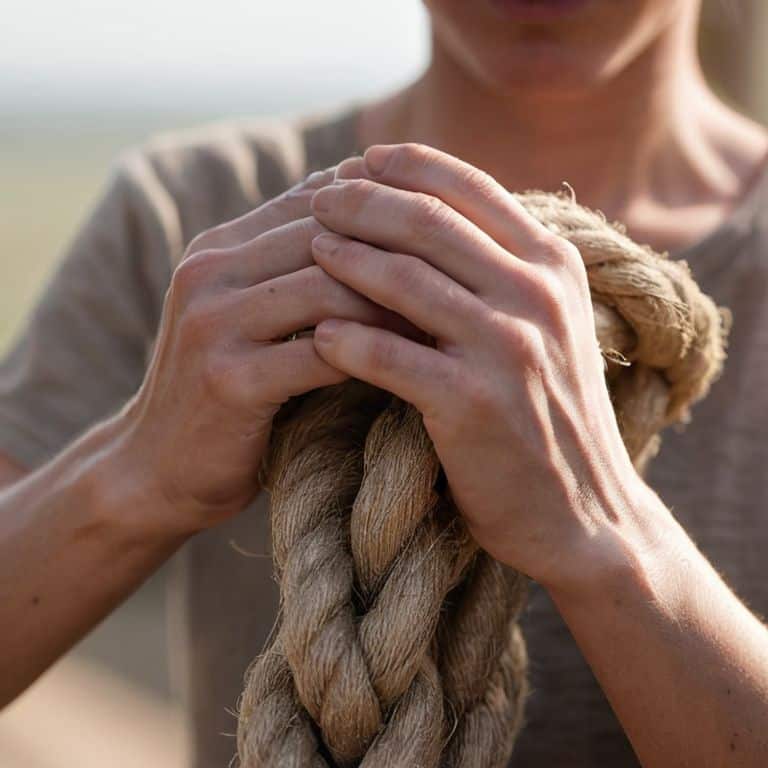
- 1. First, let’s get started with the basics – to create a lark’s head knot, you’ll need a piece of cord or yarn, and a surface to work on. I like to use a wooden board or a macrame project I’m currently working on as a base. Take one end of the cord and fold it in half, creating a loop – this will be the foundation of our knot.
- 2. Next, take the folded end of the cord and pass it through the loop you just created. This is where things can get a bit tricky, but don’t worry, with a little practice, you’ll be a pro in no time. Make sure the folded end is securely through the loop, and the cord is not twisted.
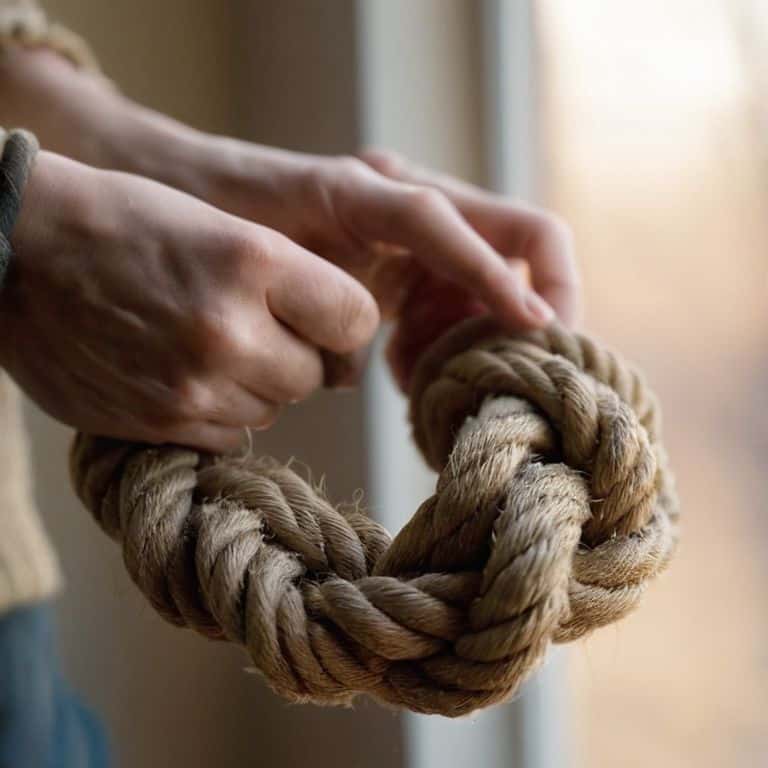
- 3. Now, take the other end of the cord and pass it through the loop again, from the same side as before. You should start to see the lark’s head knot take shape – it’s like a little bundle of joy. Pull the cord gently to tighten the knot, but not too hard, we don’t want it to become too tight.
- 4. To add some extra security to our knot, let’s pass the cord through the loop one more time. This will create a double wrap effect, making the knot even more sturdy. Take your time, and make sure the cord is not tangled or twisted.
- 5. At this point, you should have a pretty solid lark’s head knot. To finish it off, take the ends of the cord and pull them gently to tighten the knot. You can also use a little bit of yarn glue to keep everything in place, especially if you’re using a slippery material.
- 6. Now that our knot is secure, let’s talk about how to use it in your projects. The lark’s head knot is a great way to add a bohemian touch to your macrame wall hangings, plant holders, or even jewelry. You can use it as a foundation for more complex knots, or as a decorative element on its own.
- 7. Finally, don’t be afraid to experiment and try different variations of the lark’s head knot. You can use different materials, colors, and textures to create unique and interesting effects. Remember, the key to mastering any knot is practice, so don’t be discouraged if it takes a few tries to get it just right.
Mastering the Larks Head Knot
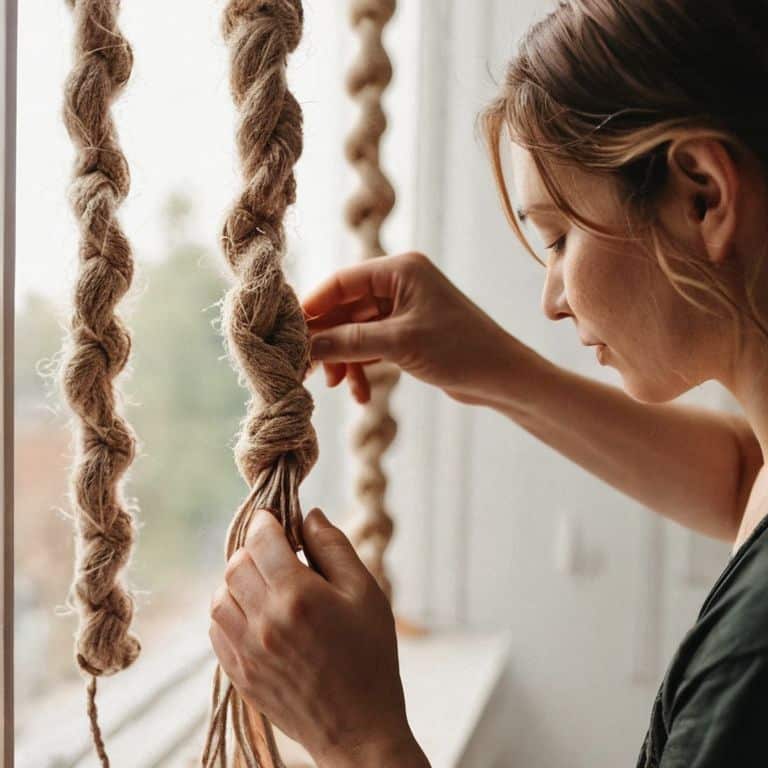
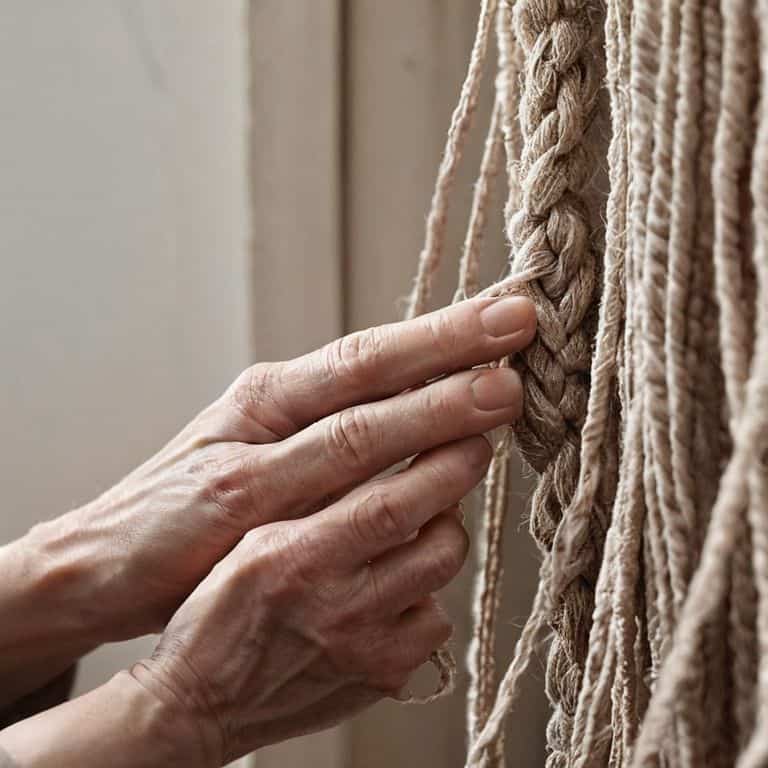
As I continued to experiment with the lark’s head knot, I discovered that it’s an incredibly versatile technique that can be used in a variety of macrame patterns. From plant hangers to wall hangings, this knot is a great way to add a personal touch to your home decor. I’ve even used it to create adjustable cord organizers, which have been a game-changer for keeping my yarn stash tidy.
One of the things I love about the lark’s head knot is its simplicity, but also its elegance. When done correctly, it can add a beautiful, handmade touch to any project. I’ve found that it’s especially useful for creating unique plant hangers, which can be customized to fit any space or style. Whether you’re looking to add a bohemian touch to your living room or a modern flair to your office, the lark’s head knot is a great technique to have in your toolkit.
As you practice the lark’s head knot, don’t be afraid to experiment and try new things. You might be surprised at how this simple technique can be used to create complex and beautiful designs. For example, you could use it to create a larks head knot wall hanging, or even incorporate it into your favorite larks head knot for climbing projects. The possibilities are endless, and I’m excited to see what you create!
The Rebels Guide to Adjustable Larks Head Knots
Now that we’ve unraveled the world of lark’s head knot macrame patterns, it’s time to take our skills to the next level with adjustable larks head knots. I just love how these knots can add a whole new level of customization to our projects. By making a few simple tweaks, we can create knots that slide effortlessly along our cords, allowing us to adjust the length of our plant hangers or wall hangings with ease.
I’ve found that adjustable larks head knots are especially handy when working with different types of materials or when creating pieces that need to fit into unique spaces. With a little practice, you’ll be whipping up adjustable knots like a pro, and your fiber art creations will be all the more stunning for it. Trust me, friend, the possibilities are endless, and I’m so excited to see where this technique takes you!
Unraveling Larks Head Knot Macrame Patterns
Now that we’ve mastered the lark’s head knot, let’s dive into the amazing world of macrame patterns that feature this essential knot. I just love how the lark’s head knot can add a touch of bohemian chic to any piece, from wall hangings to plant holders. When working with lark’s head knot macrame patterns, remember to experiment with different cord materials and colors to give your project a unique personality.
As you explore these patterns, don’t be afraid to add your own twist and make them truly yours. You can mix and match different knots, or try out various cord thicknesses to create a one-of-a-kind piece. The beauty of macrame lies in its versatility, so feel free to get creative and push the boundaries of what’s possible with the lark’s head knot.
Knot Your Average Tips: 5 Secrets to Mastering the Lark's Head Knot
- Use a variety of cord materials to add texture and visual interest to your lark’s head knot, from cotton rope to hemp and even metallic threads
- Pay attention to the size of your knots – smaller ones can add a delicate touch, while larger ones make a bold statement
- Don’t be afraid to experiment with different knotting patterns and combinations to create unique, one-of-a-kind designs
- Keep your working space organized by using a rotating knotting board or a simple clipboard to manage your cords and threads
- Practice, practice, practice – the more you work with lark’s head knots, the more intuitive it becomes, and you’ll start to develop your own signature style and flair
Key Takeaways to Knot Your Way to Fiber Bliss
With a little practice, you can master the lark’s head knot and unlock a world of macrame and crochet possibilities, from bohemian plant hangers to unique wall decor
Don’t be afraid to experiment and add your own twist to traditional patterns – it’s all about embracing the rebel in you and creating something truly one-of-a-kind
Remember, the beauty of handmade lies in its imperfections, so don’t stress if your knots aren’t perfect – it’s all about the journey, not just the end result, and the joy of creating something with your own hands
Embracing the Knot
The lark’s head knot is more than just a technique – it’s a gateway to a world of creative freedom, where the only rule is to make it your own, to twist and turn it into something that reflects your soul.
Ruby Warren
Unleashing Your Creativity, One Knot at a Time
As we’ve explored the world of lark’s head knots, I hope you’ve gained a deeper understanding of how this simple yet versatile technique can elevate your fiber art projects. From mastering the basic steps to unraveling complex macrame patterns, and even learning how to create adjustable lark’s head knots, you now have the tools to take your crafting to the next level. Remember, practice makes perfect, so don’t be discouraged if it takes a few tries to get the hang of it – the journey is just as important as the destination.
So, as you close this tutorial and head back to your crafting station, I want to leave you with a final thought: the true beauty of handmade lies in its imperfections. Don’t be afraid to experiment, try new things, and make mistakes – it’s often in those moments that we discover something truly magical. Happy crafting, and I’ll see you in the next tutorial, where we’ll dive into even more exciting projects and techniques to inspire your creativity!
Frequently Asked Questions
What type of cord or yarn is best suited for creating a lark's head knot?
Oh, sweet friend, I’m so glad you asked! For a lark’s head knot, I adore working with cotton rope, jute twine, or a sturdy wool yarn – they add a gorgeous organic texture to any project. You can also experiment with colorful cords or embroidery floss for a more whimsical vibe. The key is to choose a material that’s sturdy enough to hold its shape, but still gentle on your hands.
How do I ensure my lark's head knot is secure and won't come undone over time?
To keep your lark’s head knot secure, make sure to pull it tight and adjust as needed – I like to give it a little tug to ensure it’s snug. You can also add a few extra wraps or a dot of fabric glue for extra insurance. Trust me, with a bit of practice, your knots will be rock-solid and your macrame pieces will stay gorgeous for years to come!
Can I use a lark's head knot as a decorative element in other types of fiber art, such as crochet or knitting?
Absolutely, friend! A lark’s head knot can add a gorgeous touch to crochet or knitting projects. I love incorporating them into amigurumi toys or as a decorative element in granny square blankets. The possibilities are endless, and I’m excited to see how you’ll rebel against the ordinary and make it your own!