I still remember the first time I tried to seam a knitting project using the mattress stitch – it was a disaster. I had heard that it was a simple and easy technique to master, but somehow, my seams looked more like a messy knot than a neat, invisible join. This experience led me to create a guide to the mattress stitch for seaming, hoping to spare others from the frustration I felt. As a former librarian and now a full-time craft instructor, I’ve seen many students struggle with this technique, and I’m excited to share my knowledge with you.
In this article, I promise to walk you through the mattress stitch step by step, providing you with clear and concise instructions that will make seaming a breeze. You’ll learn how to prepare your project, how to insert the needle, and how to pull the yarn to create a nearly invisible seam. My goal is to take the intimidation out of learning this technique, so you can focus on enjoying the process of creating something beautiful. By the end of this guide, you’ll be confident in your ability to seam your projects with ease, and you’ll be ready to take on more complex knitting projects.
Table of Contents
- Guide Overview: What You'll Need
- Step-by-Step Instructions
- A Guide to Mattress Stitch Seaming
- Sewing it Up with Confidence: 5 Essential Tips for Mastering the Mattress Stitch
- Key Takeaways for Mastering the Mattress Stitch
- The Heart of Seaming
- Conclusion: Mastering the Mattress Stitch
- Frequently Asked Questions
Guide Overview: What You'll Need

Total Time: 30 minutes to 1 hour
Estimated Cost: $0 – $10
Difficulty Level: Easy
Tools Required
- Yarn Needle a large blunt-tipped needle
- Scissors (for cutting yarn)
- Tapestry Needle (optional)
Supplies & Materials
- Yarn matching the yarn used for the project
- Fabric 2 pieces of knit fabric to be seamed, approximately 6 inches wide
Step-by-Step Instructions
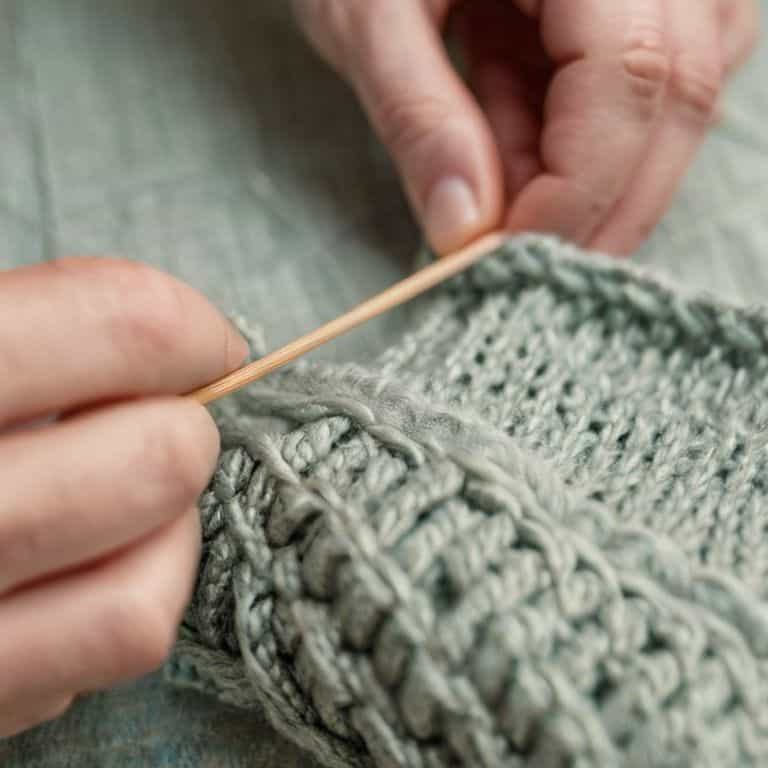
- 1. First, let’s get started with the mattress stitch basics: to begin, you’ll need two pieces of fabric that you want to seam together. Make sure they are right sides together, meaning the wrong sides are facing out. This is important because the mattress stitch is an invisible seam, and we want it to remain hidden from view.
- 2. Next, thread your needle with a matching thread color and tie a knot at the end. I like to use a sharp tapestry needle for this step, as it easily pierces the fabric without causing damage. Bring the needle up through the first piece of fabric, about 1/4 inch from the edge, and then insert it back into the fabric about 1/4 inch away, making sure to go through both pieces of fabric.
- 3. Now, pull the thread gently to tighten the stitch, but not too tight, as we don’t want to pucker the fabric. You’ll start to see the seam come together, and that’s exactly what we’re aiming for. Repeat step 2, moving along the edge of the fabric, making small stitches about 1/4 inch apart.
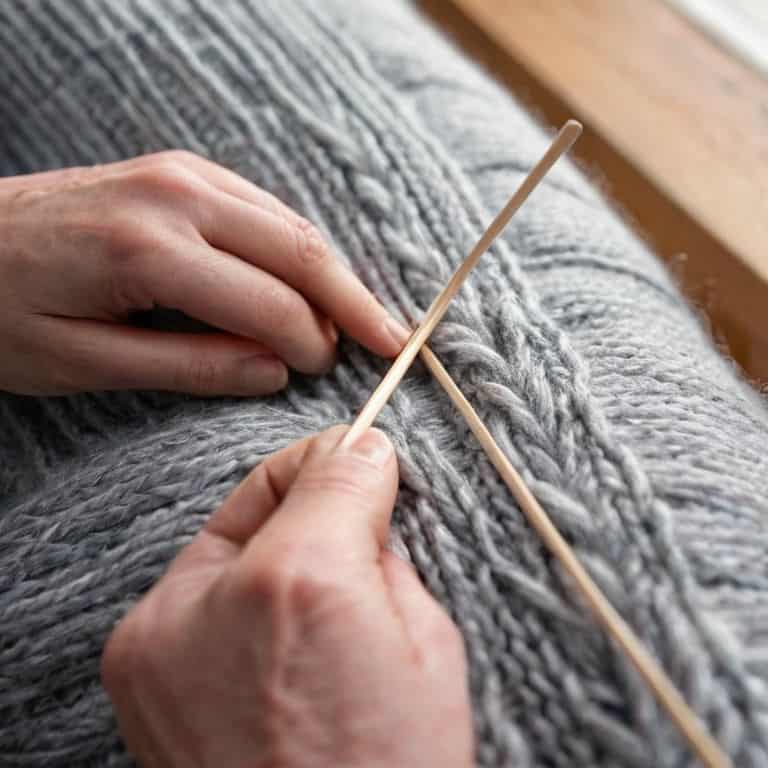
- 4. As you continue to stitch, make sure to keep your tension even, neither too loose nor too tight. It’s essential to maintain a consistent stitch length to ensure a professional-looking finish. If you find that your stitches are uneven, don’t worry, just gently adjust them as you go.
- 5. To secure the seam, you’ll need to make a few anchoring stitches at the beginning and end of the seam. These stitches will help keep the seam in place and prevent it from coming undone. To make an anchoring stitch, simply stitch back and forth through both pieces of fabric a few times, then tie a knot to secure.
- 6. Once you’ve completed the seam, turn your project right side out and inspect the seam. If it’s even and smooth, you’ve done a great job! If not, don’t worry, you can always go back and make adjustments. The key is to be patient and take your time, as the mattress stitch can be a bit finicky at first.
- 7. Finally, to add an extra layer of security to your seam, you can go back and add a few more stitches, spacing them out evenly between the existing stitches. This will help reinforce the seam and ensure that it will withstand wear and tear. And that’s it! With these steps, you should now have a beautiful, nearly invisible seam using the mattress stitch.
A Guide to Mattress Stitch Seaming
As you become more comfortable with the mattress stitch, you’ll find that it’s an essential technique for seaming knitted fabrics in a way that creates a nearly invisible join. This is especially important when working on finishing sweaters professionally, as a visible seam can detract from the overall appearance of the garment. By using the mattress stitch, you can create a seamless join that looks like it was knit in one piece.
One of the key benefits of the mattress stitch is its versatility. It can be used to seam together a wide range of knit fabrics, from delicate lace to thick, chunky yarns. This makes it an ideal technique for hand sewing for knitwear, as it allows you to create a strong, durable seam that won’t pucker or distort the fabric. Additionally, the mattress stitch is a great way to add a professional touch to your knit garments, making them look like they were made by a seasoned pro.
When working with the mattress stitch, it’s also important to consider the type of yarn you’re using. Some yarns, such as those with a high percentage of stretchy fibers, may require a slightly different approach to seaming. In these cases, it’s often helpful to use a combination of the mattress stitch and other invisible weaving techniques to create a seam that is both strong and flexible. By mastering these techniques, you’ll be able to create beautiful, professional-looking knit garments that will last for years to come.
Finishing Sweaters With Professional Seams
To achieve professional-looking seams on your sweaters, it’s essential to pay attention to the finishing touches. Once you’ve mastered the mattress stitch, you can use it to seamlessly join sleeves to the body or close side seams. I recommend using a yarn needle and the same yarn used for knitting to maintain a cohesive look. By weaving in ends carefully and trimming excess yarn, you’ll create a polished finish that elevates your handmade sweater.
When finishing sweaters, I also like to add a few extra details to give it a professional touch. This can include adding a subtle stretchy seam or using a specialized yarn for seaming. By taking the time to carefully finish your seams, you’ll be amazed at how it transforms the overall appearance of your sweater, making it look like it was made by a seasoned pro.
Mastering Invisible Weaving Techniques
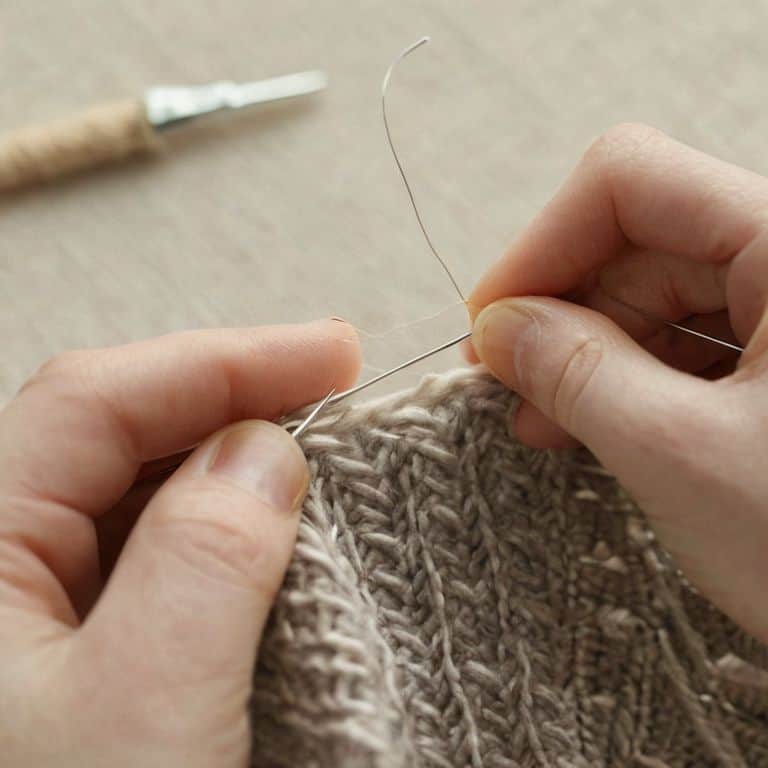
Now that we’ve covered the basics of the mattress stitch, let’s dive into some advanced techniques to make your seams truly invisible. Mastering invisible weaving takes a bit of practice, but trust me, it’s worth the extra effort. To start, make sure your yarn tail is long enough to weave in comfortably – you don’t want it too short, or you’ll be struggling to maneuver it through the stitches.
As you begin to weave, gently pull the yarn tail through the first stitch, then bring it back out through the next one, creating a subtle, almost imperceptible path. Repeat this process, moving slowly and deliberately, until your yarn tail is fully incorporated into the seam. Remember, patience is key here – take your time, and don’t be afraid to adjust your weaving as needed to achieve a seamless finish.
Sewing it Up with Confidence: 5 Essential Tips for Mastering the Mattress Stitch
- Always start with a slip knot: Before you begin the mattress stitch, make sure you have a secure slip knot on your yarn needle to prevent your thread from coming loose as you work
- Use the correct yarn needle size: Choose a yarn needle that’s large enough to handle your yarn comfortably, but not so large that it splits the stitches – this will help you achieve a smooth, even seam
- Keep your tension even: Try to maintain a consistent tension as you work the mattress stitch, as uneven tension can lead to puckering or distortion in your fabric
- Count your stitches carefully: To ensure a professional-looking seam, count your stitches carefully before you start seaming, and make sure you’re picking up the correct number of stitches on each side
- Practice, practice, practice: Don’t be discouraged if your first few attempts at the mattress stitch don’t turn out perfectly – with practice, you’ll get a feel for the rhythm of the stitch and be able to create beautiful, invisible seams
Key Takeaways for Mastering the Mattress Stitch
By following the step-by-step instructions and practicing the mattress stitch, you’ll be able to create nearly invisible seams in your knitting projects, giving them a professional finish
The key to mastering the mattress stitch lies in maintaining a consistent tension and using the correct type of yarn and needles for your project, ensuring that your seams lie flat and even
With patience and practice, you can apply the mattress stitch to a variety of knitting projects, from sweaters and hats to scarves and blankets, and enjoy the satisfaction of creating beautiful, durable pieces that will last for years to come
The Heart of Seaming
The mattress stitch is more than just a technique – it’s a promise of perfection, a whisper of patience, and a testament to the beauty of invisible seams that bring handmade dreams to life.
Beatrice "Bea" Quinn
Conclusion: Mastering the Mattress Stitch
As we’ve worked through this guide to the mattress stitch for seaming, I hope you’ve seen how breaking it down into simple steps can make a huge difference in your crafting journey. We started with the basics, then dove into mastering invisible weaving techniques and finishing sweaters with professional seams. By following these steps and practicing regularly, you’ll be well on your way to creating beautiful, professional-looking seams that will elevate your finished projects.
As you continue to work with the mattress stitch, remember that the joy of making is just as important as the end result. Don’t be afraid to experiment, try new things, and make mistakes – they’re all an important part of the learning process. With patience, practice, and a willingness to take it one step at a time, you’ll become a master of the mattress stitch and be able to tackle even the most complex sewing projects with confidence.
Frequently Asked Questions
What is the best type of yarn to use when practicing the mattress stitch for seaming?
When practicing the mattress stitch, I recommend using a smooth, medium-weight yarn with good stitch definition, such as merino wool or a wool-blend. Avoid extremely thin or thick yarns, as they can be tricky to work with. A yarn with a bit of texture will also help you see the stitches more clearly, making it easier to master the technique.
How do I know if my tension is even when using the mattress stitch?
To check if your tension is even, gently stretch the seam and observe how it lies. If it’s even, the stitches will be consistent and the fabric will lie flat. If not, you might see puckering or loose threads. Don’t worry, it’s easy to adjust as you go!
Can the mattress stitch be used for seaming other types of projects, such as scarves or hats?
While the mattress stitch is perfect for sweaters, it can also be used for other projects like scarves or hats, where a nearly invisible seam is desired. Just keep in mind that the type of fabric and project size might require some adjustments to your stitch tension and rhythm.