I still remember the first time I tried how to use a lifeline in my knitting – it was a game-changer. I was working on a intricate lace pattern, and the thought of having to rip out rows of delicate stitches was keeping me up at night. That’s when a fellow knitter introduced me to the concept of a lifeline, and it completely transformed my knitting experience. The idea that I could have a safety net in place, allowing me to experiment with new techniques without the fear of making a mistake, was incredibly liberating.
In this article, I’ll walk you through the simple, yet powerful process of how to use a lifeline in your knitting. You’ll learn how to effortlessly weave a lifeline into your project, giving you the confidence to try new patterns and techniques without the fear of errors. I’ll share my own step-by-step approach, honed from years of teaching knitting workshops, to ensure that you can easily incorporate this technique into your own knitting practice. By the end of this guide, you’ll be equipped with the knowledge and skills to knit with greater ease and precision, and you’ll never have to worry about making a mistake again.
Table of Contents
Guide Overview: What You'll Need
Total Time: 1 hour 15 minutes
Estimated Cost: $10 – $20
Difficulty Level: Easy
Tools Required
- Knitting Needles (size appropriate for project)
- Scissors (for cutting yarn)
- Tapestry Needle (for weaving in ends)
Supplies & Materials
- Yarn (in desired color and weight)
- Stitch Markers (optional, but recommended)
- Measuring Tape (for measuring work in inches)
Step-by-Step Instructions
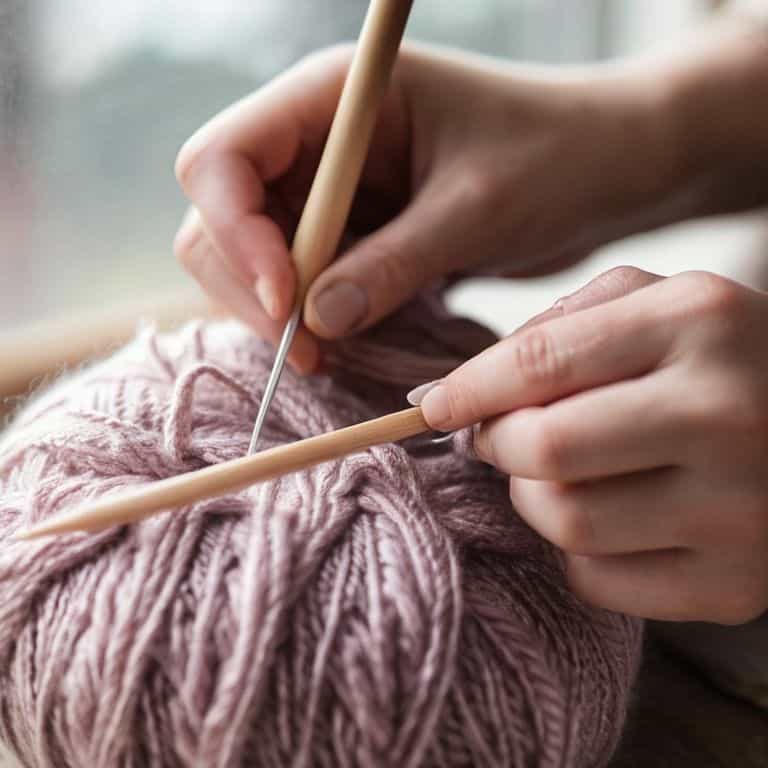
- 1. First, let’s start by understanding what a lifeline is in knitting. It’s a thread or yarn that is woven through a row of stitches to create a safe point that you can return to if you make a mistake. To begin, you’ll need to choose a spare needle or a yarn needle, and some contrasting yarn or thread that will be used as your lifeline.
- 2. Next, identify the row where you want to insert your lifeline. This is usually a row where you’ve just completed a pattern repeat or a significant section of your project. Take a moment to make sure you’re on the right row, as this will be your reference point if you need to frogging (rip out) your work.
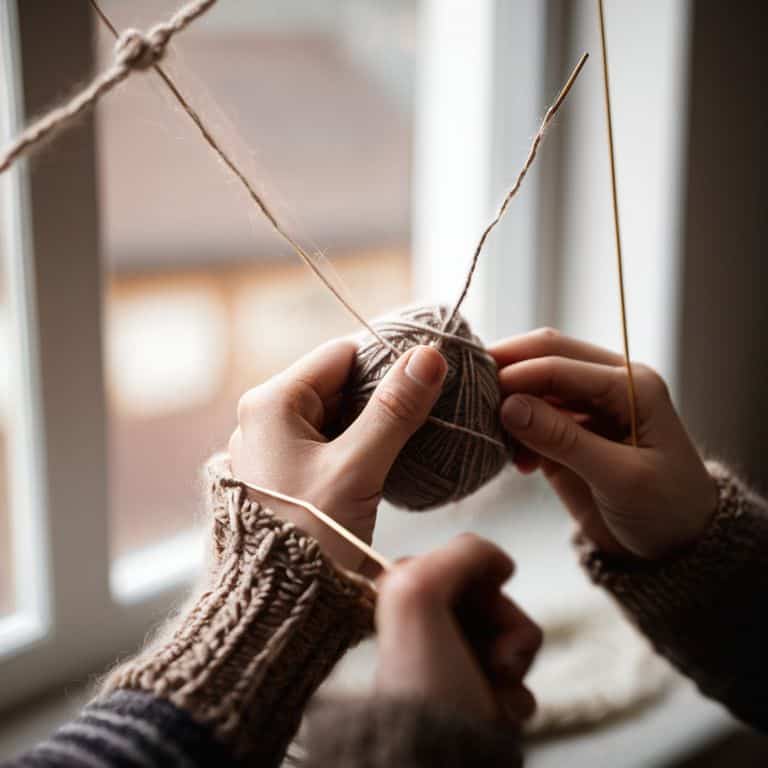
- 3. Now, thread your lifeline yarn through the spare needle or yarn needle. Make sure the yarn is not too thick or too thin for your project, as you want it to be easy to work with but not so thin that it gets lost in your stitches. I like to use a cotton thread for my lifelines, as it’s easy to see and doesn’t felt or stretch like wool can.
- 4. With your yarn threaded, insert the needle into the first stitch of the row you’ve chosen. Gently pull the yarn through, leaving a small tail at the beginning. You’ll want to make sure the yarn is not too tight, as this can pucker your fabric, but not so loose that it falls out.
- 5. Continue to weave the lifeline yarn through each stitch in the row, moving from one stitch to the next. As you go, make sure to keep the tension even and not too tight, as you want the lifeline to be secure but not distort your knitting. If you’re using a yarn needle, you may need to use a bit of finesse to get the yarn to cooperate.
- 6. Once you’ve completed the row, secure the end of the lifeline yarn with a small knot. Make sure the knot is snug against the last stitch, but not so tight that it pulls the fabric out of shape. You can also use a small yarn tail to tie off the end, if you prefer.
- 7. Finally, test your lifeline by gently tugging on it to make sure it’s secure. If it feels loose or comes out easily, you may need to go back and tighten it up. But if it’s snug and even, you can breathe a sigh of relief, knowing you’ve got a safety net in place to protect your hard work.
How to Use a Lifeline in Your Knitting
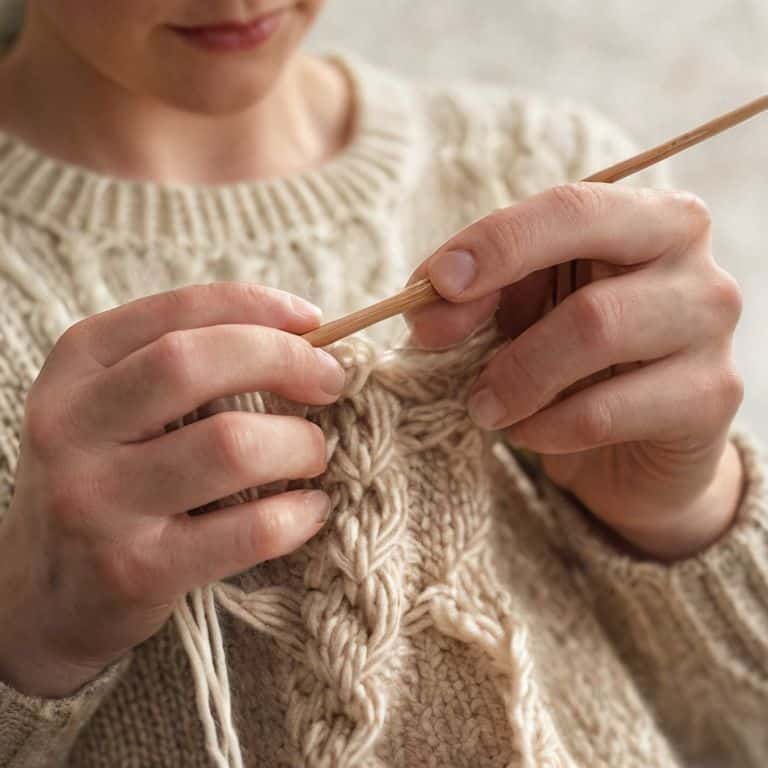
As you become more comfortable with the knitting lifeline technique, you’ll find that it’s an invaluable tool for preventing dropped stitches and ensuring that your project stays on track. One of the most common mistakes beginners make is not checking their work regularly, which can lead to hours of frustration and disappointment. By incorporating a lifeline into your knitting routine, you’ll be able to catch any errors early on and make adjustments as needed.
When working on complex projects, yarn management can become a significant challenge. A lifeline can help you keep your yarn organized and prevent tangles, which can be a major setback. Additionally, having a lifeline in place can make it easier to troubleshoot issues with your knitting pattern, allowing you to identify and fix problems before they become major issues.
To get the most out of your lifeline, it’s essential to use it in conjunction with other good knitting habits, such as regularly counting your stitches and checking your tension. By combining these habits with the use of a lifeline, you’ll be well on your way to creating beautiful, error-free knitting projects. Remember, the key to successful knitting is to be patient and methodical, and to never be afraid to rescue your project if something goes wrong.
Preventing Dropped Stitches With Ease
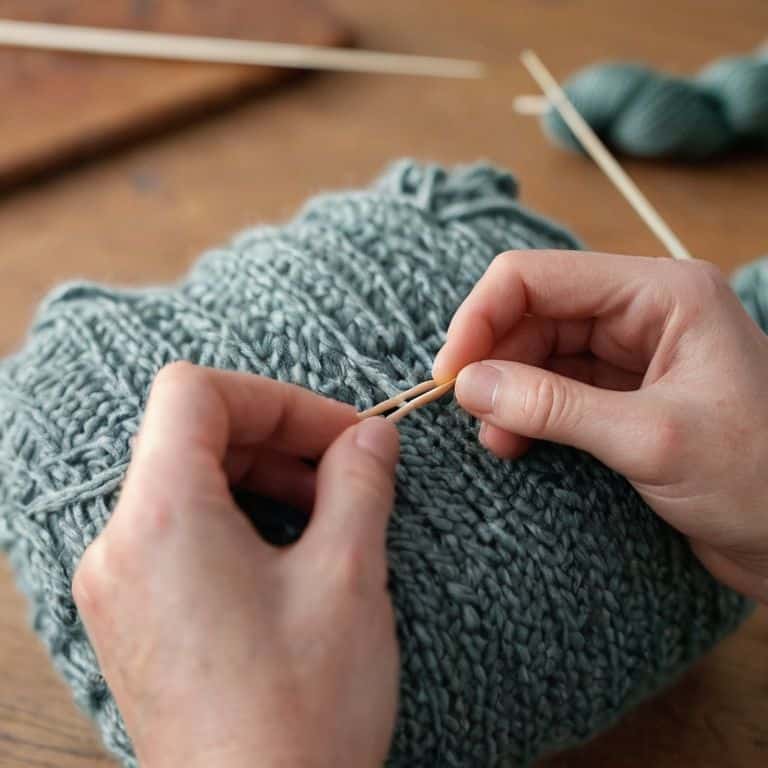
Preventing dropped stitches is one of the most significant advantages of using a lifeline in your knitting. By inserting a lifeline at regular intervals, you can ensure that if you make a mistake or accidentally drop a stitch, you can easily recover without having to frog your entire project. To do this, simply thread a tapestry needle with a length of scrap yarn and weave it through the stitches on your needles. This will create a temporary “safety net” that will hold your stitches in place, allowing you to fix mistakes or try new techniques without risk.
As you work on your project, you can insert a new lifeline at regular intervals, such as every few rows or after completing a complex pattern. This will give you the confidence to experiment with new stitches and techniques, knowing that you have a safety net in place to catch any mistakes. By incorporating lifelines into your knitting routine, you’ll be amazed at how much more relaxed and enjoyable the process becomes.
Troubleshooting Knitting Patterns Made Simple
When working with a lifeline, you might encounter a few hiccups. Don’t worry, these are easily resolved. If you find that your lifeline is too tight, gently tug on the yarn to loosen it. On the other hand, if it’s too loose, simply pull the yarn to tighten it. Remember, the goal is to have a snug but not constricting fit.
To further troubleshoot, take a step back and examine your work. Check for any twists or tangles in the lifeline, and gently work them out with your fingers or a yarn needle. By taking the time to address these minor issues, you’ll ensure a smooth and enjoyable knitting experience. With a little patience and practice, you’ll be a pro at using a lifeline in no time, and your knitting projects will be all the better for it.
Weaving Wisdom: 5 Essential Tips for Working with Lifelines in Knitting
- Choose the right yarn or thread for your lifeline, selecting a material that’s thin, yet sturdy, and a color that contrasts with your main yarn to make it easily visible
- Insert your lifeline at strategic points in your pattern, such as before complex sequences or after completing a repeat, to create a safe checkpoint
- When threading your lifeline, use a tapestry needle to gently weave it through the stitches, taking care not to split or distort the surrounding yarn
- To avoid tangling, keep your lifeline organized by securing it to your work with a small clip or stitch marker, preventing it from getting twisted or knotted
- Regularly review and adjust your lifeline as needed, ensuring it remains taut and evenly spaced to maintain the integrity of your knitting and simplify the process of ripping back if errors occur
Your Knitting Safety Net: 3 Essential Takeaways
By incorporating a lifeline into your knitting project, you can prevent dropped stitches and save yourself hours of frustrating frogging, allowing you to focus on the joy of creating something beautiful
Using a lifeline is a simple, yet powerful technique that can be applied to any knitting pattern, giving you the confidence to tackle even the most complex projects with ease and precision
Remember, a lifeline is not just a troubleshooting tool, but a proactive measure to ensure your knitting flows smoothly from start to finish, and with practice, you’ll be able to weave it in effortlessly, like a seasoned pro
Conclusion: Weaving Confidence into Your Knitting
As we’ve walked through the steps of using a lifeline in your knitting, I hope you’ve seen how this simple technique can be a game-changer for preventing dropped stitches and troubleshooting patterns. By inserting a lifeline at strategic points in your project, you can safeguard your work and avoid the frustration of having to rip out rows of knitting. We’ve covered how to choose the right yarn or thread for your lifeline, how to insert it into your work, and how to use it to recover from mistakes. With practice, using a lifeline will become second nature, allowing you to focus on the joy of creating something beautiful.
As you continue on your knitting journey, remember that it’s okay to make mistakes – they’re an opportunity to learn and grow. Don’t be afraid to experiment and try new things, and always keep in mind that every stitch is a chance to create something new. With patience, persistence, and the right tools, you can overcome any obstacle and create something truly stunning. So go ahead, cast on a new project, and let the rhythm of the needles guide you as you weave your own unique story, one stitch at a time.
Frequently Asked Questions
What type of yarn or thread is best to use as a lifeline in knitting?
For a lifeline, I recommend using a thin, smooth yarn or thread that’s similar in weight to your working yarn. Some great options include cotton thread, silk yarn, or a thin nylon cord. These will glide easily through your stitches without causing bulk or distortion, making it simple to remove the lifeline when you’re finished.
How often should I insert a lifeline in my knitting project to ensure maximum protection against dropped stitches?
To ensure maximum protection, I recommend inserting a lifeline every 10-15 rows, or whenever you’re about to start a new pattern or complex section. This frequency provides a safe checkpoint to prevent dropped stitches from unraveling too far, allowing you to easily recover if mistakes occur.
Can I use a lifeline in combination with other knitting techniques, such as cables or fair isle, without compromising the integrity of my project?
Absolutely, you can use a lifeline with cables or fair isle knitting. I recommend inserting the lifeline between complex pattern rows, so if you make a mistake, you can easily frog back to that point without unraveling the entire project. This way, you can enjoy the challenge of intricate patterns while still having a safety net.