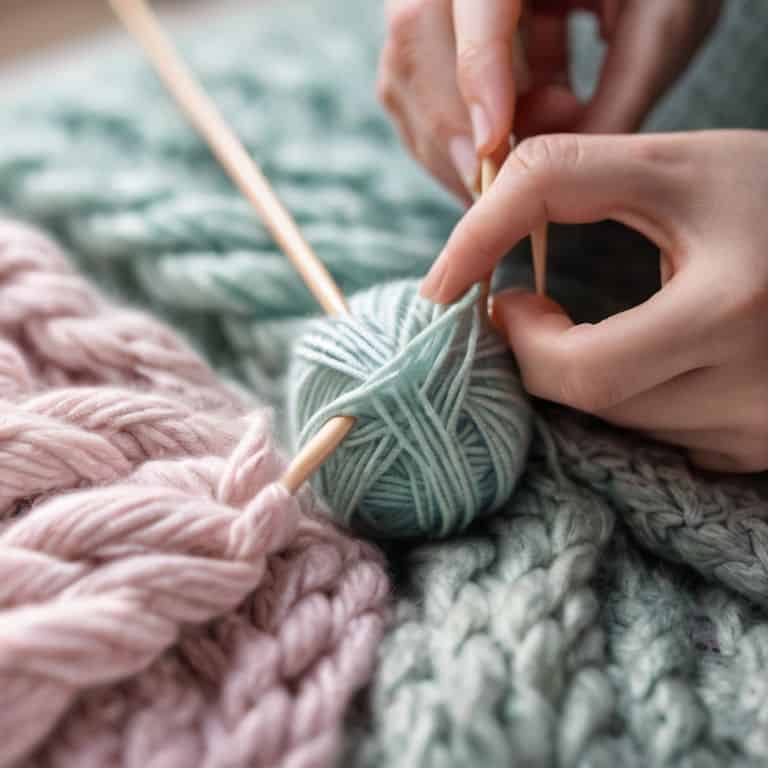
I still remember the first time I tried to knit a ribbing pattern – it was a frustrating experience that left me wondering if I’d ever master the technique. I had heard that a guide to knitting ribbing (1×1 and 2×2) was essential for creating professional-looking pieces, but the instructions I found were confusing and overwhelming. As a former librarian and craft instructor, I’ve since learned that the key to success lies in breaking down complex techniques into simple, manageable steps.
In this article, I’ll share my step-by-step approach to knitting ribbing patterns, including both 1×1 and 2×2 configurations. You’ll learn how to create beautiful, stretchy fabrics that will elevate your knitting projects to the next level. I’ll walk you through every step of the process, from casting on to binding off, and provide you with practical tips and tricks to ensure your success. By the end of this guide, you’ll be confident in your ability to knit ribbing patterns like a pro, and you’ll be ready to take on even more challenging projects.
Table of Contents
- Guide Overview: What You'll Need
- Step-by-Step Instructions
- A Guide to Knitting Ribbing
- Mastering Ribbing: 5 Essential Tips for 1×1 and 2×2 Patterns
- Key Takeaways for Mastering 1×1 and 2×2 Knitting Ribbing
- The Heart of Ribbing
- Conclusion: Mastering the Art of Knitting Ribbing
- Frequently Asked Questions
Guide Overview: What You'll Need
Total Time: 2 hours 30 minutes
Estimated Cost: $10 – $30
Difficulty Level: Intermediate
Tools Required
- Knitting Needles US size 7 or 8
- Scissors (for cutting yarn)
- Tapestry Needle (for weaving in ends)
- Measuring Tape (for measuring work in inches)
Supplies & Materials
- Yarn choose a weight and fiber suitable for your project
- Stitch Markers (optional, for marking beginning of round or pattern repeats)
Step-by-Step Instructions
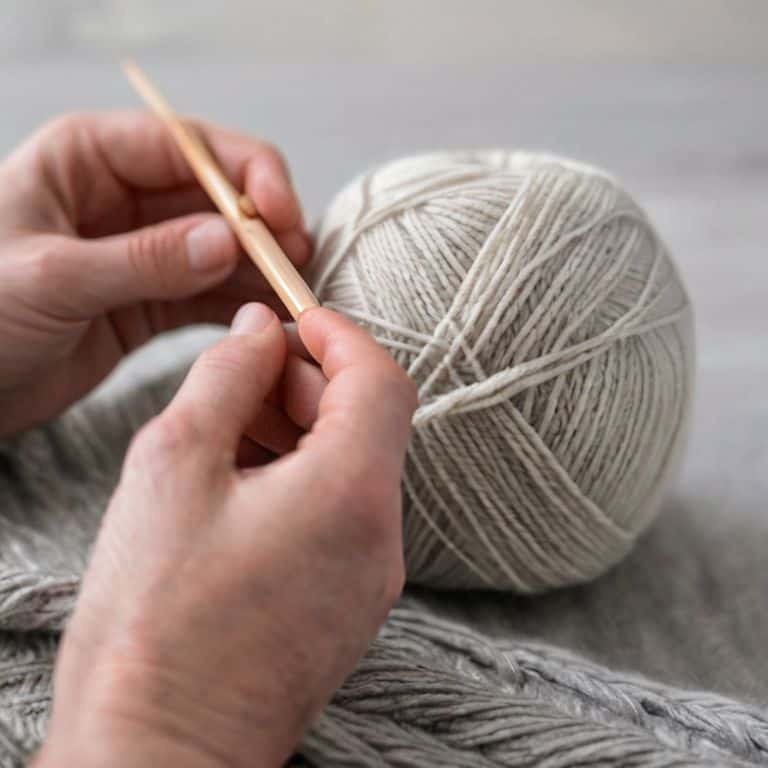
- 1. First, let’s start with the basics of knitting ribbing, which involves creating rows of knit and purl stitches to form a textured pattern. To begin, cast on an even number of stitches, as this will make it easier to achieve a balanced ribbing pattern. Make sure to use a comfortable and suitable yarn for your project, and choose a pair of knitting needles that feel right for you.
- 2. Next, let’s move on to the 1×1 ribbing pattern, which is a great starting point for beginners. To create a 1×1 ribbing pattern, you will need to alternate between one knit stitch and one purl stitch. Start by knitting one stitch, then purl one stitch, and repeat this process until you reach the end of the row. Remember to keep your tension even and consistent, as this will affect the overall look of your ribbing.
- 3. Now that you have completed one row of 1×1 ribbing, it’s time to move on to the next row. To do this, you will need to knit the purl stitches and purl the knit stitches. This may seem a bit confusing at first, but trust me, it’s quite simple once you get the hang of it. Just remember to pay attention to your stitches, and make sure you’re knitting the purl stitches and purling the knit stitches.
- 4. Let’s move on to the 2×2 ribbing pattern, which is a bit more complex than the 1×1 pattern. To create a 2×2 ribbing pattern, you will need to alternate between two knit stitches and two purl stitches. Start by knitting two stitches, then purl two stitches, and repeat this process until you reach the end of the row. Don’t forget to keep your tension even, as this will affect the overall look of your ribbing.
- 5. As you work on your 2×2 ribbing pattern, you may notice that your stitches are starting to lean to one side. Don’t worry, this is completely normal! To fix this, you can try adjusting your tension by pulling the yarn a bit tighter or looser. You can also try using a different needle size to achieve the desired texture and look.
- 6. Now that you have mastered the 1×1 and 2×2 ribbing patterns, it’s time to practice, practice, practice! The more you knit, the more comfortable you will become with the stitches and the patterns. Remember to take your time, and don’t be afraid to make mistakes – they’re all part of the learning process. With patience and practice, you’ll be creating beautiful, professional-looking ribbing in no time.
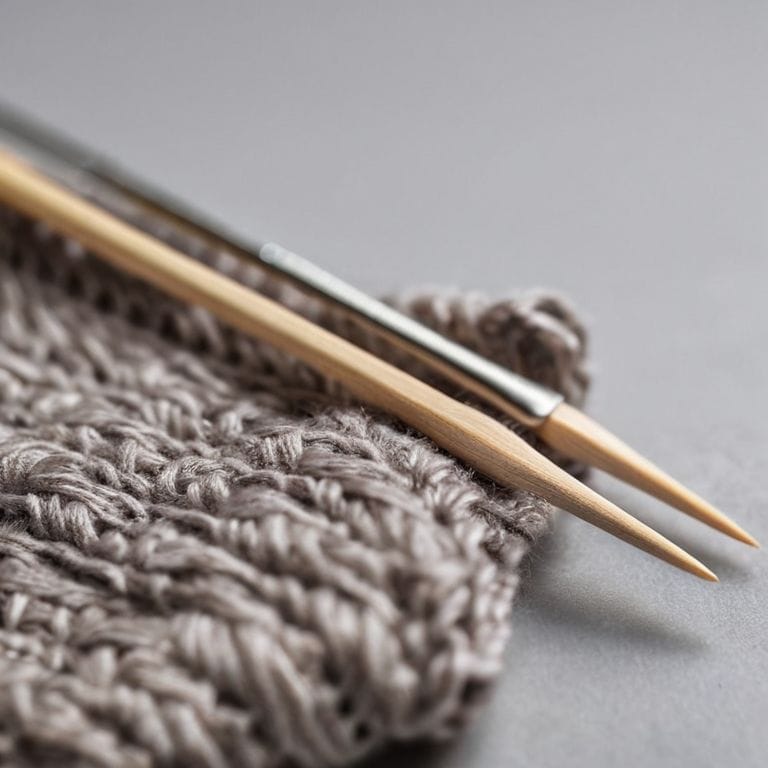
- 7. Finally, let’s talk about binding off your work. When you’re ready to finish your project, you’ll need to bind off your stitches in a way that maintains the ribbing pattern. To do this, you can use a basic bind-off method, such as the knit bind-off or the purl bind-off. Make sure to bind off loosely, as this will help maintain the texture and elasticity of your ribbing. And that’s it – you’ve now completed your guide to knitting ribbing!
A Guide to Knitting Ribbing
As you become more comfortable with knitting ribbing for beginners, you’ll start to notice the versatility of this stitch pattern. One of the most important things to keep in mind is the difference between ribbing stitch and stockinette stitch. While stockinette stitch can be prone to curling, ribbing stitch lies flat, making it perfect for cuffs, hems, and other edges.
When working with circular needles, knitting 1×1 ribbing can be a bit tricky, but with practice, you’ll get the hang of it. To ensure that your stitches are even, try using a stitch marker to keep track of your place. This is especially helpful when working with types of knit ribbing patterns that involve multiple rows of knit and purl stitches.
To achieve perfectly even 2×2 ribbing, make sure to keep a consistent tension while knitting. One common mistake is to pull the yarn too tightly, which can cause the fabric to pucker. By keeping your stitches relaxed and even, you’ll be able to create beautiful, professional-looking ribbing that will elevate your knitting projects to the next level. Remember, the key to mastering ribbing is to take your time and focus on creating a smooth, consistent fabric.
Avoiding Common Mistakes in Ribbing
As you practice knitting ribbing, you’ll inevitably encounter a few common pitfalls. Don’t worry, my friend – they’re easy to fix. One of the most frequent mistakes is uneven tension, which can cause your fabric to pucker or become misshapen. To avoid this, make sure to keep a consistent gauge and not pull the yarn too tightly.
Another mistake to watch out for is accidentally dropping stitches, especially when switching between knit and purl rows. To prevent this, always count your stitches at the end of each row, and if you notice a discrepancy, gently work the dropped stitch back up to the needle. With a little patience and attention to detail, you’ll be creating beautiful, professional-looking ribbing in no time.
Unraveling 1×1 and 2×2 Ribbing Secrets
Now that we’ve covered the basics of knitting ribbing, let’s dive deeper into the secrets of 1×1 and 2×2 patterns. One of the key things to keep in mind is that ribbing is all about creating a fabric with a lot of elasticity, which is why it’s often used for cuffs, hems, and other areas where stretch is important. To achieve this, you’ll want to make sure you’re maintaining a consistent tension as you knit, which can take a bit of practice to get the hang of.
As you work on your 1×1 and 2×2 ribbing, pay attention to how the stitches interact with each other. In a 1×1 rib, you’ll be alternating between knit and purl stitches, while in a 2×2 rib, you’ll be working two knit stitches followed by two purl stitches. By understanding how these stitches work together, you’ll be able to create a beautiful, professional-looking fabric that’s perfect for a wide range of projects.
Mastering Ribbing: 5 Essential Tips for 1×1 and 2×2 Patterns
- Ensure your tension is even: Consistent tension is key to creating beautiful, professional-looking ribbing, so take your time and practice to develop a steady hand
- Choose the right yarn and needles: The type of yarn and needles you use can greatly impact the look and feel of your ribbing, so experiment with different combinations to find the perfect fit for your project
- Pay attention to row counts: Keeping track of your row counts is crucial for maintaining the correct pattern, so consider using a row counter or making a note of your progress as you go
- Don’t be afraid to frog your work: If you make a mistake, don’t be too proud to rip out your work and start again – it’s all part of the learning process, and you’ll be amazed at how much you can improve with practice
- Practice, practice, practice: Like any skill, knitting ribbing takes time and practice to master, so don’t get discouraged if it doesn’t come easily at first – keep trying, and you’ll soon be creating gorgeous 1×1 and 2×2 patterns with ease
Key Takeaways for Mastering 1×1 and 2×2 Knitting Ribbing
Always start with a swatch to ensure your tension is even and your stitch count is accurate, as this will significantly impact the overall fit and appearance of your finished piece.
Pay close attention to your row counts and stitch patterns, especially when transitioning between knit and purl rows, to maintain a consistent and professional-looking ribbing texture.
Practice patience and don’t be afraid to frog your work if you notice a mistake – with these simple steps and a bit of dedication, you’ll be effortlessly creating beautiful, flawless 1×1 and 2×2 ribbing in no time.
The Heart of Ribbing
The gentle rhythm of knitting ribbing is not just about creating a fabric, but about understanding the harmony between yarn, needles, and the quiet patience of the craft.
Beatrice "Bea" Quinn
Conclusion: Mastering the Art of Knitting Ribbing
As we conclude this journey through the world of knitting ribbing, let’s take a moment to reflect on the key takeaways. We’ve explored the fundamental differences between 1×1 and 2×2 ribbing patterns, and I’ve provided you with a step-by-step guide to help you master these techniques. We’ve also discussed common mistakes to avoid and how to troubleshoot issues as they arise. By following these simple, yet essential, steps, you’ll be well on your way to creating professional-looking pieces that showcase your newfound skills.
Now, as you embark on your next knitting project, remember that practice is key. Don’t be afraid to experiment with different yarns, colors, and patterns – and most importantly, have fun! With patience, dedication, and a clear understanding of the fundamentals of knitting ribbing, you’ll unlock a world of creative possibilities. So, go ahead, pick up those needles, and let the rhythmic clickety-clack of knitting transport you to a place of tranquility and joy, where every stitch is a testament to your growing skills and artistry.
Frequently Asked Questions
What are some common uses for 1×1 and 2×2 ribbing in knitting projects?
You’ll find 1×1 and 2×2 ribbing in hats, scarves, and cuffs, where a bit of stretch is lovely. I also adore using them for sleeve and hem edges on sweaters, adding a professional touch. Really, anywhere you want a tidy, flexible border, ribbing is your friend!
How do I ensure that my ribbing lies flat and doesn't pucker or distort?
To ensure your ribbing lies flat, try blocking it after completion. This involves wetting the fabric, gently stretching it to the desired shape, and allowing it to dry. You can also use a blocking mat or pins to help it hold its shape. This simple step can make a huge difference in the overall appearance of your finished piece.
Can I use different yarn weights or fibers to create varying textures and effects in my 1×1 and 2×2 ribbing?
Absolutely, my friend! You can definitely experiment with different yarn weights and fibers to add unique textures and effects to your 1×1 and 2×2 ribbing. Try combining smooth yarns with chunky ones or mixing wool with cotton for intriguing contrasts. Just remember to swatch beforehand to ensure the desired outcome.