As I sit here surrounded by balls of yarn and half-finished scarves, I’m reminded of the joy that comes with adding those perfect finishing touches – like learning how to make tassels for a scarf. There’s a common myth that tassels are only for experienced knitters, but I’m here to tell you that’s just not true. With a few simple steps and some patience, anyone can add a beautiful, handmade tassel to their scarf. I still remember the first time I made a tassel – it was for a scarf I knitted for my grandmother, and she loved it so much that she wore it every day.
In this article, I’ll share my honest, no-hype guide on how to make tassels for a scarf. You’ll learn the basic materials you need, how to choose the right yarn, and a step-by-step process for creating your own unique tassels. I’ll also share some of my favorite tips and tricks for customizing your tassels to fit your personal style. Whether you’re a beginner or an experienced knitter, this guide is designed to be easy to follow and fun to use. So, let’s get started and add some personality to our scarves with handmade tassels – it’s a great way to take your knitting to the next level and create something truly special.
Table of Contents
Guide Overview: What You'll Need
Total Time: 1 hour 15 minutes
Estimated Cost: $10 – $20
Difficulty Level: Easy
Tools Required
- Scissors (sharp)
- Ruler for measuring 6 inches
- Board for wrapping thread around a 2-in width
Supplies & Materials
- Embroidery Floss various colors
- Cardboard for wrapping thread, approximately 6 inches square
- Jump Ring for attaching tassel to scarf
- Thread for sewing tassel to scarf
Step-by-Step Instructions
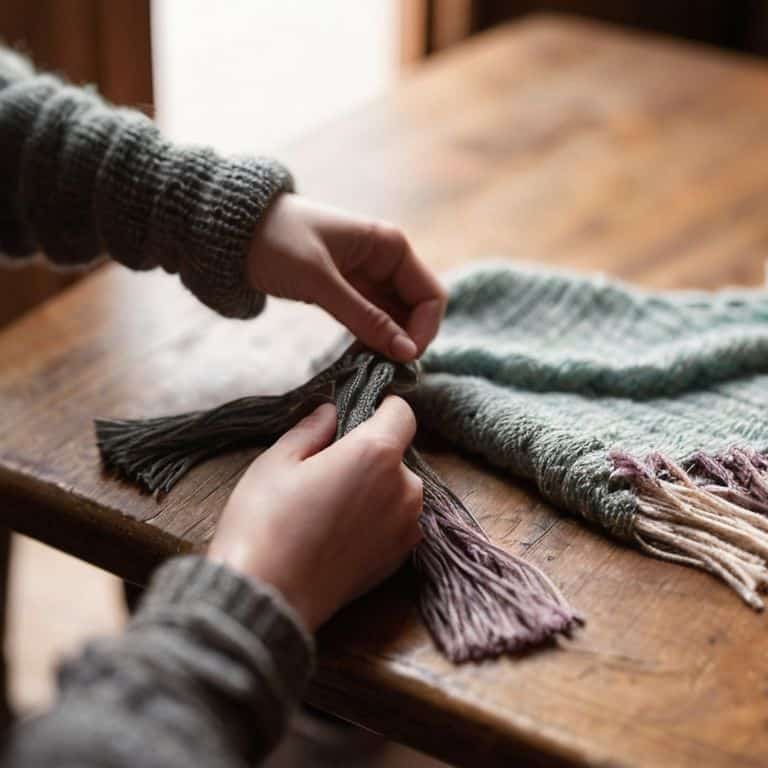
- 1. First, let’s start by gathering our materials – we’ll need a few simple tools to create our tassels, including a yarn needle, some scissors, and a piece of cardboard or a tassel maker. I like to use a vintage wooden tassel maker that I found at a thrift store, but you can easily make your own using a piece of cardboard.
- 2. Next, we’ll need to cut a length of yarn – I find that a good rule of thumb is to use about 3-4 times the length of yarn that you want your tassel to be. For a standard scarf tassel, you’ll want to cut a piece of yarn that’s around 12-18 inches long. Don’t worry too much about the length at this stage, as we can always trim it later.
- 3. Now it’s time to start wrapping our yarn – take your length of yarn and begin wrapping it around the cardboard or tassel maker. I like to wrap the yarn in a consistent pattern, overlapping the strands slightly as I go to create a neat and tidy tassel. Make sure to leave a small tail of yarn at the beginning to use as a tie later.
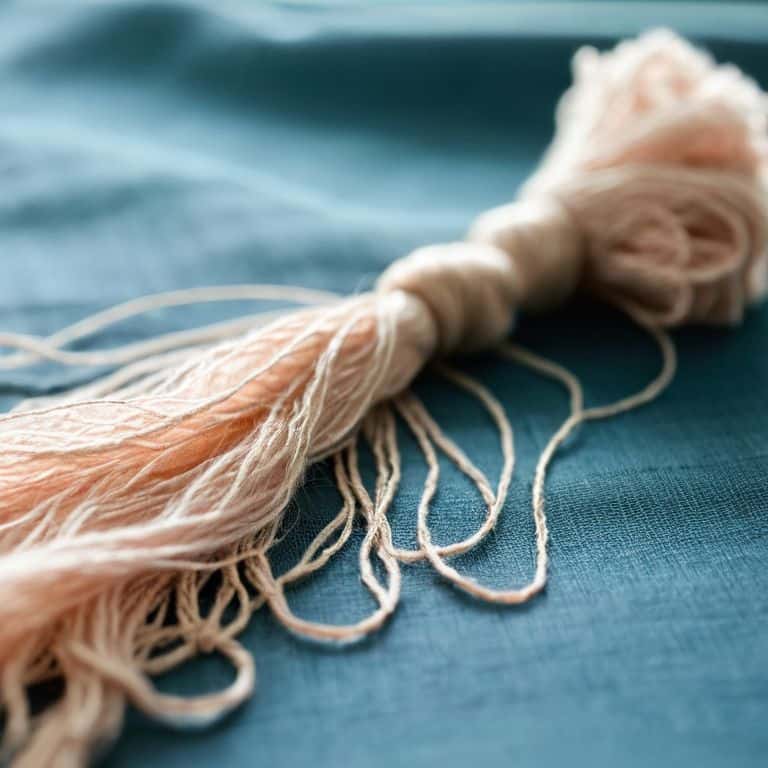
- 4. Once you’ve wrapped your yarn to the desired thickness, use your yarn needle to thread the tail of the yarn through the top of the tassel. This will help to secure the yarn in place and create a neat and tidy top to your tassel. Pull the yarn gently to tighten it, making sure that it’s not too loose or too tight.
- 5. Next, we’ll need to trim the ends of the yarn to create a neat and even tassel. Use your scissors to carefully trim the ends of the yarn, making sure that they’re all the same length. You can use a ruler or a piece of card to help you get a straight edge, or simply trim the yarn by eye.
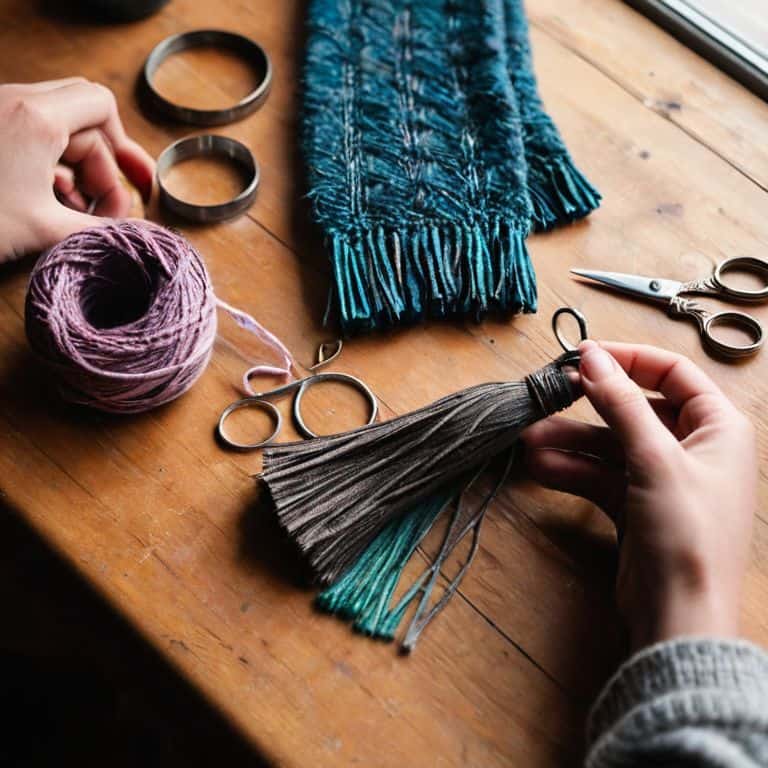
- 6. Now that our tassel is starting to take shape, it’s time to add a hanger – this can be a small piece of yarn, a jump ring, or even a tiny piece of wood or bone. Simply thread the hanger through the top of the tassel and tie it in place using a small knot. Make sure that the knot is secure, as you don’t want your tassel to come undone.
- 7. Finally, let’s add a finishing touch to our tassel – you can use a small bead, a piece of wire, or even a tiny piece of embroidery floss to create a decorative top to your tassel. Simply thread the bead or wire through the top of the tassel and tie it in place using a small knot. And that’s it – your tassel is now complete and ready to be attached to your scarf!
Whispers of Yarn
As I sit here surrounded by balls of yarn and half-finished projects, I’m reminded of the joy that comes from creating something with our own hands. When it comes to adding a personal touch to our handmade scarves, a well-crafted tassel can make all the difference. That’s why I love sharing my favorite yarn wrapping methods for creating unique and eye-catching tassels.
One of my favorite things about making tassels is the opportunity to experiment with different diy scarf embellishments. From simple yarn wraps to more intricate macrame tassel patterns, the possibilities are endless. And the best part? These techniques can be used to create a wide range of custom scarf finishing techniques, from subtle and understated to bold and statement-making.
As a beginner, it’s easy to get overwhelmed by the sheer number of handmade yarn tassel tutorials available online. But don’t worry, with a little practice and patience, you’ll be creating beautiful, one-of-a-kind tassels in no time. Remember, the key to easy tassel making for beginners is to start simple and have fun with the process. Experiment with different yarns, colors, and techniques until you find what works best for you, and don’t be afraid to try new things – it’s all part of the creative journey.
Easy Yarn Wrapping for Beginners
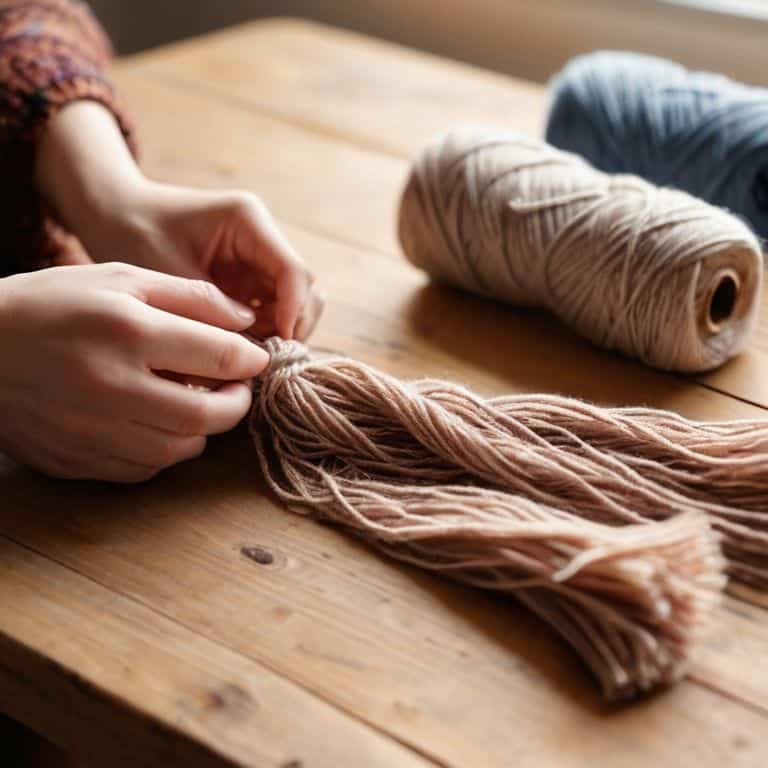
As we delve into the world of yarn wrapping, I want to assure you that it’s a technique that’s easily accessible, even for those just starting out. The key is to take your time and let the gentle rhythm of wrapping the yarn around the core soothe your mind. For beginners, I recommend starting with a simple yarn like a soft merino wool or a gentle cotton blend. These fibers tend to be forgiving and will help you get a feel for the wrapping process.
To begin, simply cut a length of yarn and start wrapping it around the core, overlapping the strands slightly as you go. Don’t worry too much about perfection – the beauty of handmade tassels lies in their unique, organic texture. As you wrap, focus on the sensation of the yarn passing through your fingers, and let your mind quiet. Before you know it, you’ll have created a beautiful, cohesive wrap that’s ready to be trimmed and added to your scarf.
Handmade Tassel Magic for Scarves
As I sit with my yarn and tassel-making tools, I feel the gentle hum of creativity stirring within me. The soft whispers of the yarn as I wrap it around the fork, the gentle clickety-clack of the needles, all blend together in a soothing melody. It’s in these quiet moments that I feel most connected to the natural world and the traditional crafts that inspire my designs. The tassels, with their delicate fringe and gentle sway, seem to come alive in my hands, as if infused with the essence of the yarn itself.
In this peaceful state, I find that my tassels take on a character of their own, each one unique and imbued with a sense of handmade charm. The subtle variations in color and texture, the slight imperfections that make each one human, all contribute to a sense of warmth and personality that machine-made tassels simply can’t replicate. As I tie the final knot and trim the ends, I feel a sense of satisfaction and joy, knowing that this tiny, handmade detail will bring a touch of magic to the scarf it adorns.
Weaving Wisdom: 5 Essential Tips for Creating Enchanting Tassels
- Tassel length is everything: make sure to balance your tassel’s length with the overall design of your scarf to avoid overwhelming the piece
- Yarn choice matters: select a yarn that complements the texture and color of your scarf, and don’t be afraid to mix and match different fibers for a unique look
- Wrap it up: when wrapping your yarn around the tassel core, maintain a consistent tension to ensure a smooth, even finish
- Trim with care: use sharp scissors and trim the ends of your tassel carefully to prevent fraying and give your scarf a polished finish
- Experiment with embellishments: consider adding a few subtle beads or sequins to give your tassel a touch of personality and whimsy
Cozy Crafting Takeaways
I’ve found that the simplest tassels can add a touch of elegance to our handmade scarves, and with just a few basic steps, you can create your own unique embellishments
Remember, the key to beautiful tassels is in the gentle wrapping of the yarn – don’t be afraid to experiment with different colors and textures to find the perfect match for your scarf
As you work on your tassel, take a moment to appreciate the quiet rhythm of the yarn flowing through your fingers, and know that you’re not just creating a lovely accessory, but also a piece of mindfulness to treasure
The Gentle Art of Tassel Making
As we wrap and weave the yarn into delicate tassels, we’re not just adding a finishing touch to our scarf – we’re infusing it with the gentle rhythm of our own creative heartbeat.
Clara Meadows
Weaving a Lasting Touch
As we come to the end of our journey in creating the perfect tassels for our scarf, let’s take a moment to reflect on the key points we’ve covered. From the initial steps of choosing the right yarn and thread, to the patient process of wrapping and trimming, each detail is crucial in adding a personal touch to our handmade masterpiece. The whispers of yarn, the gentle tug of the thread, and the soft rustle of the tassel as it swings all come together to create a truly unique piece that tells a story of love, care, and dedication.
And so, as you finish your tassel and tie it gently to your scarf, remember that the true magic lies not just in the finished product, but in the journey itself. The calming rhythm of the yarn, the soothing sound of the needles, and the sense of accomplishment that comes with creating something with your own hands – these are the things that make knitting a truly special craft. So go ahead, wrap yourself in the warmth of your handmade scarf, and let the gentle swing of the tassel remind you of the joy and peace that comes with creating something beautiful, one stitch at a time.
Frequently Asked Questions
What type of yarn is best suited for making tassels, and how does it affect the overall look and feel of the scarf?
For tassels, I adore using yarns with a bit of texture and drape, like merino wool or silk blends. These fibers add a lovely weight and softness to the tassels, while their subtle sheen catches the light beautifully, elevating the overall look and feel of the scarf.
Can I use a tassel maker or do I need to wrap the yarn by hand for a more authentic look?
While a tassel maker can be a great tool, I personally love the organic feel of hand-wrapping yarn for a more authentic, whimsical look. It’s all about the texture and character that comes from imperfections, don’t you think? Hand-wrapping allows for a beautiful, unique twist that’s hard to replicate with a machine.
How do I securely attach the tassel to my scarf without it coming undone over time?
To securely attach your tassel, try using a small needle to weave the yarn tail through the scarf’s stitches, then tie a tiny knot to keep it in place. You can also add a dab of fabric glue for extra security. This way, your handmade tassel will stay put, and your scarf will remain a beautiful, cozy companion for years to come.