I still remember the first time I tried to photograph my handmade scarf – the best lighting for knitting photography seemed like a myth. I had heard that natural light was the way to go, but every shot I took looked dull and flat. It wasn’t until I met a professional photographer at a fiber festival that I learned the truth: it’s not just about the light, it’s about how you use it. She showed me how to experiment with different angles and setups, and suddenly my photos went from mediocre to mesmerizing.
As someone who’s passionate about sharing the stories of makers and their crafts, I want to help you unlock the secrets of best lighting for knitting photography. In this article, I’ll share my own experiences, tips, and tricks for capturing stunning images of your handmade projects. You’ll learn how to create a relaxing and inviting atmosphere in your photos, and how to make your yarn and stitches shine. Whether you’re a seasoned photographer or a beginner, I promise that you’ll find something valuable in these pages to help you take your knitting photography to the next level.
Table of Contents
- Guide Overview: What You'll Need
- Step-by-Step Instructions
- Best Lighting for Knitting Photography
- Unraveling Best Lighting
- Continuous Lighting for Textile Photography
- Illuminating Handmades With Indoor Photography
- Mastering Indoor Photography Lighting Setup
- Using Reflectors for Stunning Macro Shots
- 5 Essential Tips to Illuminate Your Knitting Photography
- Key Takeaways for Capturing Your Knitting Masterpieces
- A Moment of Clarity
- Weaving Together the Threads of Lighting and Community
- Frequently Asked Questions
Guide Overview: What You'll Need
Total Time: 1 hour 15 minutes
Estimated Cost: $50 – $100
Difficulty Level: Easy
Tools Required
- Tripod (for camera stabilization)
- Light Meter (optional, but recommended)
- Remote Shutter Release (or camera timer)
- Softbox Lights (2-3, depending on setup)
- Diffusion Materials (e.g., tracing paper, cotton cloth)
Supplies & Materials
- White Background Paper (large sheet, e.g., 36 inches x 48 inches)
- Clamps (for securing background paper)
- Reflectors (e.g., foam boards, aluminum foil)
- Color Cards (for color calibration)
- Knitting Samples (various textures and colors)
Step-by-Step Instructions
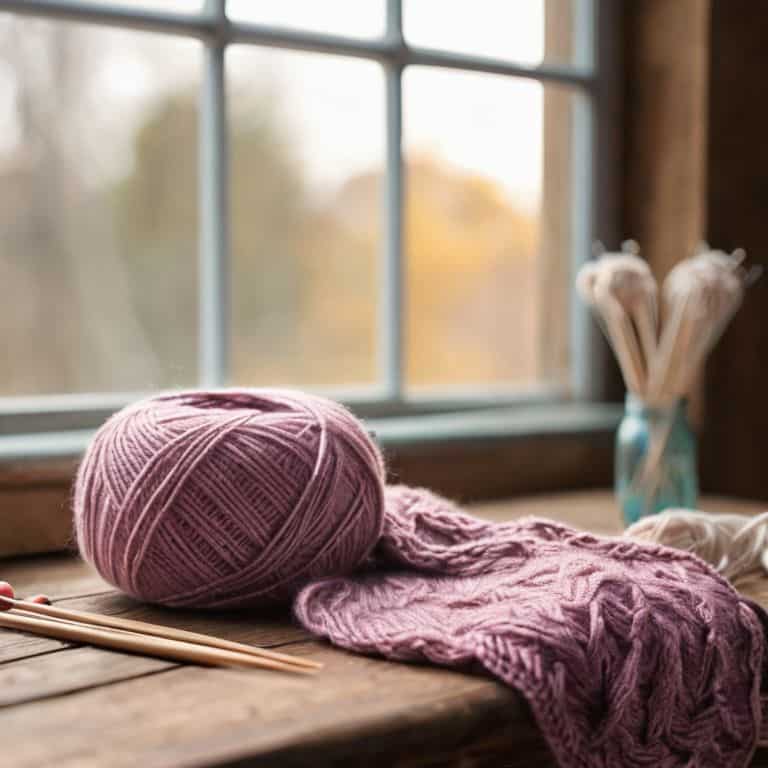
- 1. First, let’s talk about natural light, which is often the most flattering and easiest to work with when it comes to knitting photography. If possible, try to take your photos near a window with plenty of indirect sunlight – this will help to reduce harsh shadows and bring out the textures of your yarn.
- 2. Next, consider the time of day and how it affects the lighting in your space. Soft, warm light is often available during the golden hour, just before sunset, and can add a cozy, intimate feel to your photos. Experiment with different times of day to find the one that works best for you and your project.
- 3. Now, let’s move on to artificial lighting, which can be just as effective as natural light when used correctly. Invest in a good quality lighting kit that includes a softbox or diffuser – this will help to soften the light and reduce unwanted shadows. You can also use lamps or LED lights with a warm tone to create a welcoming atmosphere.
- 4. When setting up your photo shoot, think about the background and how it will interact with your lighting. A simple, neutral-colored background can help your project stand out, while a busier background may require more careful lighting to avoid distractions. Experiment with different backgrounds and lighting setups to find the one that works best for you.
- 5. Once you have your lighting and background in place, it’s time to think about composition. Consider the rule of thirds, and try to place your project off-center in the frame. You can also experiment with different angles and perspectives – don’t be afraid to get creative and try something new.
- 6. Now, let’s talk about diffusion, which can be a powerful tool in knitting photography. You can use a diffuser or a piece of translucent fabric to soften the light and reduce harsh shadows. This can be especially helpful when working with artificial lighting, as it can help to create a more natural, soft look.
- 7. Finally, don’t forget to experiment and have fun with the process. Knitting photography is all about capturing the beauty and uniqueness of your handmade projects, so don’t be afraid to try new things and see what works best for you. With a little practice and patience, you’ll be taking stunning photos of your knitting projects in no time.
Best Lighting for Knitting Photography
As I’ve delved into the world of knitting photography, I’ve discovered that natural light is often the most flattering for capturing the intricate details of a handmade project. However, when shooting indoors, it’s essential to replicate this soft, warm glow. I’ve found that using a combination of indoor photography lighting setup and continuous lighting for photography can help achieve a similar effect. By positioning lights at a 45-degree angle to your subject, you can create a beautiful, soft illumination that accentuates the textures and colors of your knitting.
When it comes to capturing the finer details of your project, macro photography lighting techniques can be incredibly useful. I’ve experimented with using reflectors to bounce light onto specific areas of my knitting, which helps to reduce harsh shadows and highlight the intricate stitches. This technique is especially helpful when photographing small, delicate projects like lace shawls or baby hats.
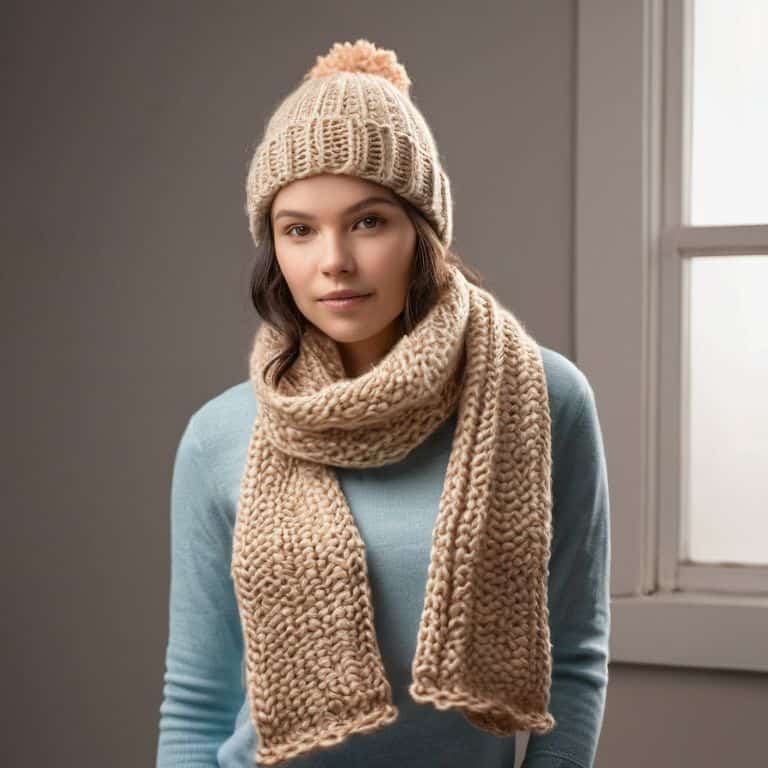
To add an extra layer of depth to your photos, consider experimenting with different photography backdrops for knitting. I’ve found that using a simple, neutral-colored background can help my projects stand out, while also providing a clean and distraction-free environment for showcasing my knitting. By combining these tips with a little practice and patience, you can take your knitting photography to the next level and showcase your beautiful handmade creations in the best possible light.
Unraveling Best Lighting
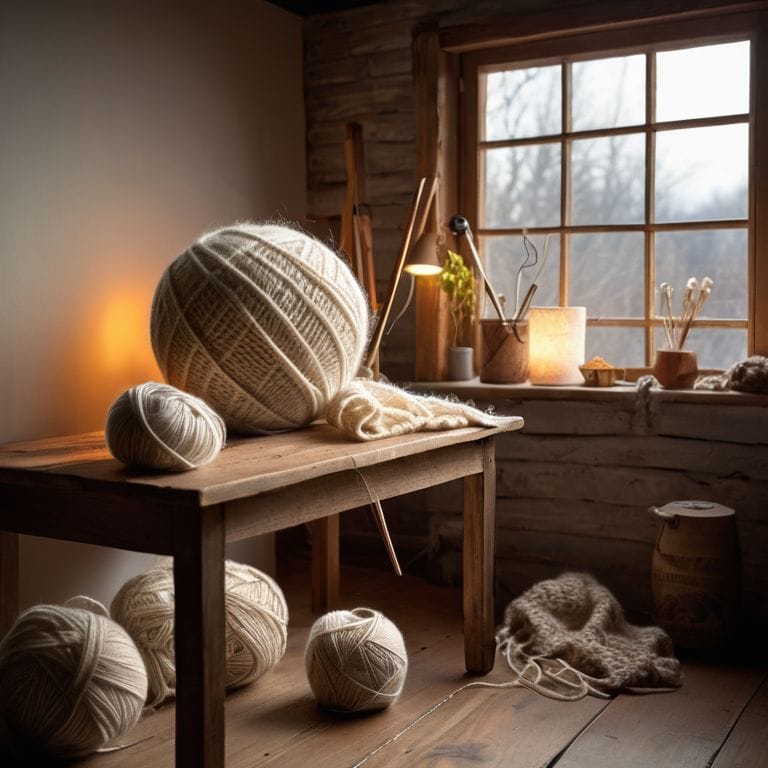
As I’ve traveled to various fiber festivals, I’ve noticed that proper lighting can make or break the visual appeal of a knitting project. I’ve seen talented designers and makers spend hours perfecting their craft, only to have it lost in subpar photography. To avoid this, it’s essential to understand the basics of indoor photography lighting setup, which can be as simple as using natural light or as complex as investing in a dedicated photography lighting for textiles kit.
When it comes to capturing the intricate details of knitting projects, macro photography lighting techniques can be incredibly useful. I’ve found that using continuous lighting for photography can help to reduce harsh shadows and emphasize the textures of the yarn. Additionally, using reflectors for photography can help to bounce light onto the subject and reduce unwanted shadows.
By experimenting with different lighting setups and techniques, you can elevate your knitting photography tips and take your project showcases to the next level. Whether you’re a seasoned photographer or just starting out, understanding the importance of lighting can make a significant difference in the visual impact of your work. As someone who’s still learning to spin yarn, I appreciate the value of good lighting in showcasing the beauty of handmade textiles.
Continuous Lighting for Textile Photography
As I’ve traveled to fiber festivals, I’ve noticed that continuous lighting can be a game-changer for textile photography. It provides a consistent, soft glow that helps to reduce harsh shadows and brings out the intricate details of handmade items. I recall a conversation with a textile designer who swore by continuous lighting for showcasing her delicate lace shawls. She explained that it helped to create a sense of depth and dimension, making the intricate patterns and textures really pop. By using continuous lighting, you can achieve a professional-looking shot that showcases your handmade masterpiece in the best possible light.
Illuminating Handmades With Indoor Photography
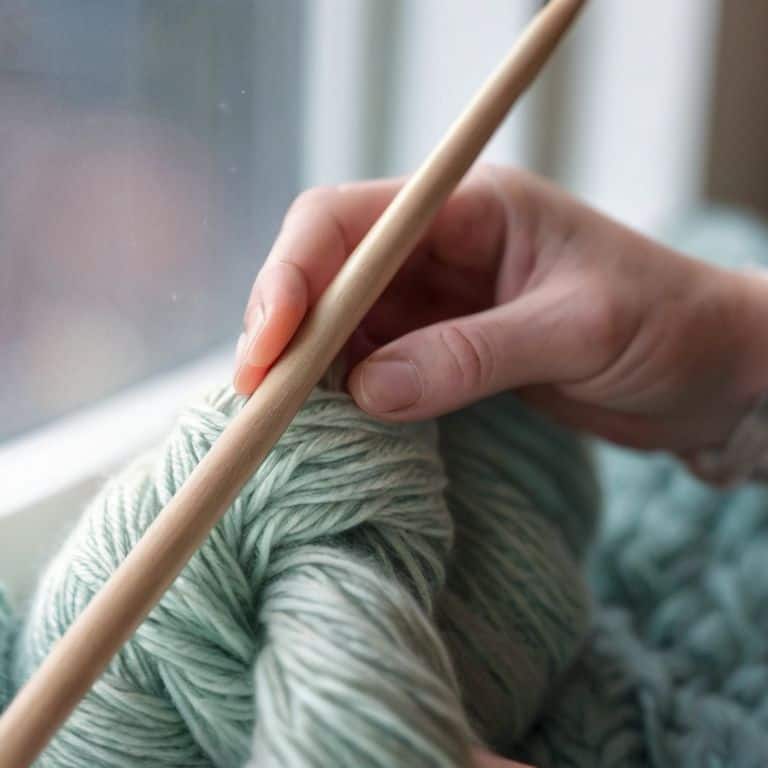
As I’ve traveled to fiber festivals, I’ve seen how indoor photography can bring out the best in handmade items. Soft, natural light pouring through a window can create a warm and inviting atmosphere, perfect for showcasing the texture and color of a finished project. I’ve had the chance to talk to several designers who swear by indoor photography, and they’ve shared some valuable tips on how to make the most of this setup. By positioning your project near a window, you can capture a soft, gentle light that accentuates the details of your handmade item. This technique is especially useful for showcasing the subtle variations in hand-dyed yarns or the intricate patterns of a complex stitch.
Mastering Indoor Photography Lighting Setup
When it comes to indoor photography, I’ve found that natural light is still the way to go, if possible. Positioning your project near a north-facing window can provide a soft, gentle glow that showcases the texture and color of your yarn. If natural light isn’t an option, I’ve had success with a simple lighting setup using a few well-placed lamps. I’ve seen some amazing setups from other crafters, too – what’s your go-to indoor lighting solution?
I’m curious to hear about your favorite lighting hacks, and I’d love to share more of my own discoveries in future posts. For now, I’m excited to keep exploring the world of knitting photography and sharing my findings with all of you.
Using Reflectors for Stunning Macro Shots
I’ve had the chance to experiment with reflectors in my own photography, and I’m amazed at the difference they can make in macro shots. By bouncing light onto my subject, I can reduce harsh shadows and bring out the texture of the yarn. It’s especially useful when capturing intricate details like cables or lace patterns. I’ve seen some talented photographers use homemade reflectors, like foam boards or even pieces of cardboard, to great effect. What are some of your favorite DIY reflector hacks for getting stunning macro shots?
5 Essential Tips to Illuminate Your Knitting Photography
- Natural Light is Your Best Friend: Whenever possible, take your knitting projects near a window or outside to capture the soft, warm glow of natural light
- Experiment with Diffusers: Using a diffuser or a sheer curtain can help soften harsh light and reduce unflattering shadows on your handmade items
- Invest in a Light Box: A light box or a DIY equivalent can provide a clean and evenly lit background for your knitting photography, making your projects stand out
- Pay Attention to Color Temperature: Different light sources have distinct color temperatures, so choose a lighting setup that complements the hues of your yarn and project to ensure accurate color representation
- Play with Angles and Textures: Don’t be afraid to experiment with unique angles and perspectives to add depth and visual interest to your knitting photography, highlighting the textures and details of your handmade creations
Key Takeaways for Capturing Your Knitting Masterpieces
I’ve learned that natural light is a game-changer for knitting photography, and positioning your project near a window can make a world of difference in showcasing the texture and color of your handmade items
Experimenting with continuous lighting for indoor photography has been a revelation – it’s amazing how a simple investment in a good lighting kit can elevate your textile photography and make your projects look professionally shot
Ultimately, the best lighting for knitting photography is all about experimentation and finding what works best for you and your unique handmade creations – don’t be afraid to try out different setups and techniques to capture the perfect shot
A Moment of Clarity
The right lighting is like the perfect stitch – it brings out the beauty in the fabric of our craft, and illuminates the stories of the makers behind it.
Noah Byrne
Weaving Together the Threads of Lighting and Community
As I reflect on our journey to uncover the best lighting for knitting photography, I’m reminded of the importance of experimentation and community. From mastering indoor photography lighting setups to using reflectors for stunning macro shots, each technique has its own unique charm. I’ve seen how a well-lit photo can make a yarn project truly shine, and I’m curious – what kind of lighting do you think makes a yarn project really pop? By sharing our knowledge and experiences, we can help each other elevate our craft and showcase the beauty of our handmade creations.
As we conclude this exploration of lighting for knitting photography, I want to leave you with a final thought: the art of photography is not just about capturing an image, but about telling a story. Every skein of yarn, every stitch, and every finished project has a narrative waiting to be uncovered. So, the next time you pick up your camera or smartphone to capture your latest knitting project, remember that you’re not just taking a photo – you’re weaving a tale that will inspire and connect with others in our wonderful fiber arts community.
Frequently Asked Questions
What are some common mistakes to avoid when setting up lighting for knitting photography?
You know, I’ve seen many a knitter struggle with lighting – and I’ve been there myself. Some common mistakes to avoid include harsh shadows, overly bright spots, and uneven illumination. I’ve found that using diffusers or softboxes can really help soften the light and bring out the texture of those gorgeous handmade stitches.
How can I use natural light to enhance my knitting photos, especially when shooting indoors?
I’m a huge fan of natural light, and I’ve found that even on cloudy days, a north-facing window can be a game-changer for knitting photos. Try placing your project near a window, and experiment with different angles to catch that soft, gentle glow – it can really make your handmade treasures shine!
Are there any specific lighting kits or equipment that are particularly well-suited for capturing high-quality images of knitting projects?
I’ve had the chance to chat with some amazing knitting photographers, and they swear by softbox lights and ring lights for capturing stitch definition. I’ve also seen some great results with natural light diffusers and LED panels, especially for showcasing texture and color.