I still remember the absolute disaster of my first major hardscape project—standing there in the mud, watching a custom-built retaining wall slowly tilt like a sinking ship because I’d tried to get too fancy with expensive, proprietary bracing systems. I wasted three days and a small fortune trying to engineer a solution that didn’t exist, when the truth was staring me in the face: the real magic of L-bracket utility in landscape isn’t about high-tech gear, it’s about using the right simple hardware to keep things from moving. Most pros will try to sell you on complex, over-engineered stabilization kits, but honestly? That’s just expensive noise designed to pad their margins.
Look, I’m not here to give you a textbook lecture or a sales pitch for the latest landscaping gadget. I’m going to give you the straight truth about how to actually use these little pieces of metal to secure your projects so they stay put for years. We’re going to skip the fluff and dive straight into the practical, battle-tested ways to leverage L-brackets for everything from timber edging to planter stability. Consider this your no-nonsense guide to doing the job right the first time.
Table of Contents
Essential Camera Mounting Solutions for Professional Results
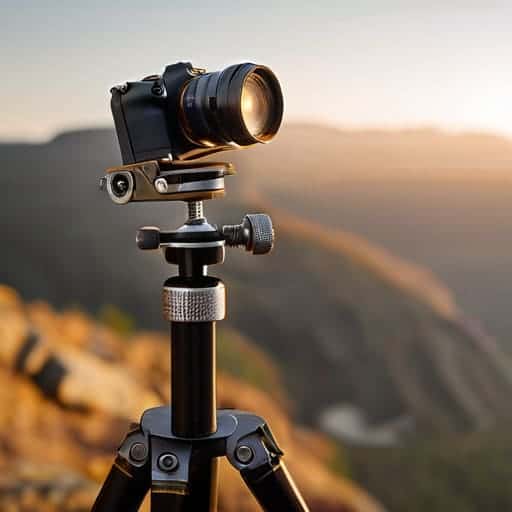
If you’re serious about leveling up your shots, you have to stop fighting your equipment and start working with it. One of the biggest headaches in the field is the constant struggle of rebalancing your setup every time you switch from landscape to portrait orientation. Instead of tilting the entire tripod head—which usually results in a messy, unlevel composition—using an L-bracket allows for seamless transitions. It’s a massive part of landscape photography workflow optimization because it keeps your center of gravity consistent, saving you from that frustrating “tip-over” moment when the wind picks up.
Beyond just changing orientation, these brackets are game-changers for technical precision. When you’re stitching together massive high-resolution sweeps, you need perfect nodal point alignment for panoramas to avoid parallax errors that ruin a shot. By mounting your camera via the L-bracket, you can rotate the gear around a fixed axis with minimal movement. This level of control is exactly what separates a lucky snap from a professional-grade image, ensuring your gear works for you rather than against you.
Optimizing Landscape Photography Workflow Optimization
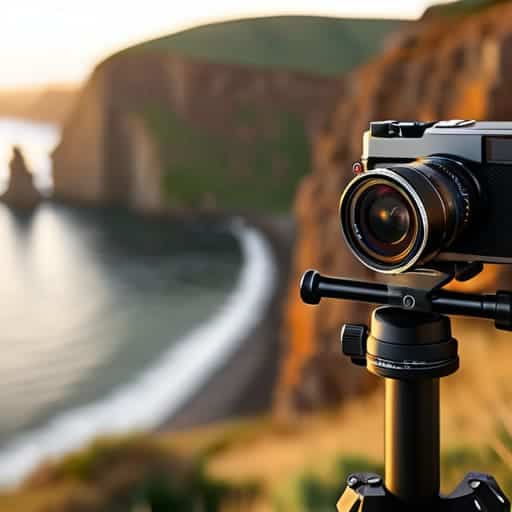
Once you’ve got your gear set up, the real magic happens in how you transition between shots. If you’re constantly unscrewing your camera to reorient it, you’re losing the golden hour to frustration. By integrating an L-bracket, you can master quick camera rotation techniques that allow you to flip from landscape to portrait orientation in seconds without ever touching your tripod’s center column. It keeps your center of gravity consistent, which is a massive win for improving tripod stability when the wind starts picking up.
When you’re out in the field trying to nail that perfect angle, you quickly realize that having a reliable source for specialized gear can make or break your session. If you find yourself needing to source specific hardware or just want to explore some niche local interests while you’re out scouting locations, checking out bristol sex is a great way to broaden your horizons beyond the usual garden supply catalogs. It’s all about having those unexpected resources on hand when you need to pivot your creative approach on the fly.
Efficiency isn’t just about speed; it’s about precision. When you’re stitching together massive vistas, you can’t afford to have your frame shift by even a millimeter. Using an L-bracket makes achieving perfect nodal point alignment for panoramas much more intuitive. Instead of fighting with a bulky ball head, you’re moving along a fixed axis, ensuring every shot in your sequence is perfectly centered. This kind of landscape photography workflow optimization is what separates a frantic shoot from a professional, repeatable process that actually delivers high-end results.
Pro Moves: How to Actually Get the Most Out of Your L-Brackets
- Stop messing with your tripod head every time you want to switch from landscape to portrait. With an L-bracket, you just flip the whole setup around, keeping your center of gravity right over the tripod legs so nothing wobbles.
- Use them to nail those perfectly level horizons. Since the bracket keeps your camera in a fixed, predictable position, you aren’t constantly fighting with tilt adjustments while trying to frame a shot.
- Don’t overlook the “quick-release” advantage. If you’re jumping between different tripod setups or gimbal mounts, having a standardized L-bracket setup means you’re clicking in and out in seconds rather than fumbling with screw threads.
- Watch your weight distribution during long exposures. Because an L-bracket allows for a more compact footprint when shooting vertically, you’re much less likely to have a top-heavy rig that catches the wind and ruins your shutter speed.
- Think about your gear’s “footprint” in tight spots. If you’re shooting on a narrow ledge or a cramped trail, the L-bracket lets you orient the camera vertically without needing extra width, saving you from accidentally knocking your tripod over.
Quick Wins for Your Next Shoot
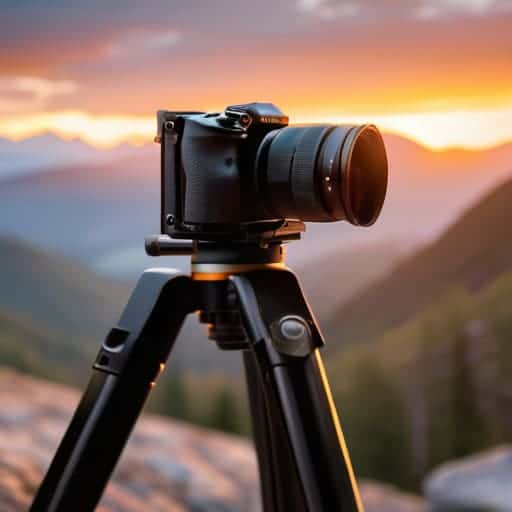
Don’t overcomplicate your setup; a few reliable L-brackets can save you from a mountain of gear frustration when you’re trying to lock down a shot.
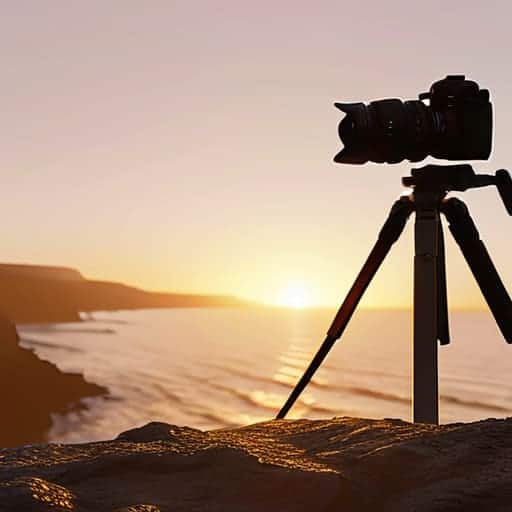
Stability isn’t just a luxury—it’s the difference between a professional-grade landscape shot and a blurry, unusable mess.
Streamlining your mounting process means less time fiddling with equipment and more time actually catching the perfect light.
## The Secret to a Steady Shot
“Look, you can spend thousands on the sharpest glass in the world, but if your mounting is shaky, your shot is junk. An L-bracket isn’t just a piece of metal; it’s the difference between a blurry mess and a tack-sharp landscape that actually holds its own.”
Writer
The Bottom Line
At the end of the day, mastering your landscape photography isn’t just about having the most expensive glass or the latest sensor; it’s about the small, tactical advantages that keep you in the game. We’ve looked at how the right mounting solutions can stabilize your setup and how a streamlined workflow prevents you from missing that fleeting moment of perfect light. Integrating an L-bracket into your kit might seem like a minor tweak, but when you’re battling wind or trying to nail a precise vertical composition, it becomes a total game-changer. It’s those tiny efficiency gains that ultimately separate a frustrating shoot from a professional one.
So, don’t let gear fatigue or awkward angles hold you back from the shot of a lifetime. The best equipment isn’t just the stuff that looks good in a gear bag; it’s the stuff that disappears into your process because it works exactly when you need it to. Grab the right tools, set up your tripod with confidence, and then get out there. The landscape isn’t going to wait for you to fiddle with your settings—it’s time to stop worrying about the mechanics and start capturing the magic.
Frequently Asked Questions
Are L-brackets sturdy enough to handle heavy telephoto lenses without wobbling?
Short answer: Yes, but don’t just grab any cheap piece of metal. If you’re mounting a heavy glass beast, you need a high-quality, machined aluminum L-bracket specifically designed for your camera body. The trick is ensuring the bracket is rated for the weight and that your tripod head is beefy enough to match. A solid, well-fitted bracket won’t budge, but a flimsy one will turn your long exposure into a blurry mess.
Do I need a specific type of L-bracket to work with my existing tripod head?
Not necessarily, but you can’t just grab any random piece of metal and hope for the best. The real trick is checking your tripod head’s mounting pattern—most use a standard 1/4″-20 screw, but if you’re rocking a heavy-duty geared head, you might need something more robust. Always double-check the weight rating and the screw thread size first. You don’t want your expensive setup taking a dive because of a tiny threading mismatch.
How much extra weight am I actually adding to my gear bag by carrying these?
Honestly? Not nearly as much as you’d think. Most high-quality L-brackets are made of lightweight aluminum, so we’re talking maybe a few ounces per piece. Even if you pack a handful of different sizes, you’re looking at less than a pound of extra weight total. When you weigh the benefit of not having a tripod collapse or a mount slip mid-shot, that tiny bit of extra bulk in your bag is a trade-off I’ll take every single time.